Handstands are one of the most iconic and challenging calisthenics exercises. Among the most notable handstand benefits are improved upper-body strength, core stability, balance, and body control. Not only do they require great strength, balance, and coordination, but they also promote overall body control and awareness.
If you have ever tried to do a handstand, you know how difficult it can be to hold your body upside down without collapsing or falling over.
With consistent practice and proper handstand calisthenics progressions, anyone can master this skill.
But it takes time and dedication.
You might have to do countless other exercises before attempting a freestanding handstand.
Don’t let that discourage you! In this guide, we will break down the progressions and steps to master the handstand so that you can achieve this impressive feat of strength and balance.
What Is The Best Way to Perform a Calisthenics Handstand?
The best way to perform a calisthenics handstand is to work your way up gradually from more accessible variations to more challenging ones. This path will help you build strength and balance, plus prevent injury (1).
This exercise is well-known for a reason. It requires a lot of skill and technique, so having a solid foundation is crucial before attempting more advanced variations.
What looks like simply standing on your hands involves a complex series of movements and muscle activations.
Let’s review all the muscles that work together to keep you balanced in a handstand:
- Shoulders: The deltoids, rotator cuff muscles, and trapezius stabilize the shoulders and support your weight.
- Core: Your abdominal muscles, obliques, and lower back work together to maintain a straight body line.
- Arms: The biceps, triceps, forearms, and wrists provide strength and stability to hold your body weight.
- Hips/Legs: While not actively involved in the handstand, engaging glutes and hamstrings help keep your legs straight and toes pointed.
No matter your fitness level, you might find one or two of these muscles weaker than others. That’s why it’s essential to follow proper progressions and work on strengthening all of these muscle groups before attempting a full handstand.
Other than how strong these muscles are, your mobility matters. Mobility refers to the ability to move your joints through their full range of motion. For example, if you can’t fully extend your shoulders overhead, you might struggle with holding a handstand.
Luckily, we have included mobility exercises in our progression steps so that you can work on improving flexibility and joint mobility.
How Long Does It Take to Learn Handstand?
There’s no set timeline for learning a handstand; it varies from person to person. However, you can expect to spend at least a few weeks (if not months) on each progression step before moving on to the next.
It’s essential to listen to your body and not rush through the progressions. By taking your time and building a solid foundation, you will be more likely to achieve a stable handstand in the long run.
Consistently practicing is the surest way to progress. It’s better to practice for 15 minutes daily than to have one long weekly practice session.
Is Handstand Good for Calisthenics?
A handstand is a good exercise for calisthenics because:
It Builds Upper Body Strength
A handstand requires the use of multiple muscle groups in your upper body. This exercise can significantly increase your strength and muscular endurance (2).
It Promotes Core Stability
You must engage your core muscles to maintain a straight body line in a handstand. This engagement is crucial for calisthenics as most exercises require core stability (3).
It Improves Balance and Coordination
Holding a handstand requires excellent balance and coordination, essential skills for calisthenics movements such as pull-ups, dips, and muscle-ups.
It Challenges Your Mind-Muscle Connection
Handstands also require focus and mind-muscle connection. As you progress through the different variations, you will become more aware of how your muscles work and learn to control them better (4).
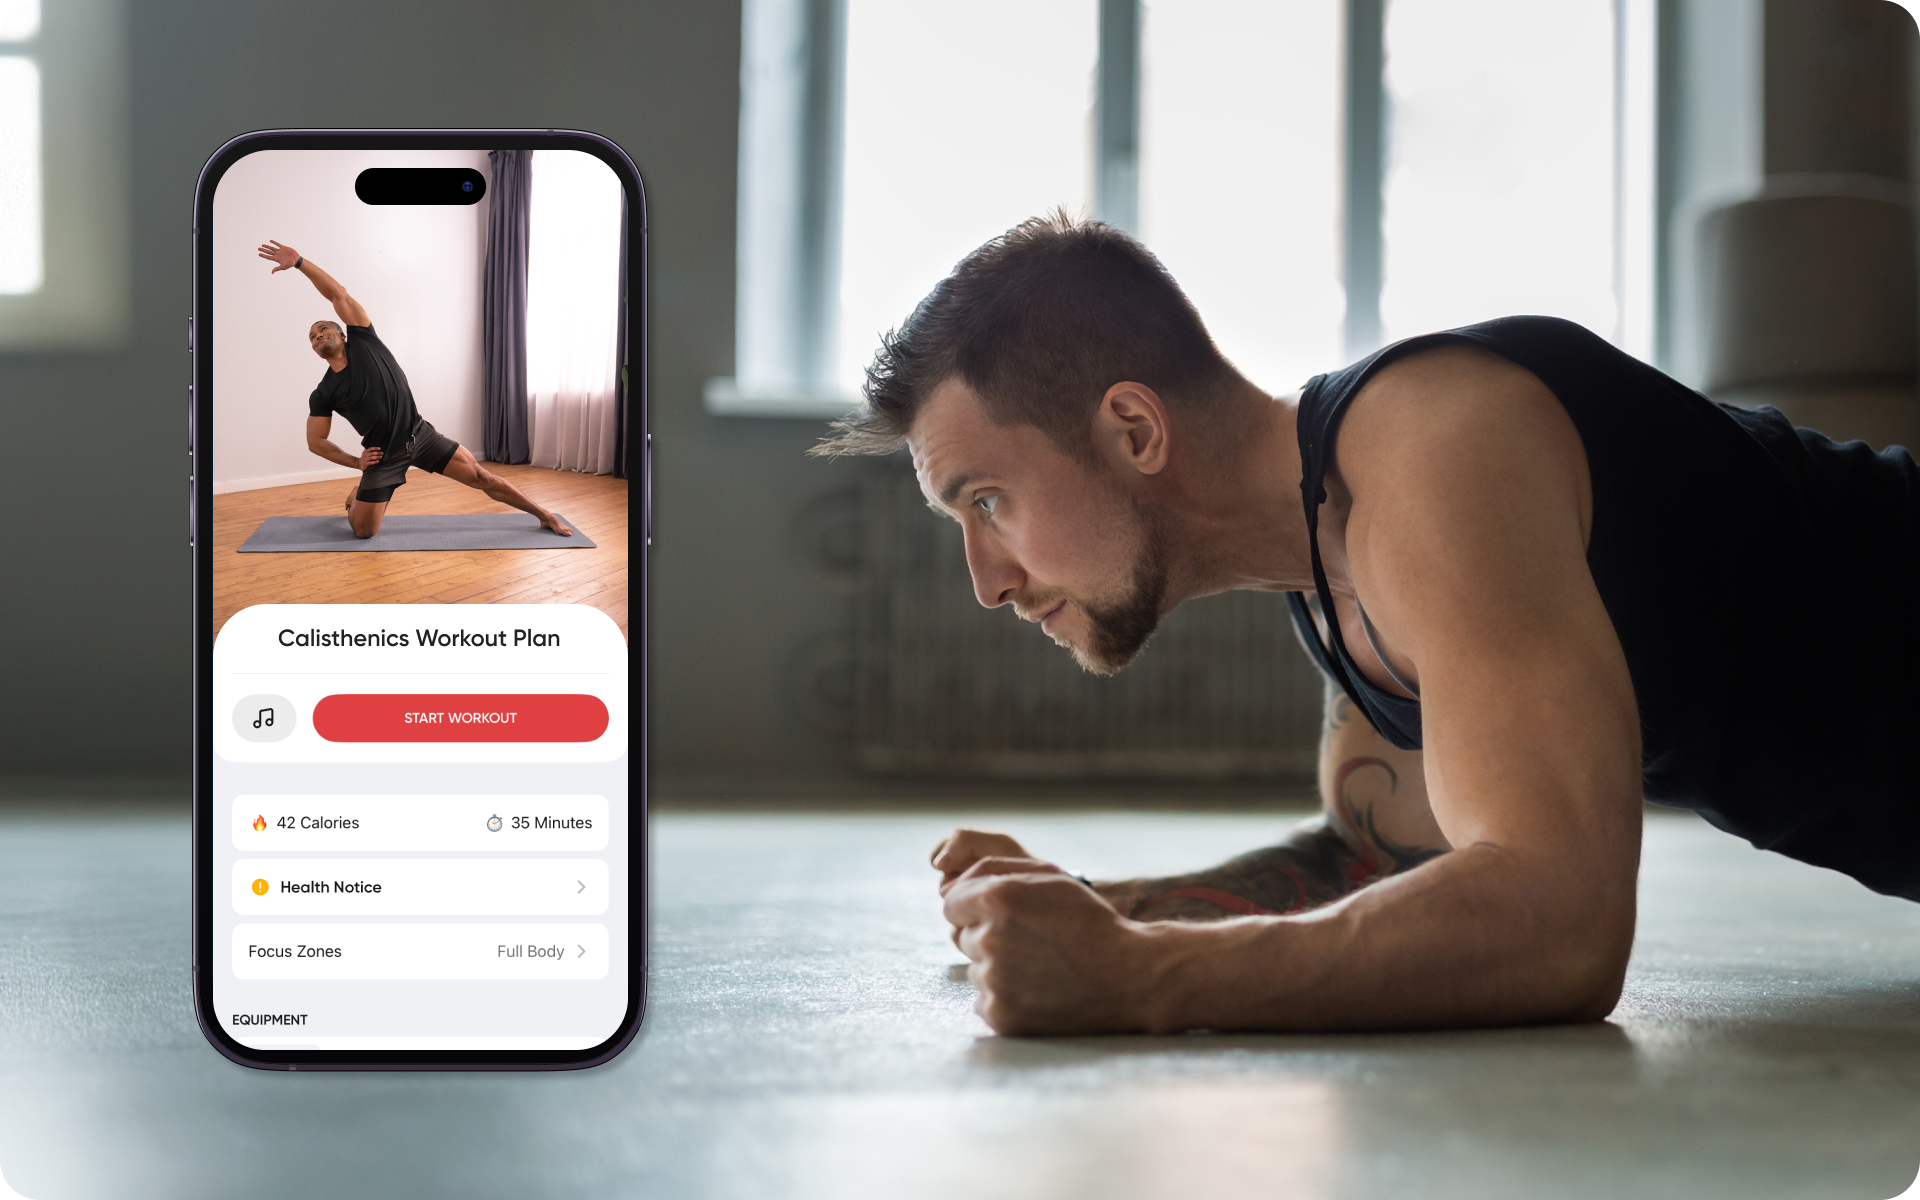
Intense sweat sessions, working weight loss tips, lip-smacking recipes come in one package with the BetterMe: Health Coaching app—all at your fingertips, start transforming your life now!
What Is The Handstand Form for Calisthenics?
Let’s look at your destination. Where will you get to after working your way through the handstand progressions?
The perfect handstand form for calisthenics is a straight line from your hands to your toes. Your arms should be fully extended, with your shoulders actively engaged, pushing towards the ground as if trying to push it away.
Picture hugging your ears with your shoulders. That’s how you activate your deltoids and help stabilize your shoulders.
Your hands should be shoulder-width apart. Splitting your fingers and pressing them into the ground can help distribute your weight better.
You should turn your elbows inward. Turning your elbows in will engage your lats, making it easier to hold the handstand. They should also be locked straight; this will ensure that your arms support your weight, reducing strain on your wrists.
Your core should also be tight and active, with no sagging or arching in the lower back. Keep your legs together and pointed, with glutes and hamstrings engaged.
Finally, your head should be neutral, with your gaze focused between your hands. This focus will help maintain balance and prevent neck injuries.
Remember to breathe throughout the handstand; holding your breath can cause tension and increase blood pressure.
Focus on proper technique during every step of the progression. Pay attention to each muscle group and how they work together to support you in a handstand.
The handstand exercise has many variations, but the straight-line handstand is one of the most common and widely used forms for calisthenics. As you progress, explore different variations and find what works best for your body type and goals.
How Do You Start a Calisthenics Handstand?
Follow these steps to start your calisthenics handstand exercises journey:
Step 1: Improve Wrist Mobility and Strength
Before attempting a handstand, have strong and flexible wrists. Start by incorporating wrist stretches and exercises into your warm-up routine.
Step 3: Improve Shoulder Mobility
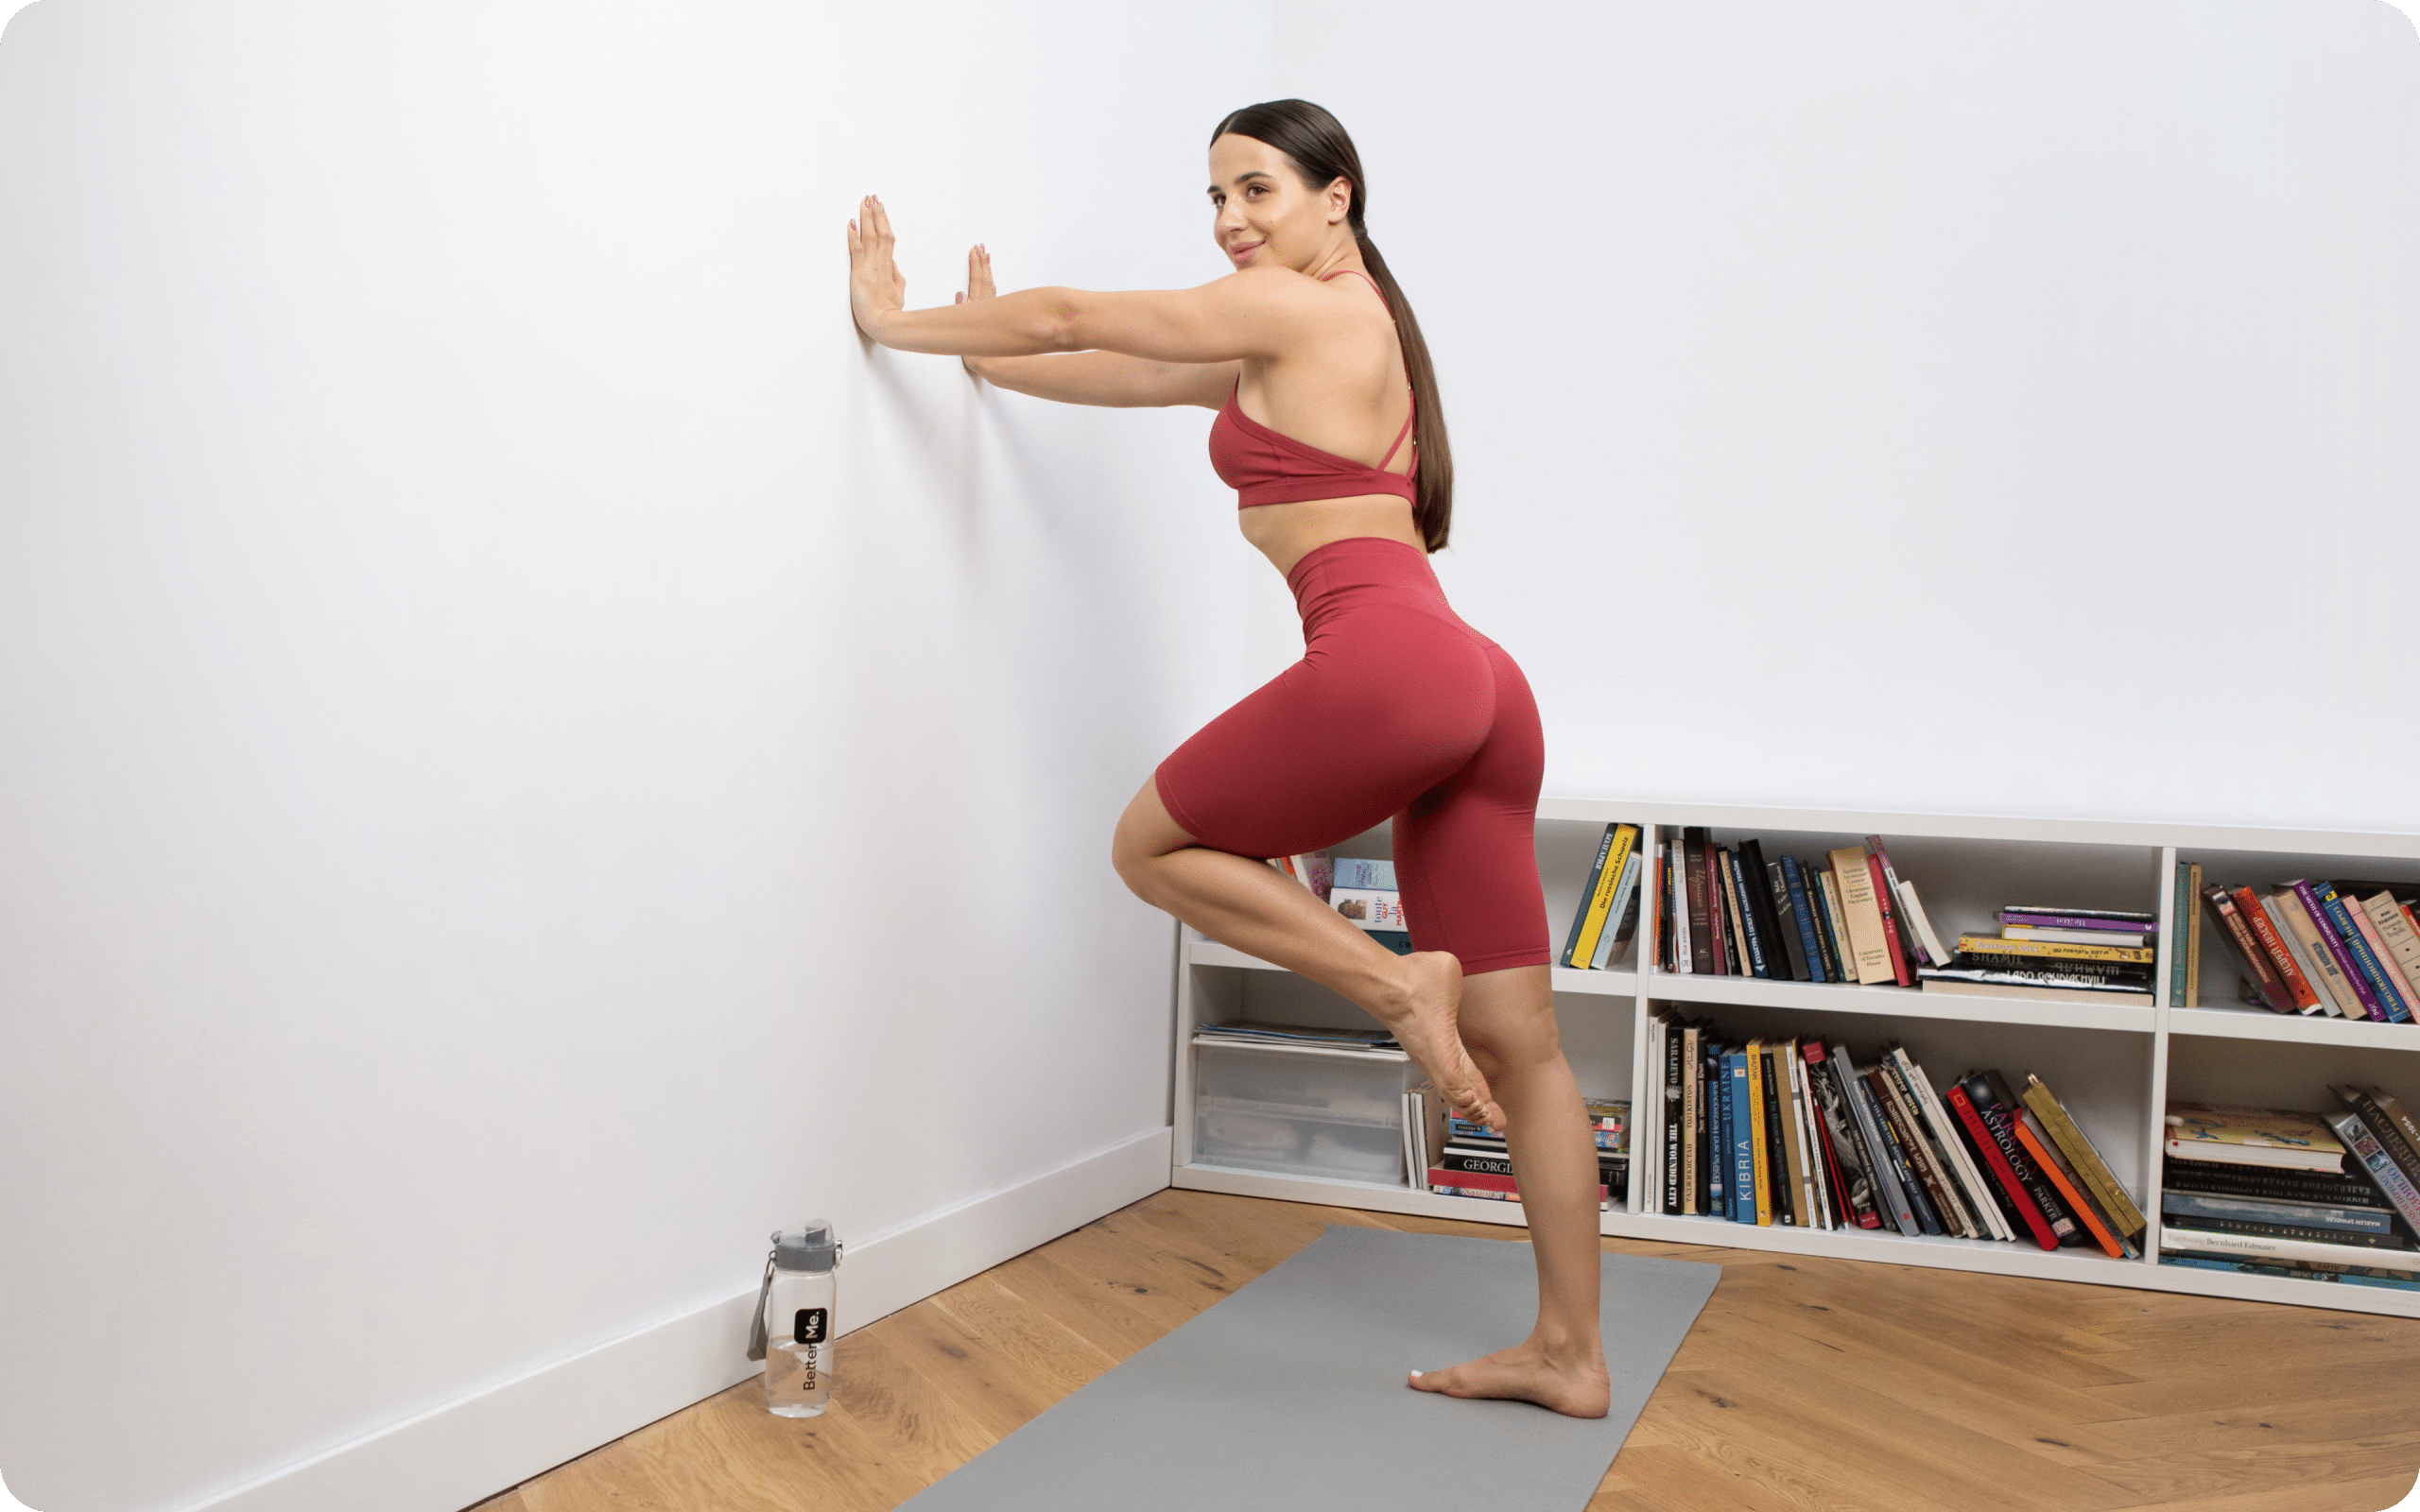
Start by working on your shoulder mobility. This range of motion will help you achieve a straight-line handstand. You can use a resistance band or wall slides to work on this.
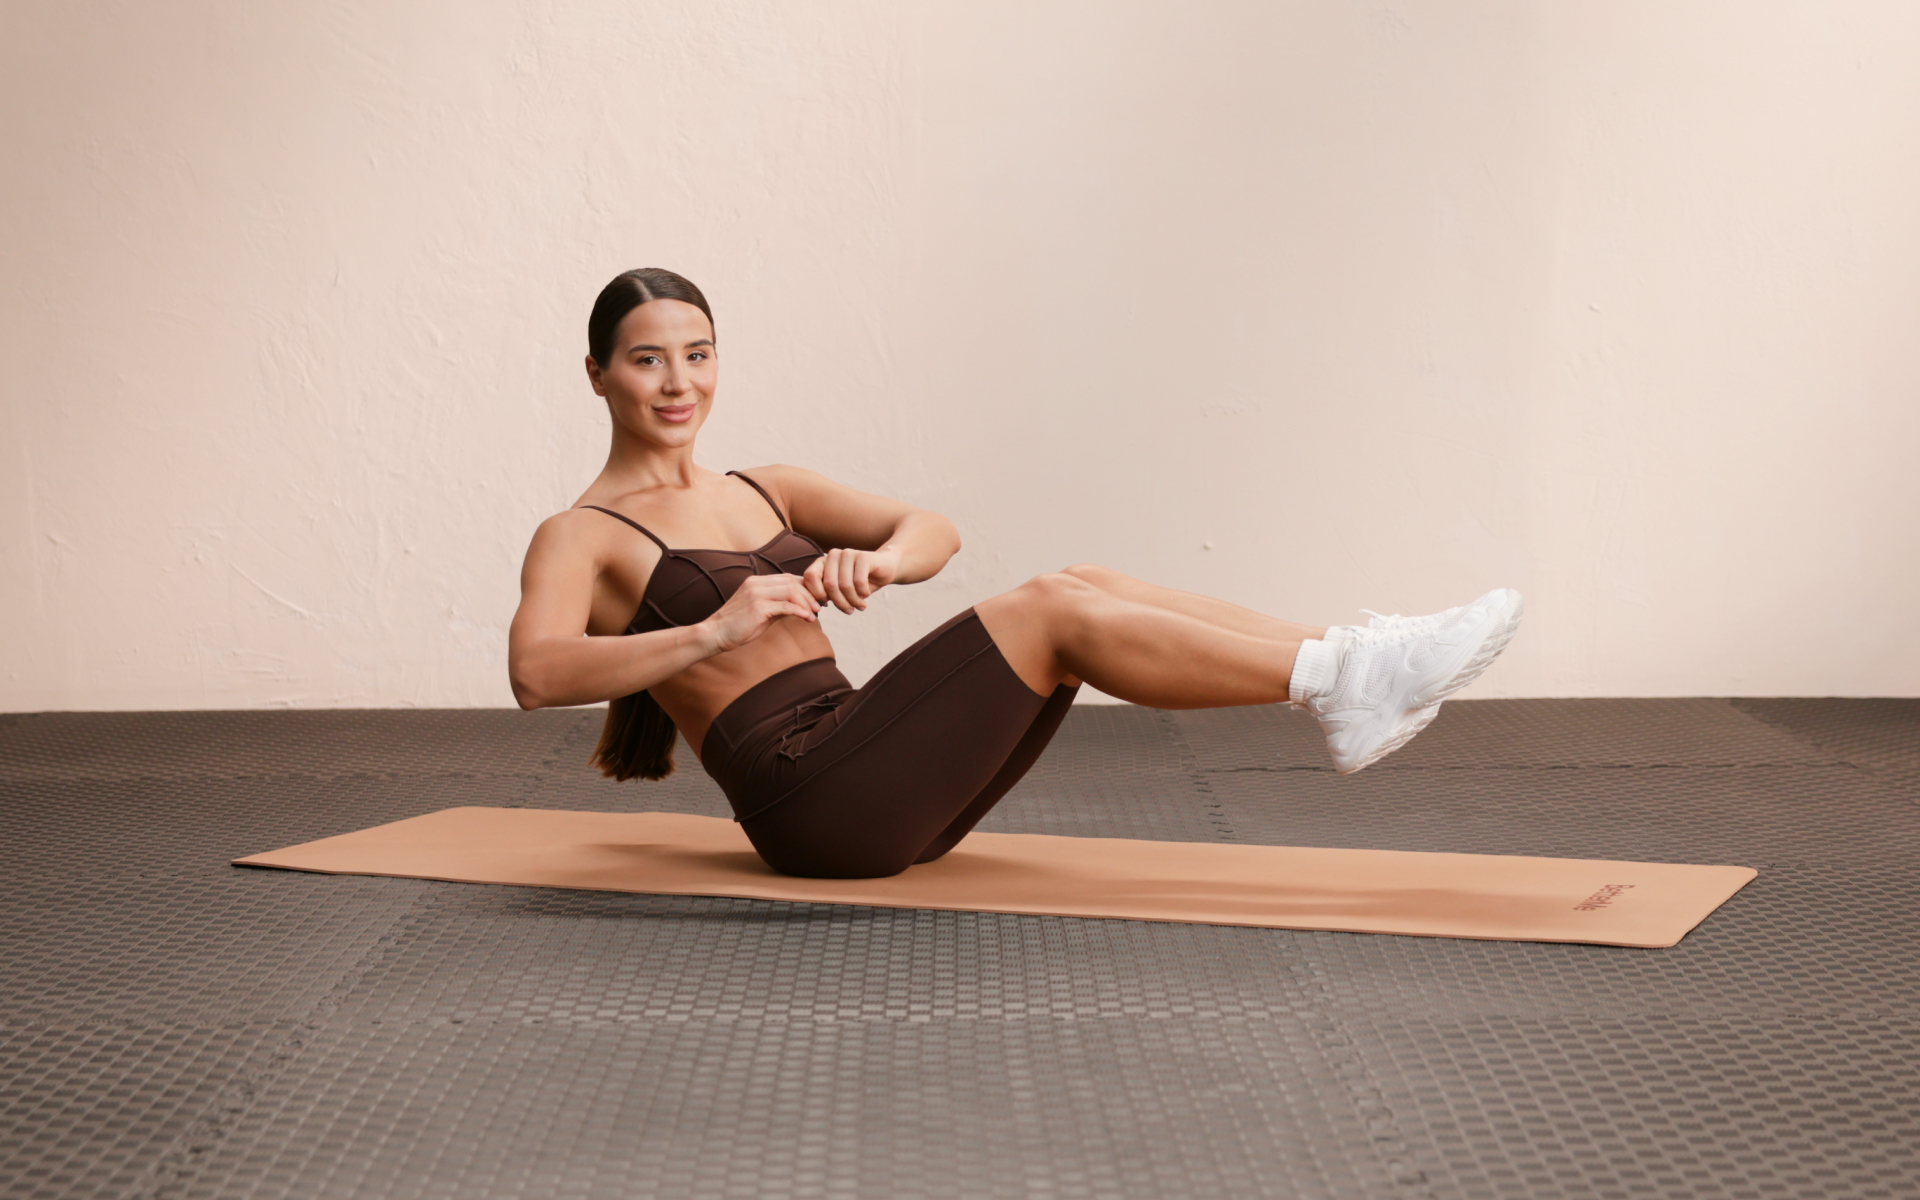
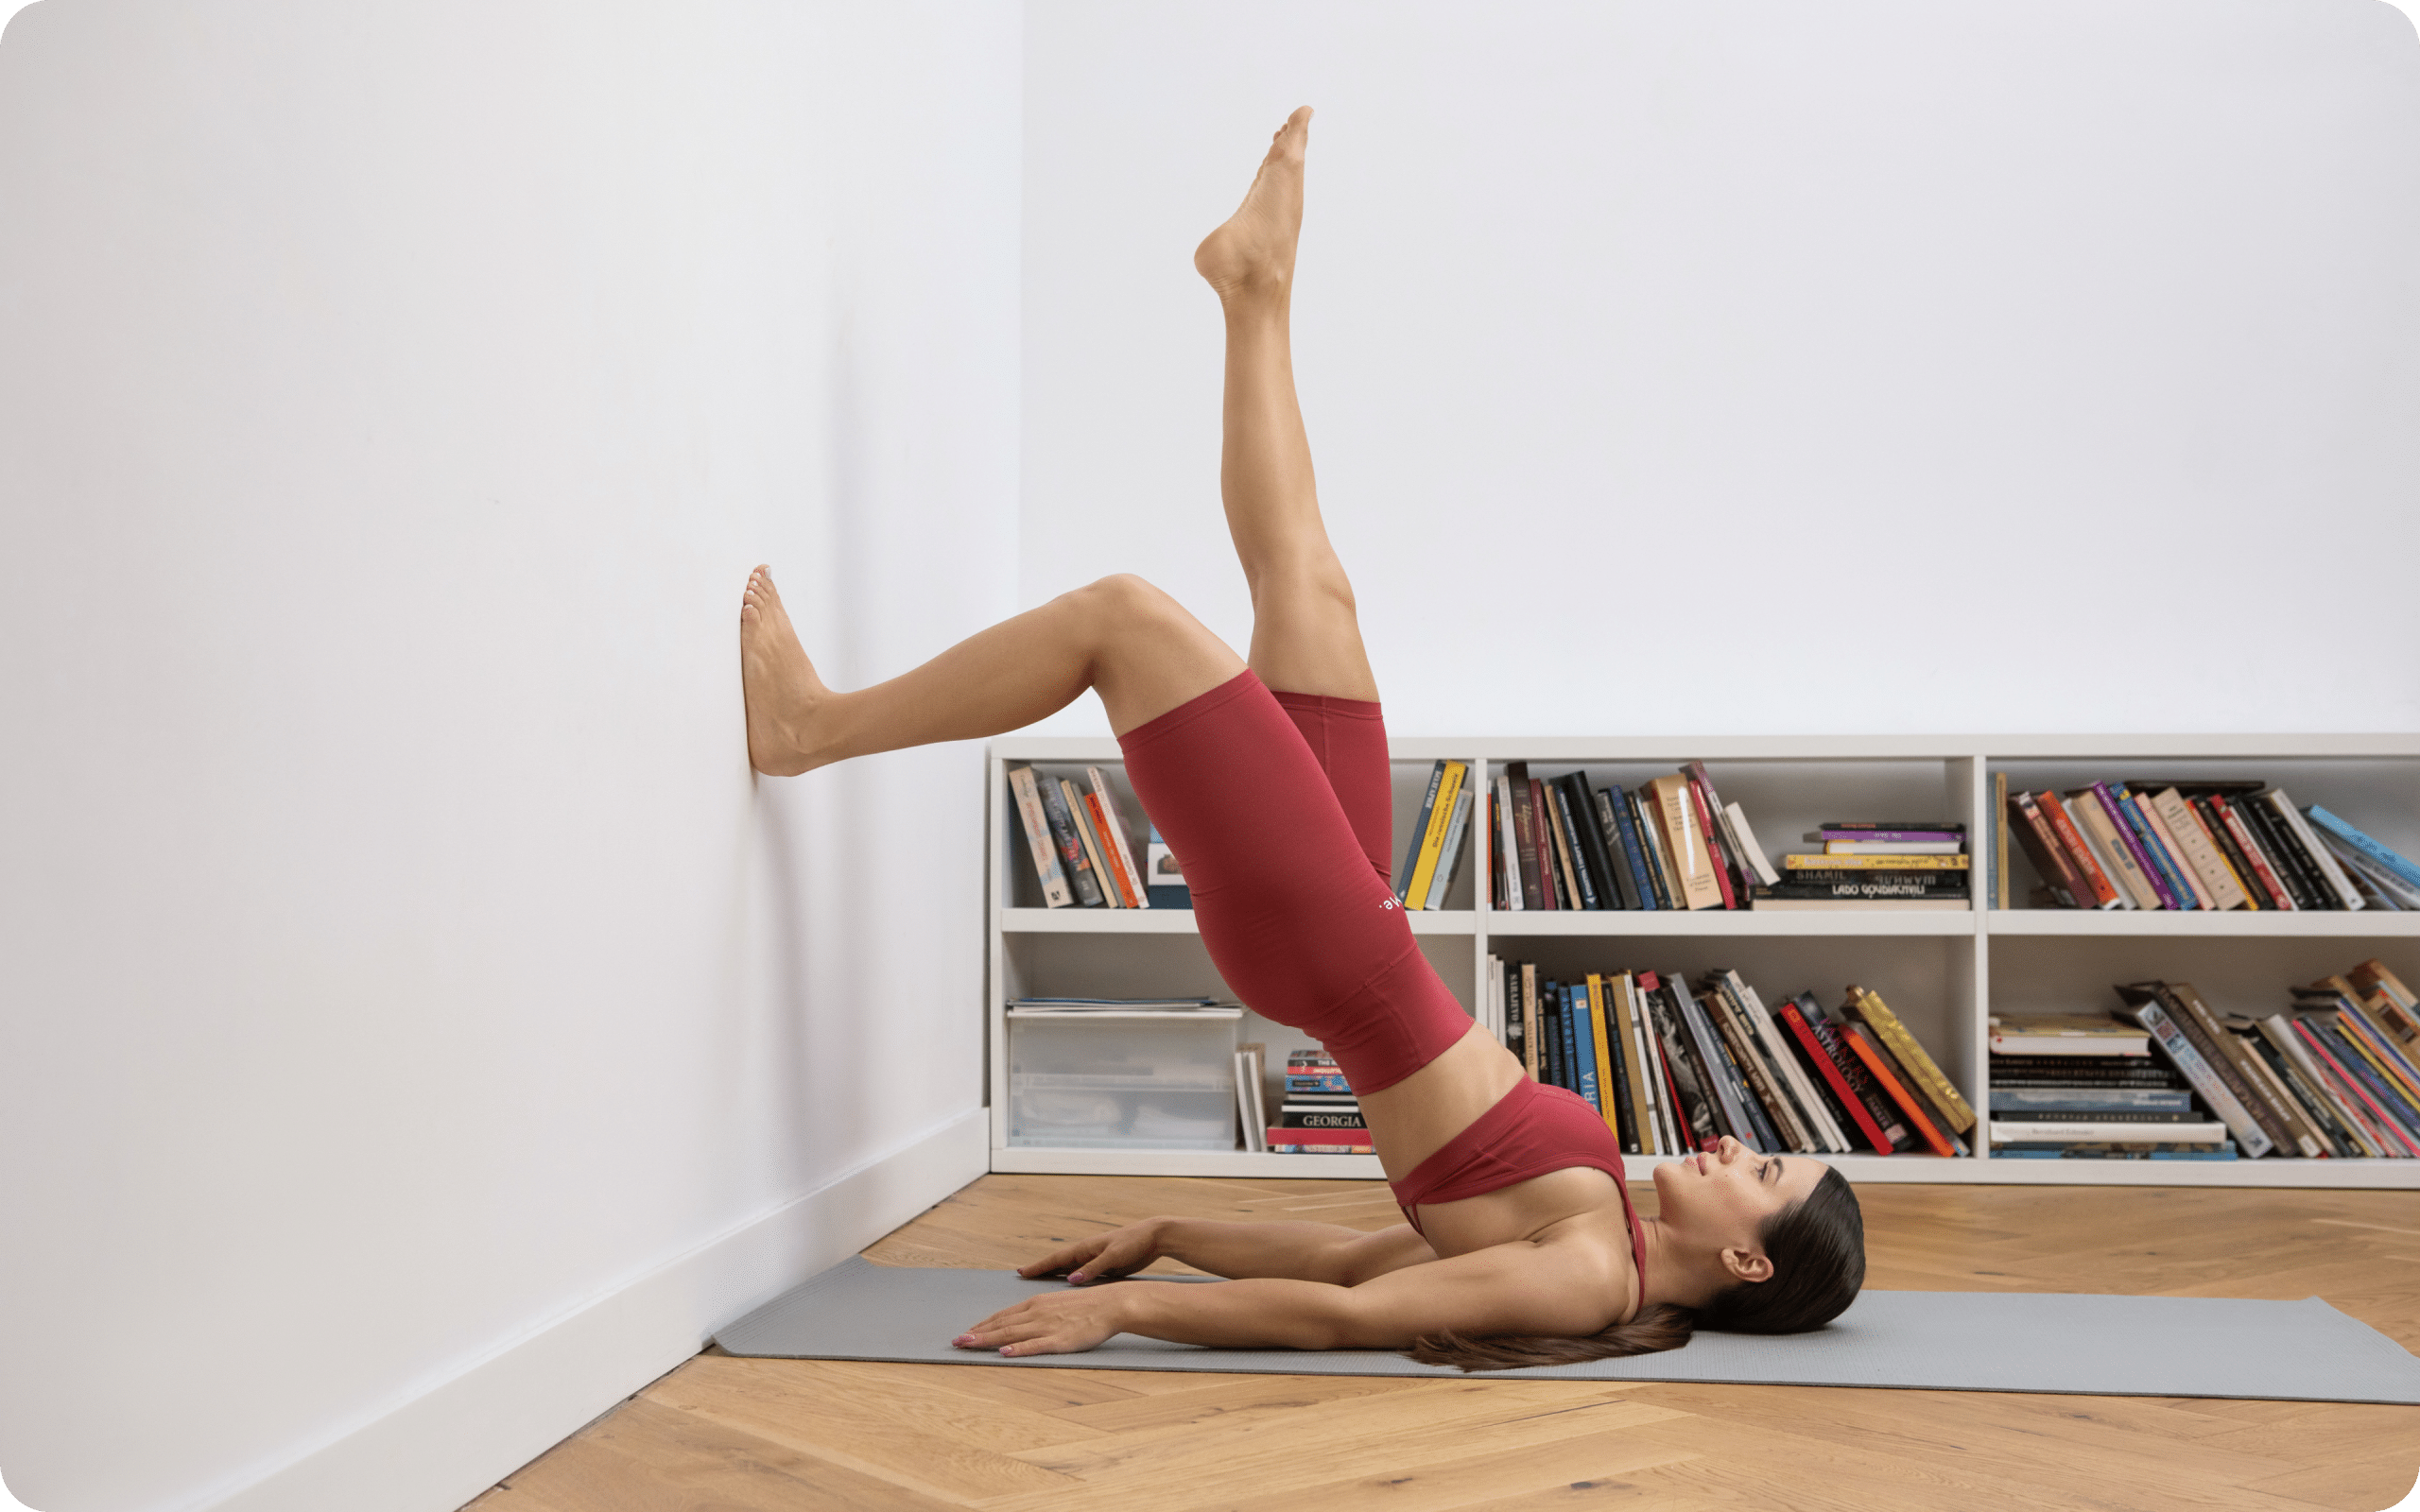
Step 4: Master the Hollow Body Position
The hollow body position is crucial for holding a stable handstand. Practice this position while lying on your back with your arms extended above your head, and legs raised off the ground. Hold for at least 30 seconds, gradually increasing the time as you get stronger.
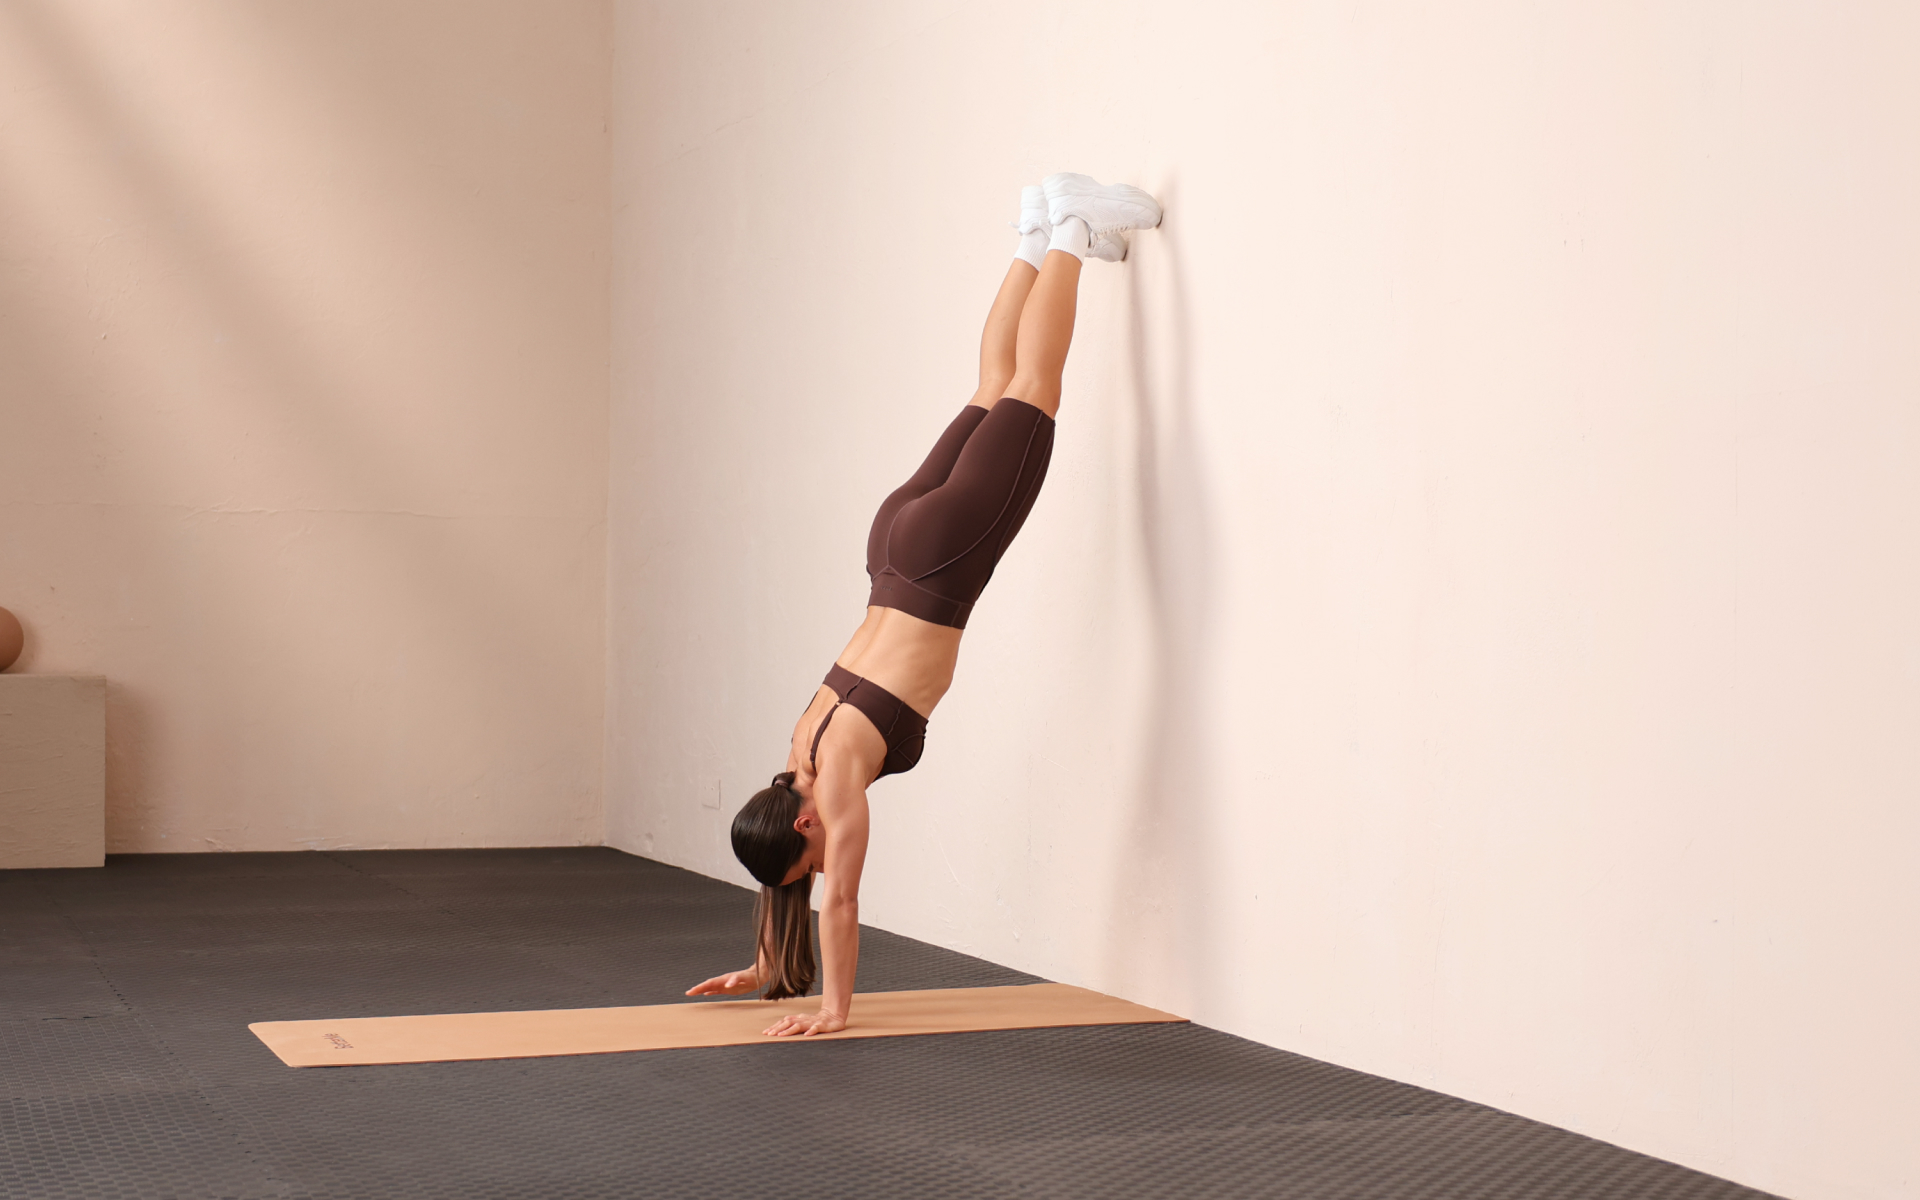
Step 5: Practice Wall Walks
Wall walks are an excellent way to build strength and balance in the upside-down position.
Begin in a plank position facing a wall, then walk your feet up the wall while walking your hands closer to the wall. Keep working on getting your feet higher as you get stronger.
Including wall kick-ups later in your training will also help you learn to kick up into a handstand.
To kick up into a handstand, place your hands shoulder-width apart on the ground and kick one leg up while pushing off with the other. This movement will help you gain momentum and balance.
Read more: Push Calisthenics Workout: A Guide to Building Upper-Body Strength
Step 6: Work on Body Positioning
Finding your center of gravity in an upside-down position can be challenging. Finding the proper body positioning that works for you requires practice and patience. Focus on engaging your core, creating a straight line from your hands to your toes, and keeping your head neutral.
Step 7: Use Spotters or a Wall for Support
Having someone spot you or using a wall can help increase balance and safety during handstand training. Start by having someone hold onto your legs as you attempt a handstand or use the wall as support until you feel comfortable enough to try it without assistance.
Step 8: Try Free-standing Handstands
When you feel confident in balancing against the wall, it’s time to try free-standing handstands. Start by kicking up one leg at a time and holding for a few seconds before coming down. As you progress, work on extending the duration of your hold and keeping both legs off the ground.
Calisthenics experts use optional tools to diversify their handstand workouts and relieve wrist pressure.
Parallettes and wooden handstand boards distribute pressure differently on the wrists, reducing the risk of injury.
Train handstands on parallettes or the handstand board before moving on to high parallel bars, also known as Calisthenics handstand bars (5).
Step 9: Work on Breathing While in a Handstand
Breathing is essential while holding a handstand. Practice taking slow and controlled breaths to relax your body and maintain balance.
You might find it helpful to start with shorter holds and gradually increase the time as you get better at controlling your breath.
Step 10: Practice Consistently and Progress Slowly
Handstand training takes time and consistency. Remember to listen to your body and progress at your own pace; rushing can lead to injuries.
We’ve discussed the proper handstand form in our previous article.
The Best Exercises to Complement Your Calisthenics Handstand Training
While handstands are a great full-body exercise, it’s essential to have a well-rounded training program that includes other calisthenics exercises.
Here are some of the best exercises to complement your handstand training:
Push-Ups
Push-ups help build chest, shoulder, and tricep strength, which is crucial for holding a handstand. Start with regular push-ups and gradually work towards more challenging variations.
Here’s how to perform a basic, proper push-up:
- Start in a plank position with your hands slightly wider than shoulder-width apart.
- Bend your elbows to lower your body towards the floor. Keeping your elbows tucked in close to your torso will result in greater muscle recruitment from the anterior deltoids while allowing your elbows to come away from your sides (not higher than 70 degrees of shoulder abduction), resulting in greater muscle recruitment of the pectoralis major.
- Lower your body until your chest nearly or lightly touches the floor.
- Push back up to the starting position by extending your arms.
- Repeat for desired reps.
Training your arm muscles increases your chances of performing a calisthenics handstand push up!
However, if you need to work your way to a full push up, use these push up alternatives to avoid injury. Start gradually to maximize your near future results:
- Wall push-up: Lean against the wall and do push-ups standing up
- Bent knee push-up: Get in the usual push-up form on the ground. However, your knees will be slightly bent and on the ground.
- Incline push-up: Choose a stable inclined surface. Keep your body straight and do your push-ups this way (6).
Pull-Ups
Pull-ups are excellent for strengthening your back and biceps, which can help improve the overall upper body strength needed for handstands.
Here’s how to perform a pull-up:
- Hang from a pull-up bar with an overhand grip, palms facing away from you, and hands slightly wider than shoulder-width apart.
- Pull yourself up towards the bar until your chin is above it.
- Slowly lower yourself down to the starting position.
- Repeat for desired reps.
Whether you’re a workout beast or just a beginner making your first foray into the world of fitness and dieting – BetterMe has a lot to offer to both newbies and experts! Install the app and experience the versatility first-hand!
Planks
Planks are great for building core strength, which is essential for stabilizing your body while in a handstand.
Here’s how to perform a plank:
- Start in a push-up position with your hands directly under your shoulders.
- Lower yourself onto your forearms and hold this position, making sure to keep your body in a straight line from head to heels.
- Engage your core and hold for the desired time or reps.
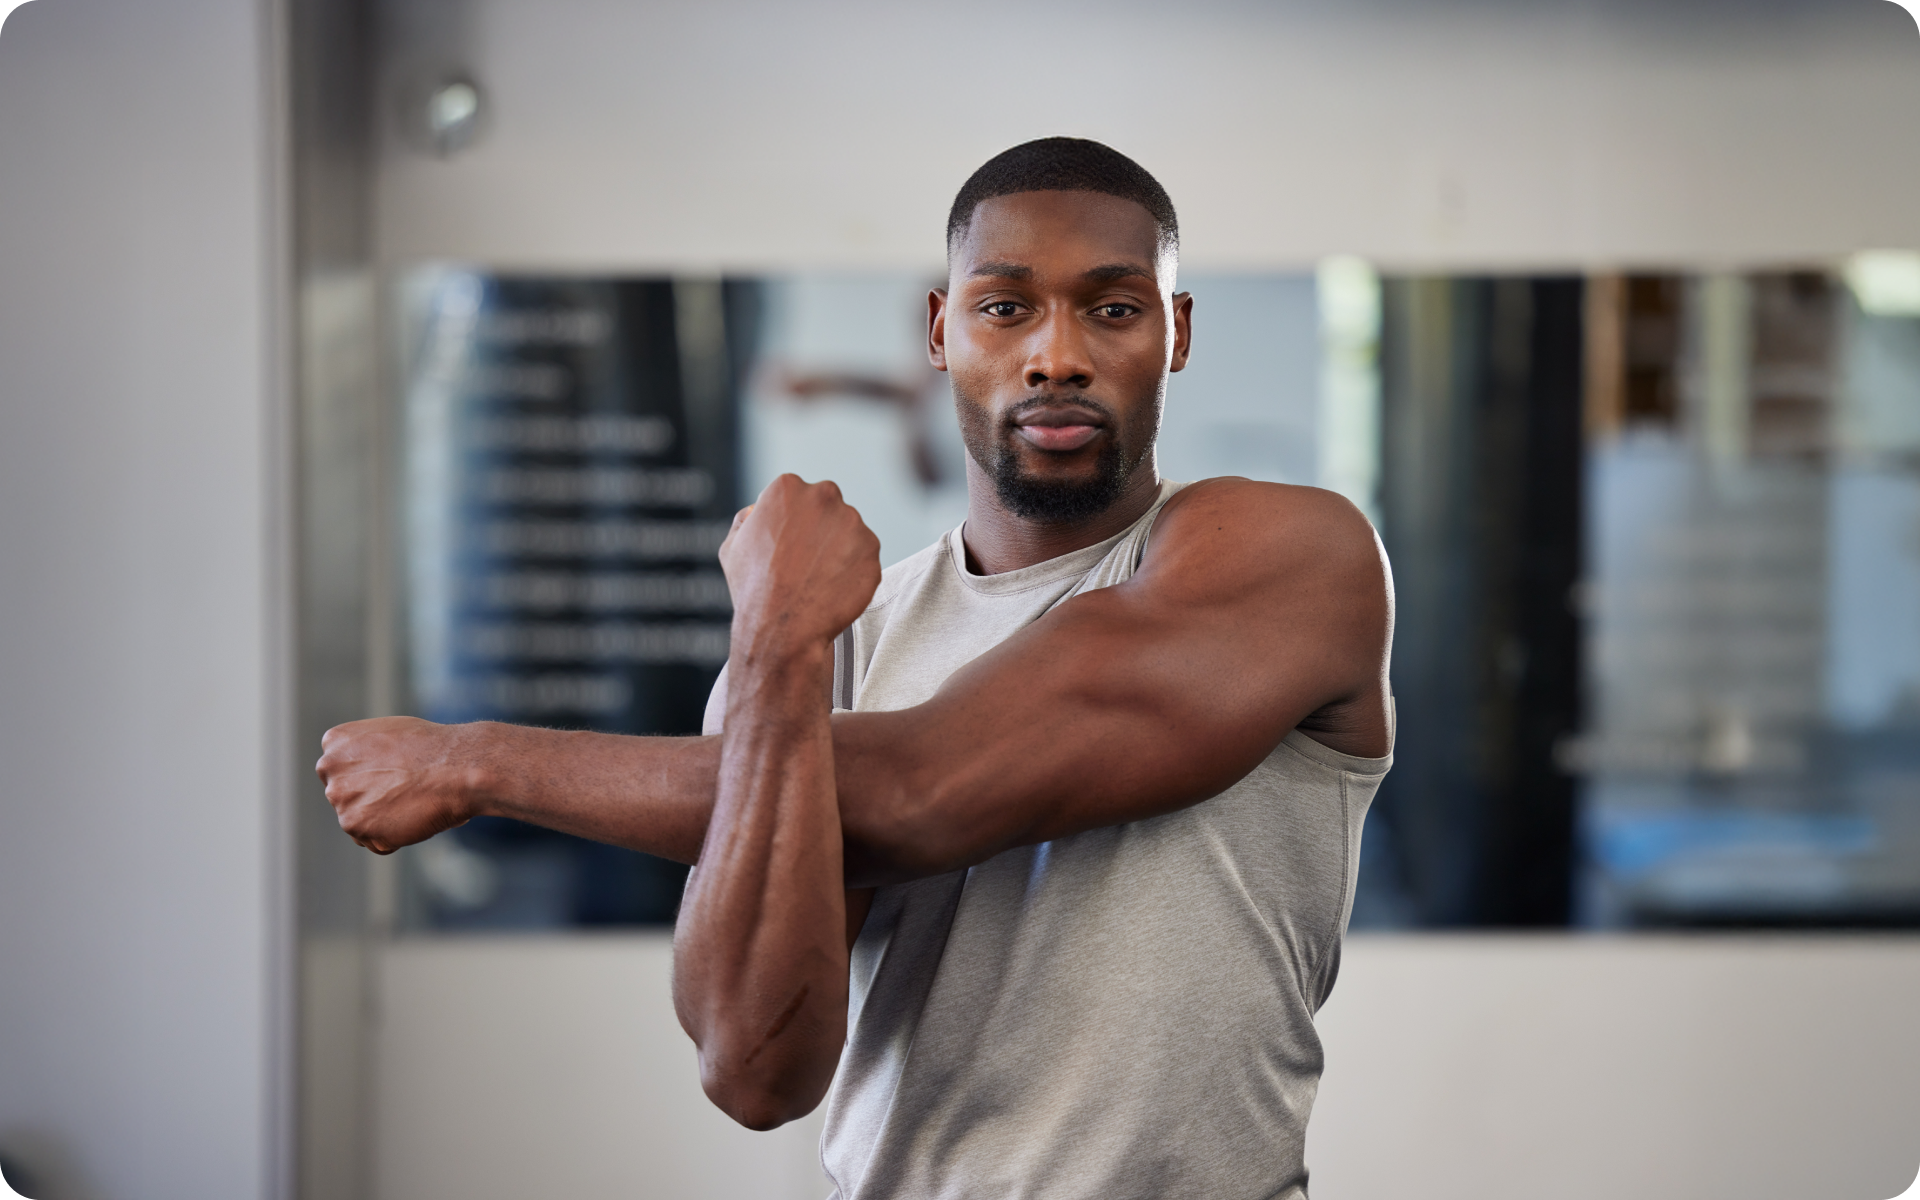
Rear Facing Wrist Stretches
Having strong and flexible wrists is crucial for handstand training. Incorporating rear-facing wrist stretches into your routine can help improve wrist mobility and prevent injuries.
Here’s how to perform a rear-facing wrist stretch:
- Start on your hands and knees with your palms facing away from you and fingertips pointing towards your body.
- Slowly sit back onto your heels while keeping your arms straight.
- Hold this position for the desired time or reps.
Rear Facing Elbow Stretches
Similar to wrist stretches, elbow stretches can help improve flexibility and mobility in your elbows for handstand training.
Here’s how to perform a rear-facing elbow stretch:
- Start on your hands and knees with your palms facing away from you, fingers pointing towards each other.
- Sit back onto your heels while keeping your arms straight.
- Hold this position for the desired time or reps.
Cat-Cow Stretch
The cat-cow stretch is an excellent exercise for improving scapula and spine mobility, which can help with handstand balancing. The muscles surrounding the scapulae are essential for stabilizing your body while in a handstand.
Here’s how to perform a cat-cow stretch:
- Start on your hands and knees with your wrists directly under your shoulders and knees under your hips.
- Arch your back up towards the ceiling while tucking your chin into your chest (cat pose).
- Slowly arch back down while lifting your head towards the ceiling (cow pose).
- Repeat for desired reps.
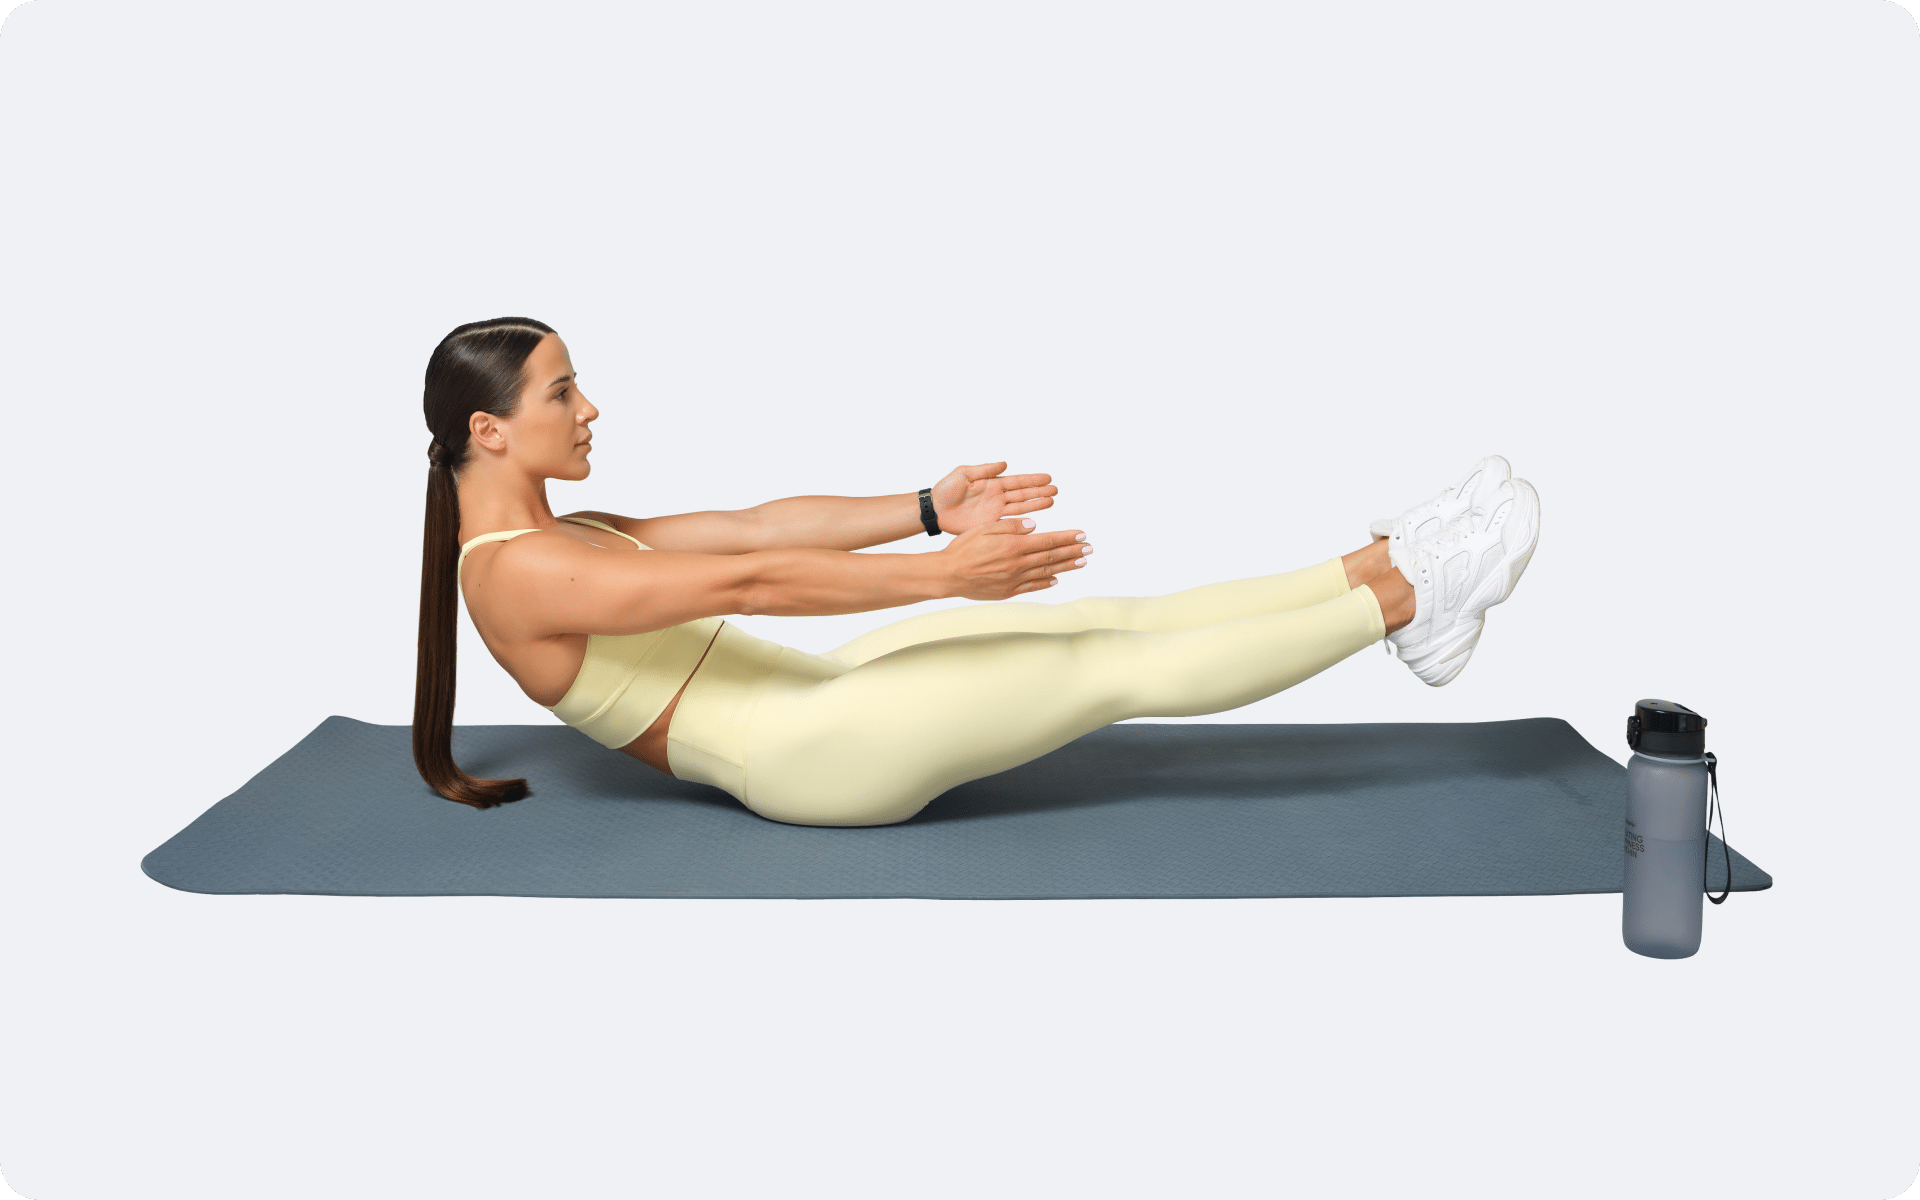
Hollow Body Holds
Hollow body holds are an excellent exercise for strengthening your core and improving overall stability. This exercise can help you maintain proper body positioning while in a handstand.
Here’s how to perform a hollow body hold:
- Lie on your back with your arms extended above your head and legs straight out.
- Engage your core, lift your shoulders and legs off the ground, and hold this position.
- Keep your lower back pressed into the ground and hold for the desired reps.
Read more: 30 Minute Calisthenics Workout: A Guide to Getting Started
Frequently Asked Questions
Is handstand harder than pull up?
Handstands and pull-ups each require different skills and strengths. Handstands primarily demand balance, core stability, and shoulder strength, while pull-ups focus more on upper body strength, particularly in the back and arms.
The difficulty varies depending on an individual’s strengths and weaknesses; some may find handstands more challenging due to the balance component, while others might struggle with the strength required for pull-ups.
Is handstand a skill or strength?
A handstand involves both skill and strength. It requires significant upper body and core strength to support the body in an inverted position. However, the skill aspect includes balance, coordination, and body awareness to maintain the position without support.
Is headstand or handstand harder?
Generally, handstands are considered more complex than headstands. Headstands allow for more stability as the head and arms form a broad support base, making balance easier to maintain.
In contrast, handstands require balancing solely on the hands, demanding greater strength and coordination.
How to learn handstand in 1 week?
Learning a handstand in one week is ambitious and challenging. For most, it will not be possible to master a handstand in one week, unless you have a training background where you have already learned similar tasks.
For most of us, performing a free-standing handstand will take at least months of practice; for some, it will not be achievable. In the meantime, focus on building shoulder and core strength with exercises like planks and shoulder taps. Practice wall-supported handstands to develop balance and confidence. Consistent practice is vital, ensuring proper form and gradual progress.
How to do headstand calisthenics?
To perform a headstand in calisthenics, start by kneeling on a soft surface. Place your hands and head on the ground, forming a triangle base. Slowly lift your knees, bringing them close to your chest. Gradually extend your legs upwards to achieve the full headstand position. Practice regularly to improve balance and control.
The Bottom Line
The handstand is an iconic exercise that requires strength, balance, coordination, and a solid mind-muscle connection. It engages your upper body, core, and legs, making it a great addition to any calisthenics workout routine.
Learning this exercise takes time and dedication, but with proper progressions and consistent practice, anyone can master the handstand. Remember to listen to your body, work on strengthening all muscle groups involved, and focus on maintaining proper form throughout each progression step.
DISCLAIMER:
This article is intended for general informational purposes only and does not serve to address individual circumstances. It is not a substitute for professional advice or help and should not be relied on for making any kind of decision-making. Any action taken as a direct or indirect result of the information in this article is entirely at your own risk and is your sole responsibility.
BetterMe, its content staff, and its medical advisors accept no responsibility for inaccuracies, errors, misstatements, inconsistencies, or omissions and specifically disclaim any liability, loss or risk, personal, professional or otherwise, which may be incurred as a consequence, directly or indirectly, of the use and/or application of any content.
You should always seek the advice of your physician or other qualified health provider with any questions you may have regarding a medical condition or your specific situation. Never disregard professional medical advice or delay seeking it because of BetterMe content. If you suspect or think you may have a medical emergency, call your doctor.
SOURCES:
- Progression of volume load and muscular adaptation during resistance exercise (2014,nih.gov)
- Case Report: Passive Handstand Promotes Cerebrovascular Elasticity Training and Helps Delay the Signs of Aging: A 40-Year Follow-Up Investigation (2022,nih.gov)
- The real-world benefits of strengthening your core (2012,nih.gov)
- Importance of mind-muscle connection during progressive resistance training (2016,nih.gov)
- 4 kinds of Calisthenics Equipment for handstands – Do You Really Need It? (2023, Bergmovement.com)
- 12 Pushup Alternatives: Body Weight, Weights, More for Size, Strength (2020, healthline.com)