Lever exercises in calisthenics are a true testament to strength, control, and body mastery. They display an athlete’s ability to extend their physical limits, requiring not just brute force, but also balance and technique. Since they require significant core strength and coordination, they often serve as benchmarks for calisthenic proficiency.
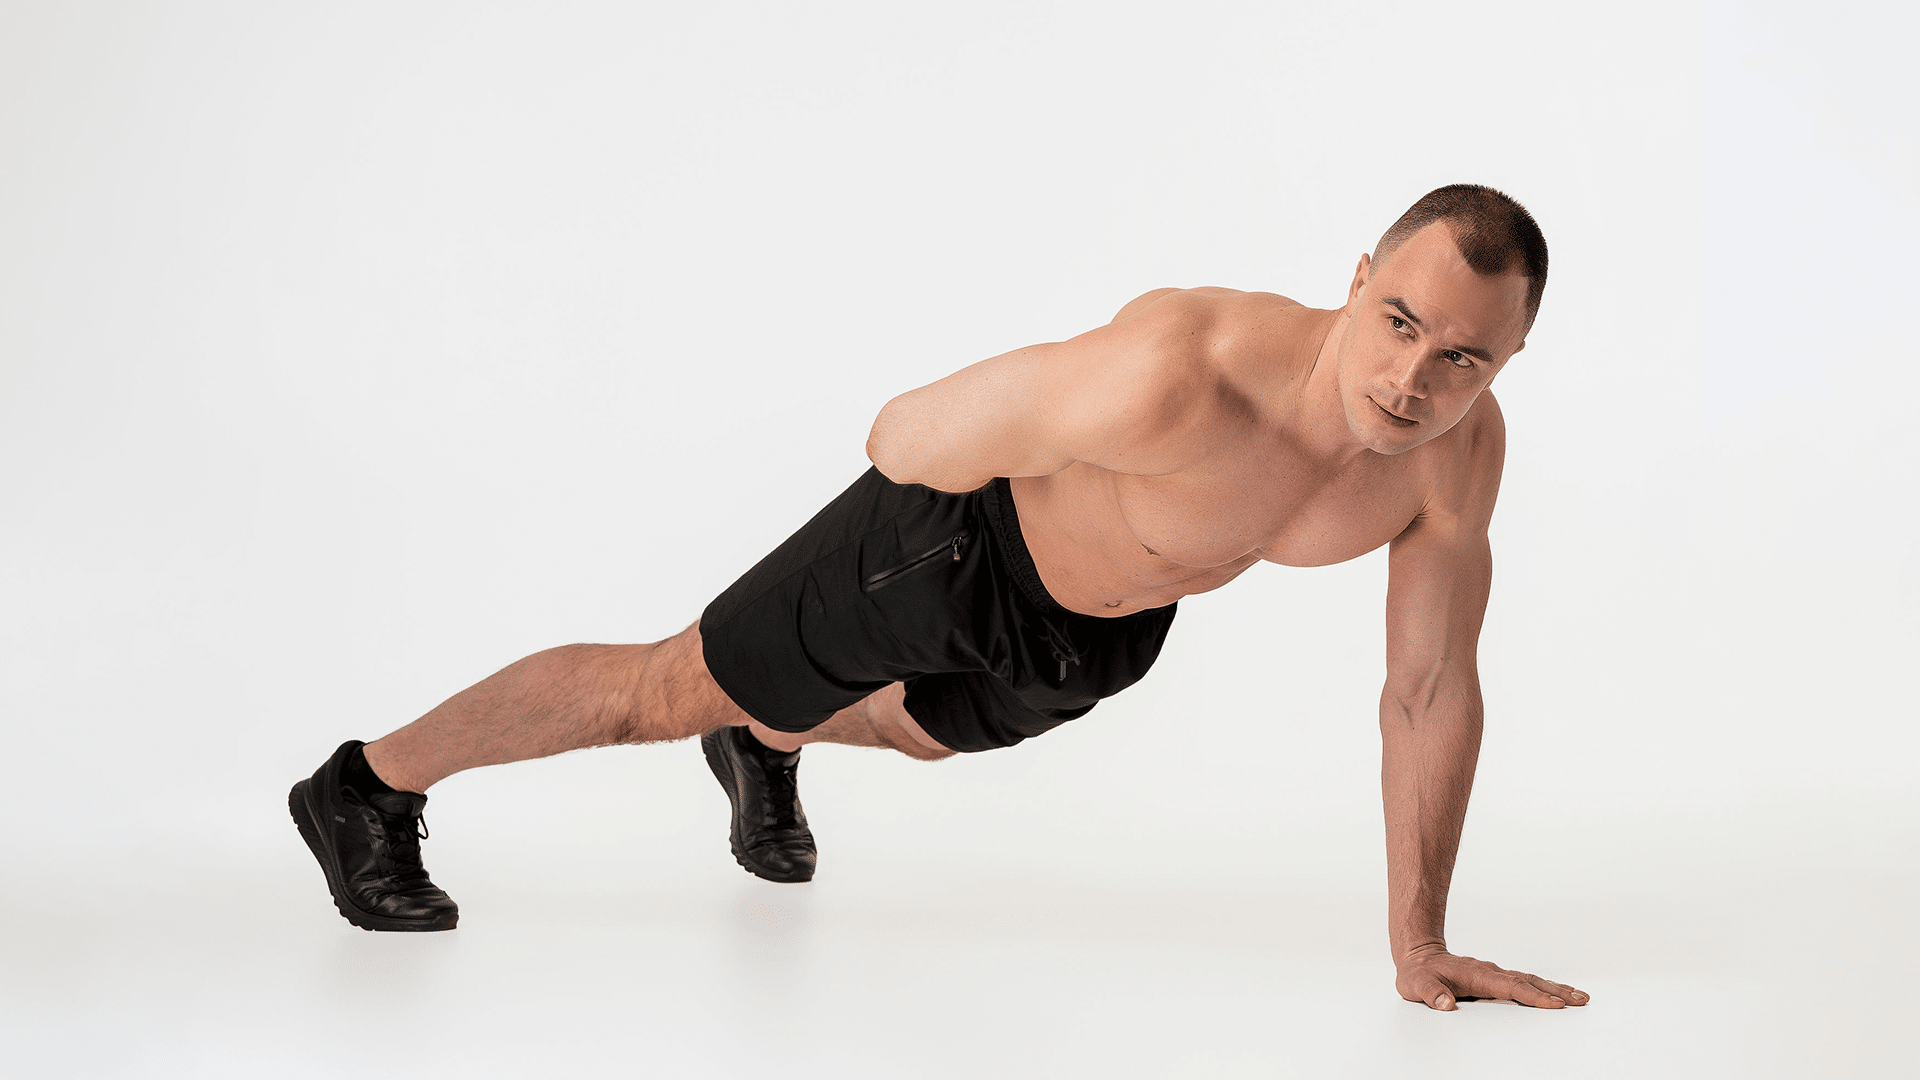
The front lever is one of the most sought-after of these skills. It’s where you hold your body horizontally and face-up, suspended in the air by the strength of your arms and back.
Although mastering takes time, patience, and consistent practice, it’s an achievable goal for those committed to their fitness journey.
Let’s explore how you can progress from foundational exercises to holding a perfect front lever, with step-by-step instructions and tips to enhance your training.
Can You Build Muscle With Front Lever?
Front lever exercises primarily target your lats, shoulders, and core muscles. These are major muscle groups that can be developed significantly with consistent training, leading to overall gains in strength and muscle mass.
Note that the front lever variations require a lot of scapular and grip strength which translates to functional power for everyday tasks.
So yes, you can definitely build muscle with front lever calisthenics, but it should not be the sole focus of your training. Instead, think of it as a challenging skill to master which also happens to yield impressive physical benefits.
Other front lever calisthenics benefits include (1):
- Improved core strength and stability
- Increased shoulder and back muscle definition
- Enhanced full-body coordination and body control
- Greater scapular mobility
Is Front Lever Good for Core?
The front lever is not just good for your core, it’s exceptional.
One of the key elements in a successful front lever is maintaining a strong and stable core throughout the movement. This means engaging your abs, lower back, and glutes to keep your body in a straight line (2).
Additionally, holding a front lever also requires significant control of your pelvis and hip flexors. As a result, your entire core is engaged and challenged throughout the exercise (2).
Betterme will keep you laser-focused on your weight loss journey! Nutrient-packed meal plans, fat-blasting workouts, galvanizing challenges and much more. Try using the app and see for yourself!
How Hard Is It To Do a Front Lever?
The front lever is considered an advanced calisthenics movement, so it does require a certain level of strength and proficiency in basic exercises.
This is not something you can expect to achieve overnight, and it may take months or even years of consistent training to perfect. However, with the right progression of exercises and dedication, anyone can learn how to do a front lever (2).
Our previous post on Upper Body Calisthenics sheds some insight into the best exercises for building the necessary strength and body control for advanced moves like the front lever.
How to Perform a Front Lever: Step-by-Step Guide
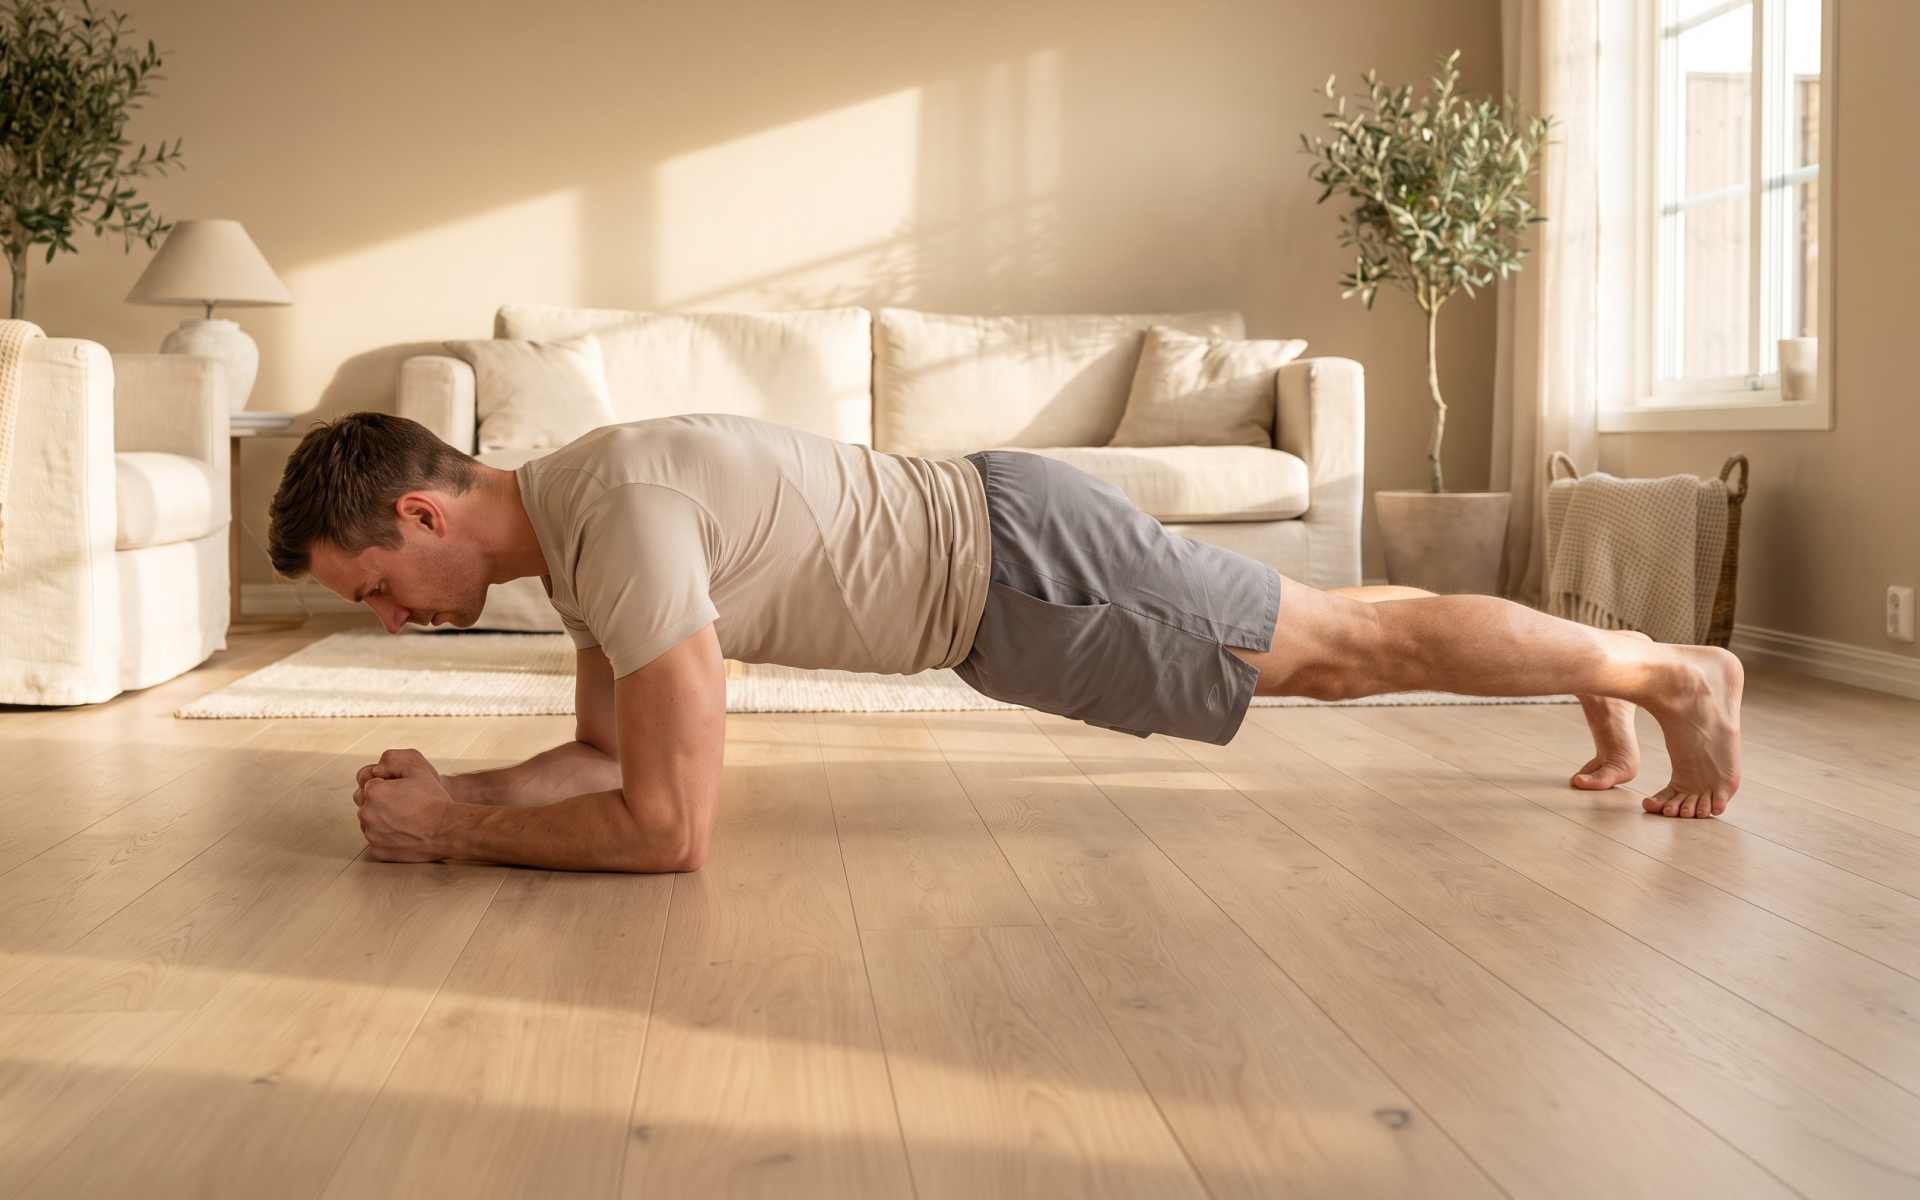
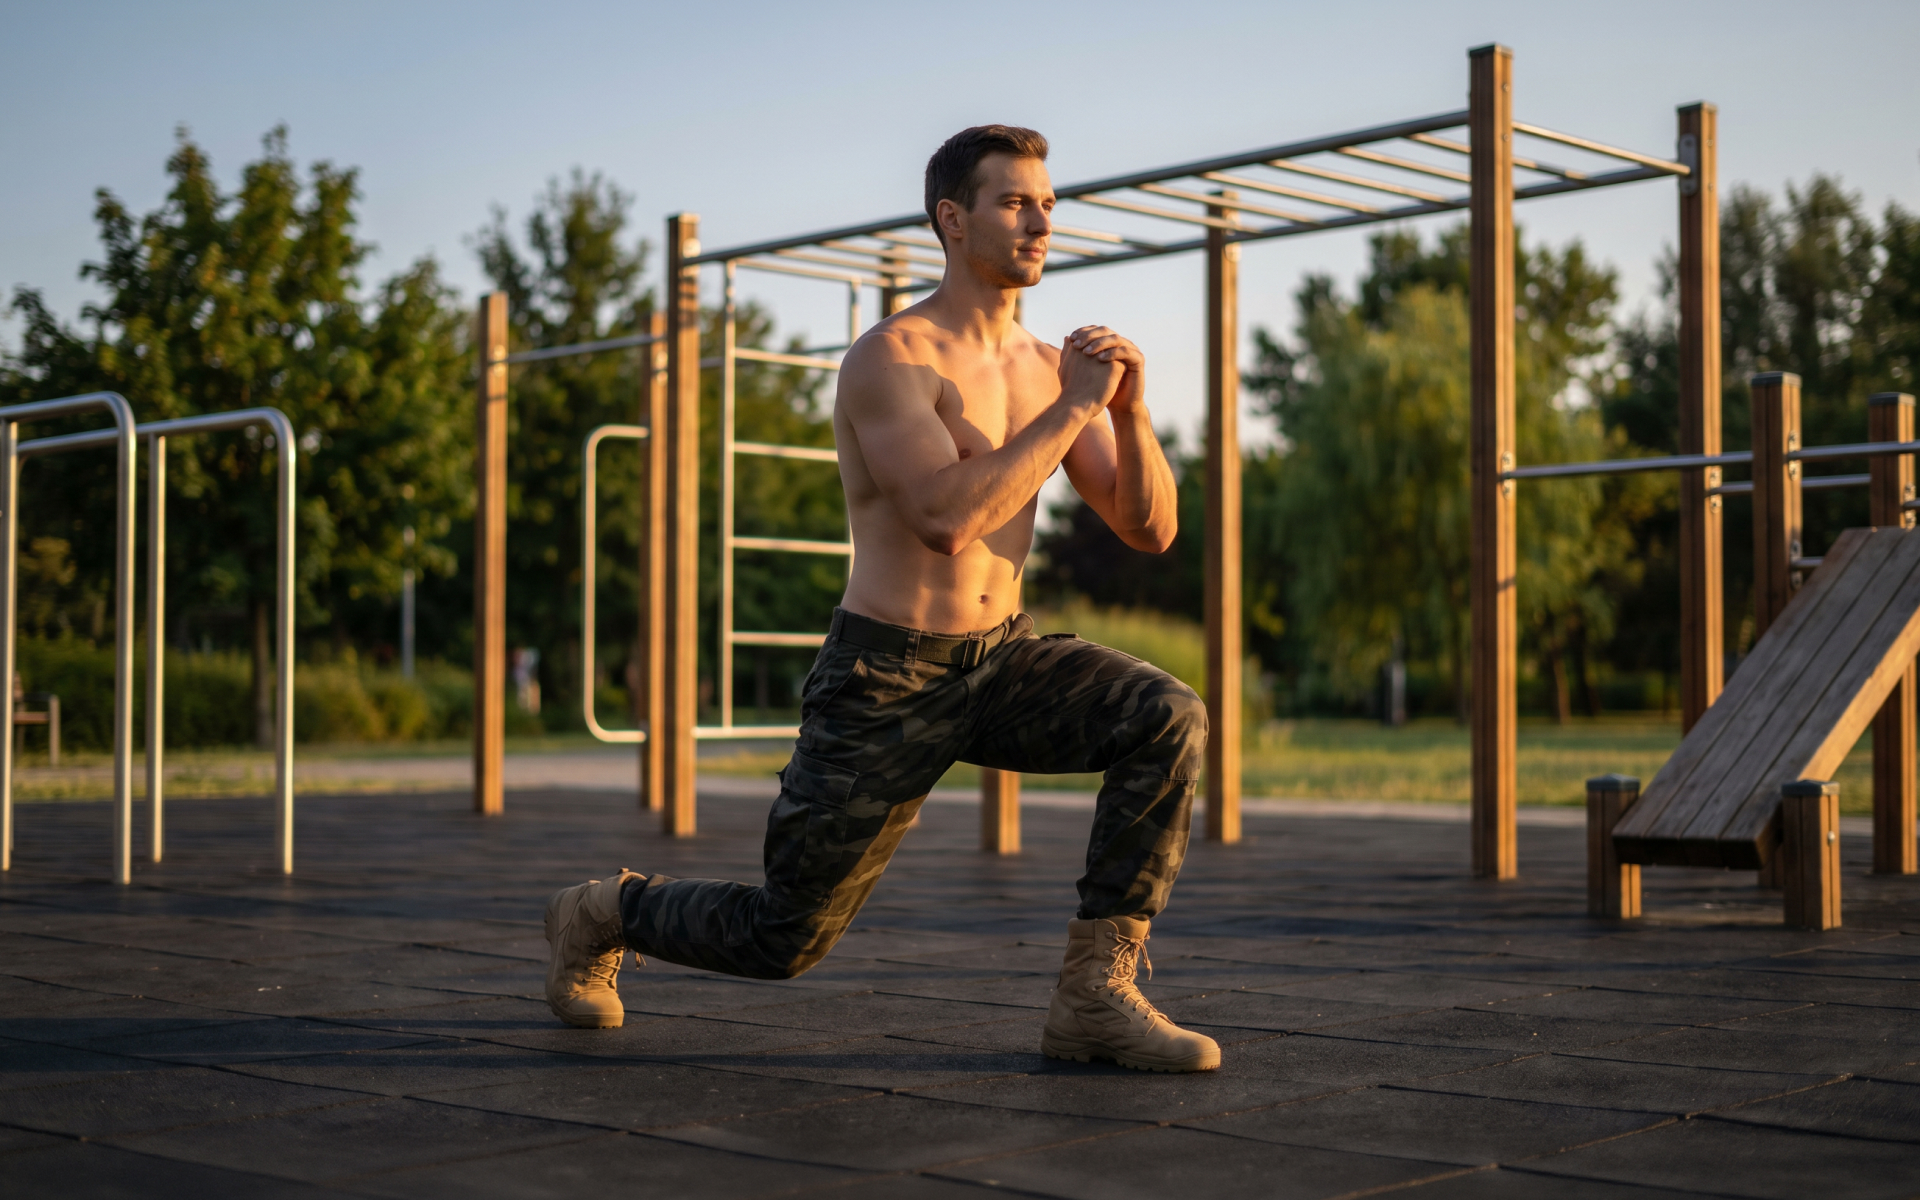
Before attempting the front lever it’s essential to build sufficient strength in your core, back, and arms. If you’re a beginner, begin with foundational exercises that target these muscle groups, such as pull-ups, inverted rows, leg raises, and hollow holds.
Once you have built a solid foundation, follow these steps to perform the front lever:
- Start by hanging from a bar with an overhand grip, shoulder-width apart.
- Engage your core and keep your legs straight while pulling your shoulders down and back.
- Slowly lift your legs, bringing your knees towards your chest, and keeping them together.
- Once your thighs are parallel to the ground, straighten out your legs while simultaneously lowering your upper body until it’s parallel to the floor.
- Hold this position for as long as you can while maintaining proper form. Beginners may start with several seconds and gradually increase the hold time
Check out our guide on Calisthenics Body Type for tips on how to adapt your training according to your body’s strengths and weaknesses.
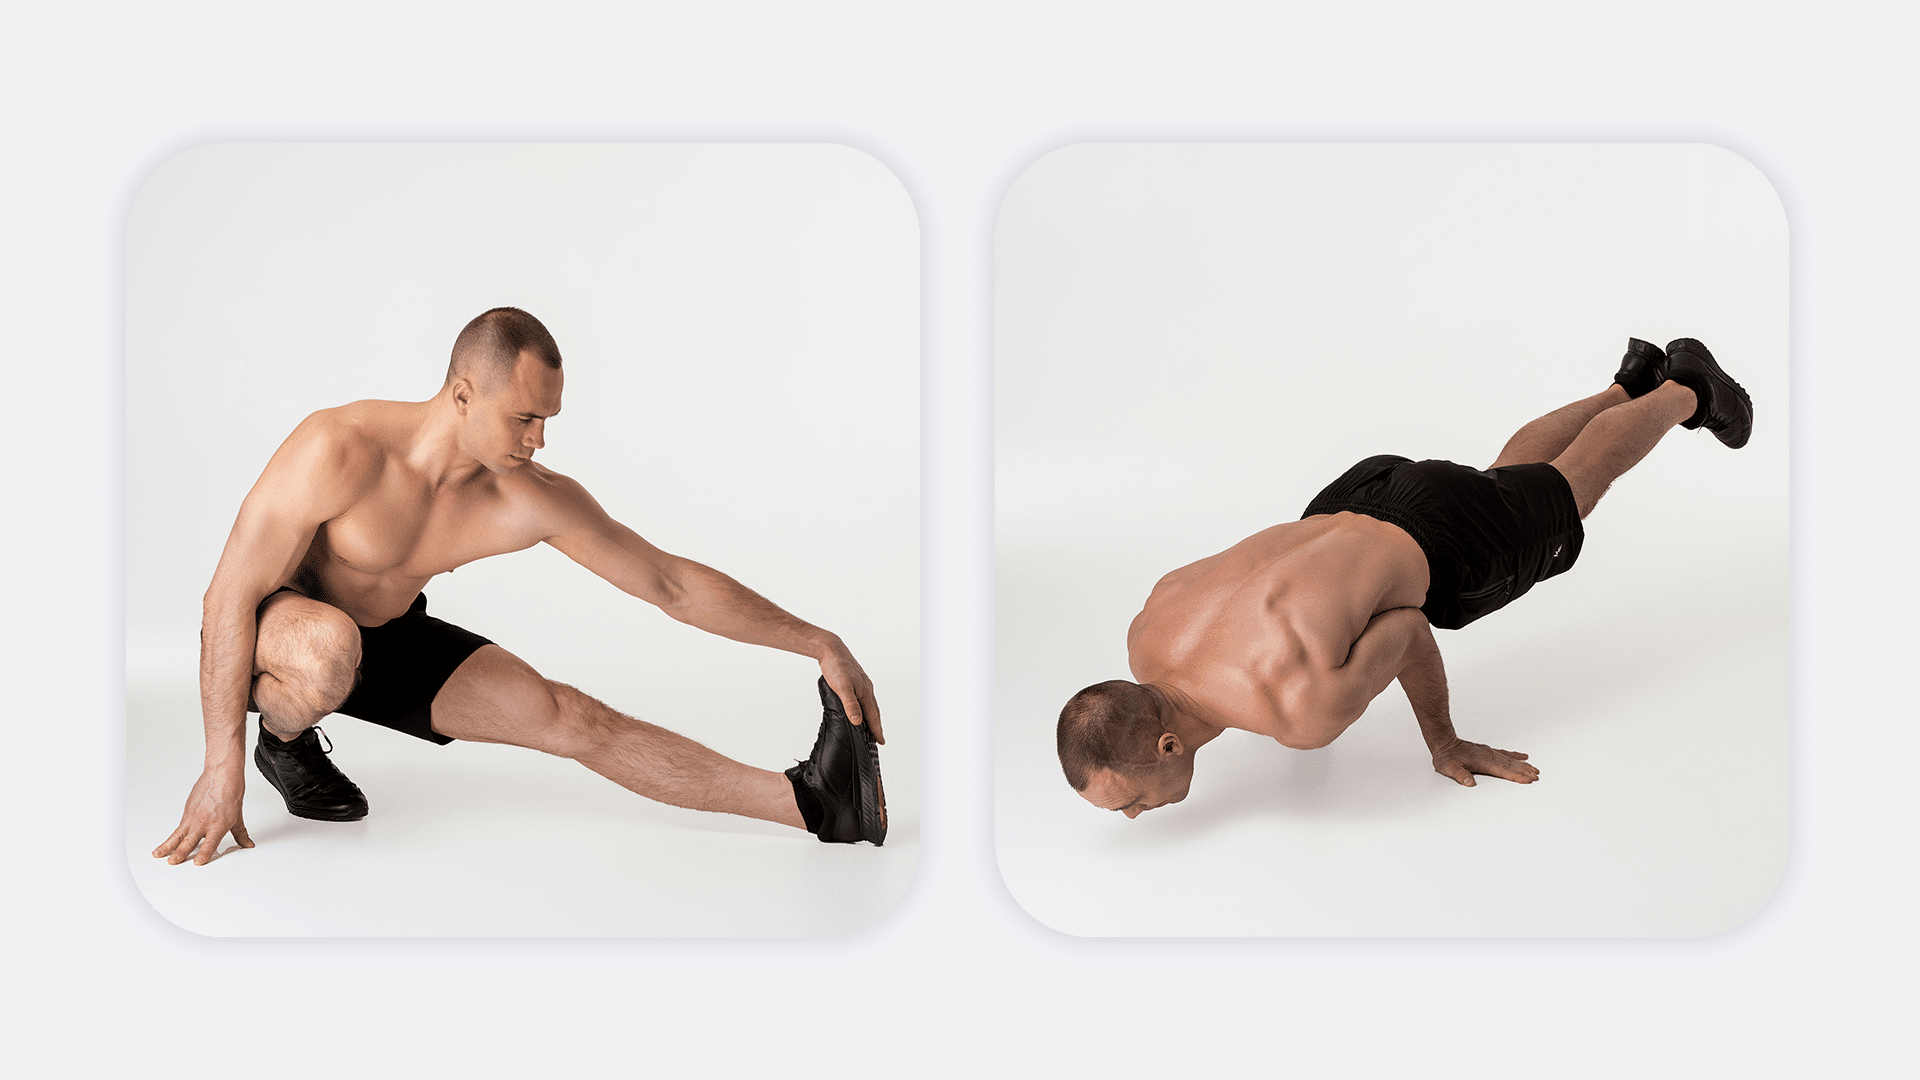
Front Lever Progression Exercises
To successfully master a front lever it’s essential to work your way up gradually with proper progressions. This not only helps you build the necessary strength and technique, but it also reduces the risk of injury (3).
Here are some front lever progression exercises to get you started:
Pullover
The Pullover is a fantastic exercise to begin your front lever progression as it heavily targets the lats—muscles critical for front lever performance. By engaging the lats, triceps, chest, and abs, this movement stimulates the muscle activation patterns of the front lever.
Muscles worked: Lats, triceps, pectoral muscles, and core.
Necessary equipment: A dumbbell and a flat bench.
Purpose: This exercise helps build the lat strength necessary for the horizontal pull required in a front lever.
Pullovers serve as a functional stepping stone, carving the path for your upper body and core to handle the demands of the front lever. Now, let’s break it down:
- Lie perpendicular on a flat bench so that only your upper back is on the bench and your hips are off the side.
- With a dumbbell overhead. and arms straight, slowly lower the dumbbell behind your head to get a full stretch in your lats.
- Pull the dumbbell back overhead to the starting position, engaging your lats and core throughout the movement.
Inverted Rows
Inverted Rows are essential for progression because they replicate the pulling motion of the front lever. They develop the mid and upper back, biceps, and grip strength—all vital for the hold.
Muscles worked: Rhomboids, lats, traps, rear deltoids, biceps, and forearm muscles.
Necessary equipment: A low bar, Smith machine, or suspension system like TRX.
Purpose: To strengthen the muscles used in the pulling motion and improve grip endurance.
Inverted rows build up a strong back and firm grip, required to level up to more advanced front lever exercises. Here’s how to perform them:
- Set up a bar at waist height and position yourself lying underneath it.
- Grab the bar with an overhand grip, hands slightly wider than shoulder-width apart.
- Straighten your body and keep your heels on the ground with your legs straight out.
- Pull your chest towards the bar by driving your elbows back and squeezing your shoulder blades.
- Lower back down with control and repeat.
Read more: The Simplest Lower Back Calisthenics Guide for Beginners
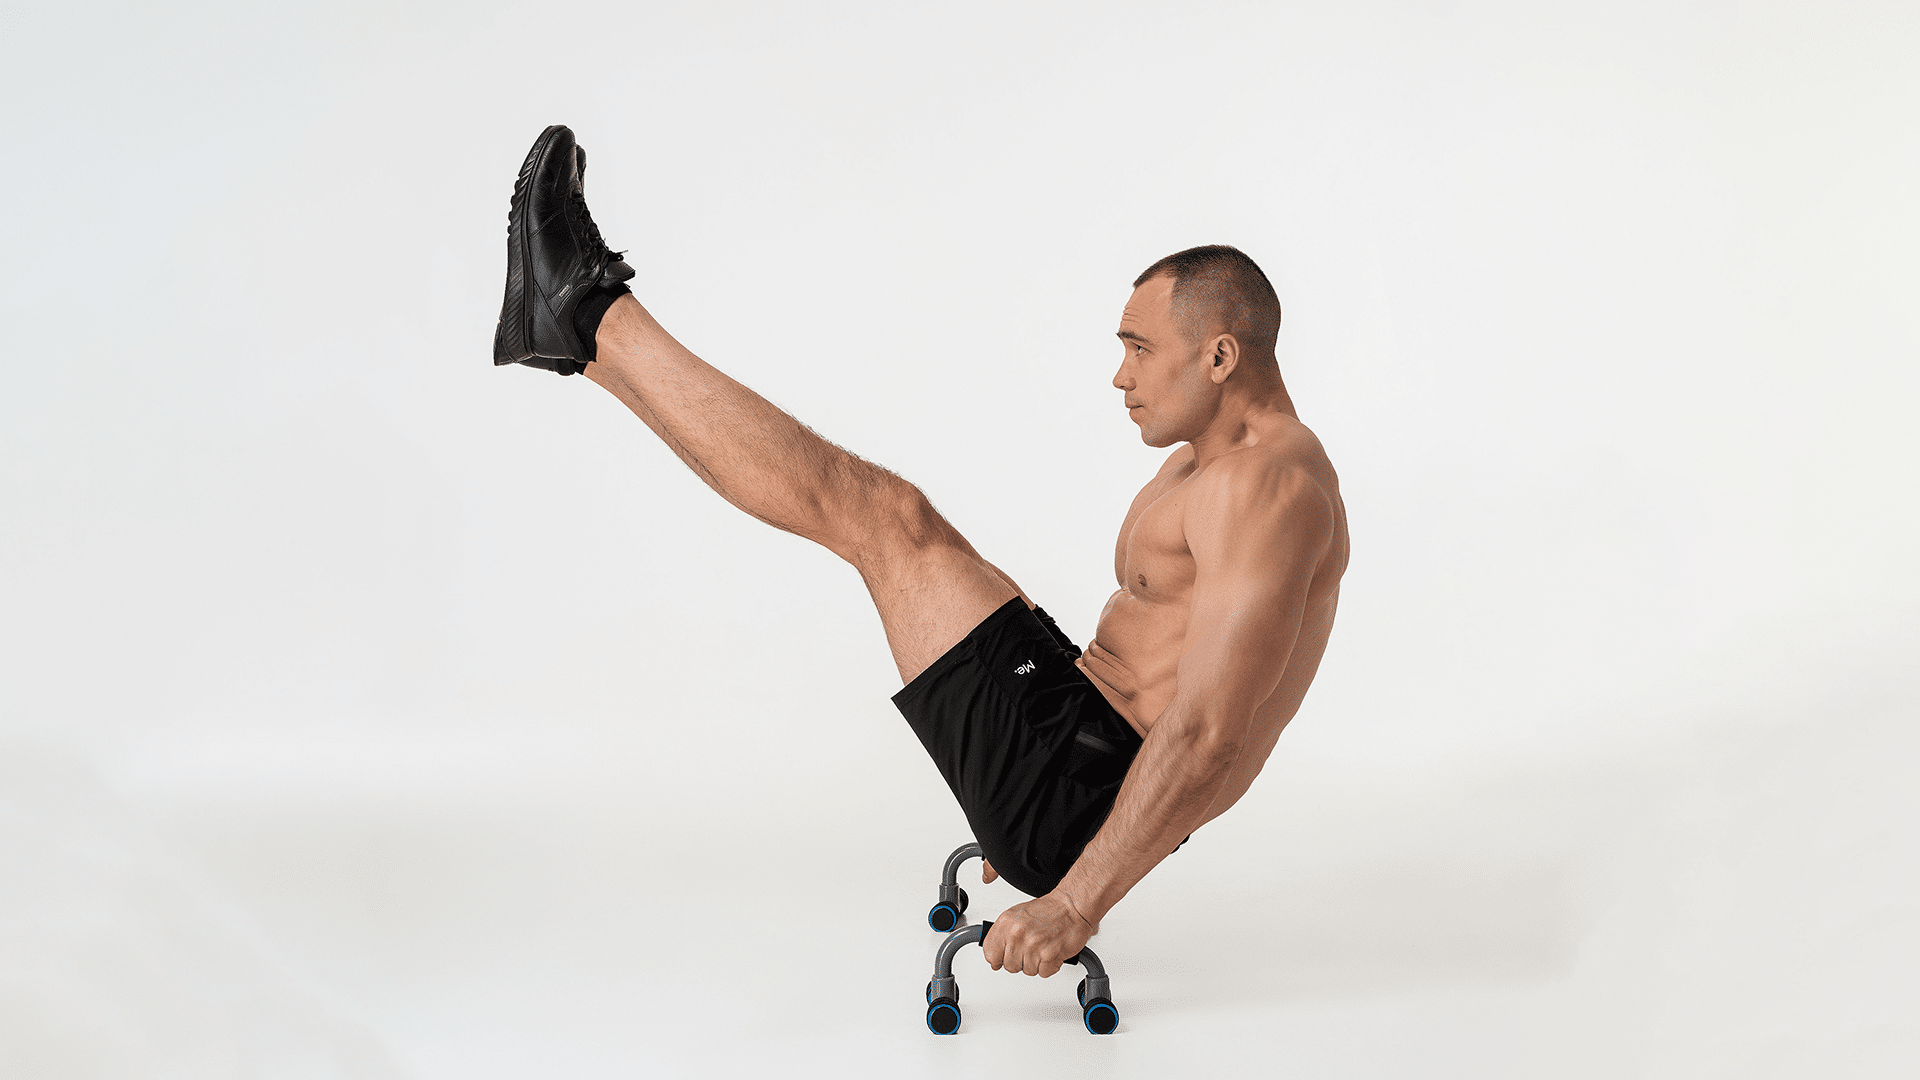
Weighted Pull-Ups
Weighted Pull-Ups are a direct way to increase the strength required for the front lever. The added weight challenges your muscles, particularly the lats and biceps.
Muscles worked: Lats, biceps, forearms, and core.
Necessary equipment: A pull-up bar and a weight belt or a weighted vest.
Purpose: To build raw pulling strength and enhance muscle endurance.
As part of a front lever workout, weighted pull-ups add intensity to your training and prepare you for the substantial body tension held during the front lever. To execute weighted pull-ups:
- Securely attach weights to your weight belt or put on a weighted vest.
- Hang from a pull-up bar with an overhand grip spaced shoulder-width apart.
- Bracing your core, pull yourself up until your chin is over the bar.
- Lower down to full arm extension in a controlled manner.
- Perform sets with enough weight to challenge yourself but maintain proper form.
Negative Tuck Levers
Negative Tuck Levers focus on the eccentric part of the front lever movement, essential for muscle growth and strength.
Muscles worked: Core, lats, deltoids, and biceps.
Necessary equipment: A pull-up bar.
Purpose: To increase control during the descending phase of the movement and build the strength to resist gravity.
Negative tuck levers tune your body to manage tension during the downward motion, creating muscle memory for the full front lever hold. Here’s the approach:
- Begin in an inverted hang with your knees tucked towards your chest.
- Slowly lower your body in a controlled manner while keeping the knees tucked.
- End the movement in a dead hang position.
- Lift your knees back to the chest and repeat the negative motion.
Tuck Lever Hold
Tuck Lever Hold is about maintaining a static position, which is vital for developing isometric strength in your core and upper body.
Muscles worked: Abs, lower back, hips, lats, and forearms.
Necessary equipment: A pull-up bar or rings.
Purpose: To build endurance and stability in the tucked front lever position, which is a precursor to the full front lever.
Tuck lever holds are about building the raw strength in a scaled-down version of the final pose. To perform:
- Hang from a bar with arms straight.
- Pull your legs and hips up towards your chest, reaching a tuck position.
- Hold this position, focusing on keeping your back parallel to the floor.
- Aim for time increments, gradually increasing as you get stronger.
Tuck Lever Rows
Tuck Lever Rows develop the specific pulling strength required for the front lever while engaging your core in a tucked position.
Muscles worked: Traps, biceps, lats, and core.
Necessary equipment: Rings or a low bar.
Purpose: To prepare your body for the movement pattern of the front lever with an added focus on rowing strength.
The execution of tuck lever rows enforces the pulling aspect within the tuck hold. Here’s what to do:
- Start in the tuck lever hold position.
- Row your body upward by pulling your hands down toward your hips.
- Return to the initial tuck lever position.
- Keep the reps controlled and focused.
Tuck Lever Pull-Ups
Tuck Lever Pull-Ups combine the lever mechanics with a vertical pull, emphasizing muscle engagement as in the full exercise.
Muscles worked: Lats, biceps, forearms, and core.
Necessary equipment: Pull-up bar.
Purpose: To simulate the front lever’s body tension while performing a pull-up, further enhancing muscle strength and control.
To perform tuck lever pull-ups, follow these steps:
- Hang from a bar in the tuck lever hold position.
- Perform a pull-up while holding your knees in the tuck position.
- Lower yourself back down with control.
- Concentrate on keeping the core tight throughout the movement.
BetterMe app will kick you out of the mental funk, shake off your extra weight, rid you off your energy-zapping habits, and help you sculpt the body of your dreams. Intrigued? Hurry up and change your life for the better!
Skin The Cat
Skin The Cat provides full shoulder and core rotation, stretching, and strengthening the muscles involved in the front lever.
Muscles worked: Shoulders, core, and lats.
Necessary equipment: Gymnastic rings or a pull-up bar.
Purpose: To improve shoulder flexibility and core strength, which is vital for a front lever.
Performing Skin The Cat involves:
- Begin in a dead hang from the equipment.
- Tuck your knees and bring them up and over your head.
- Continue rotating your body through a fully controlled flip until your feet touch the floor or come close.
- Rotate back to the starting position.
- The movement should be smooth and controlled.
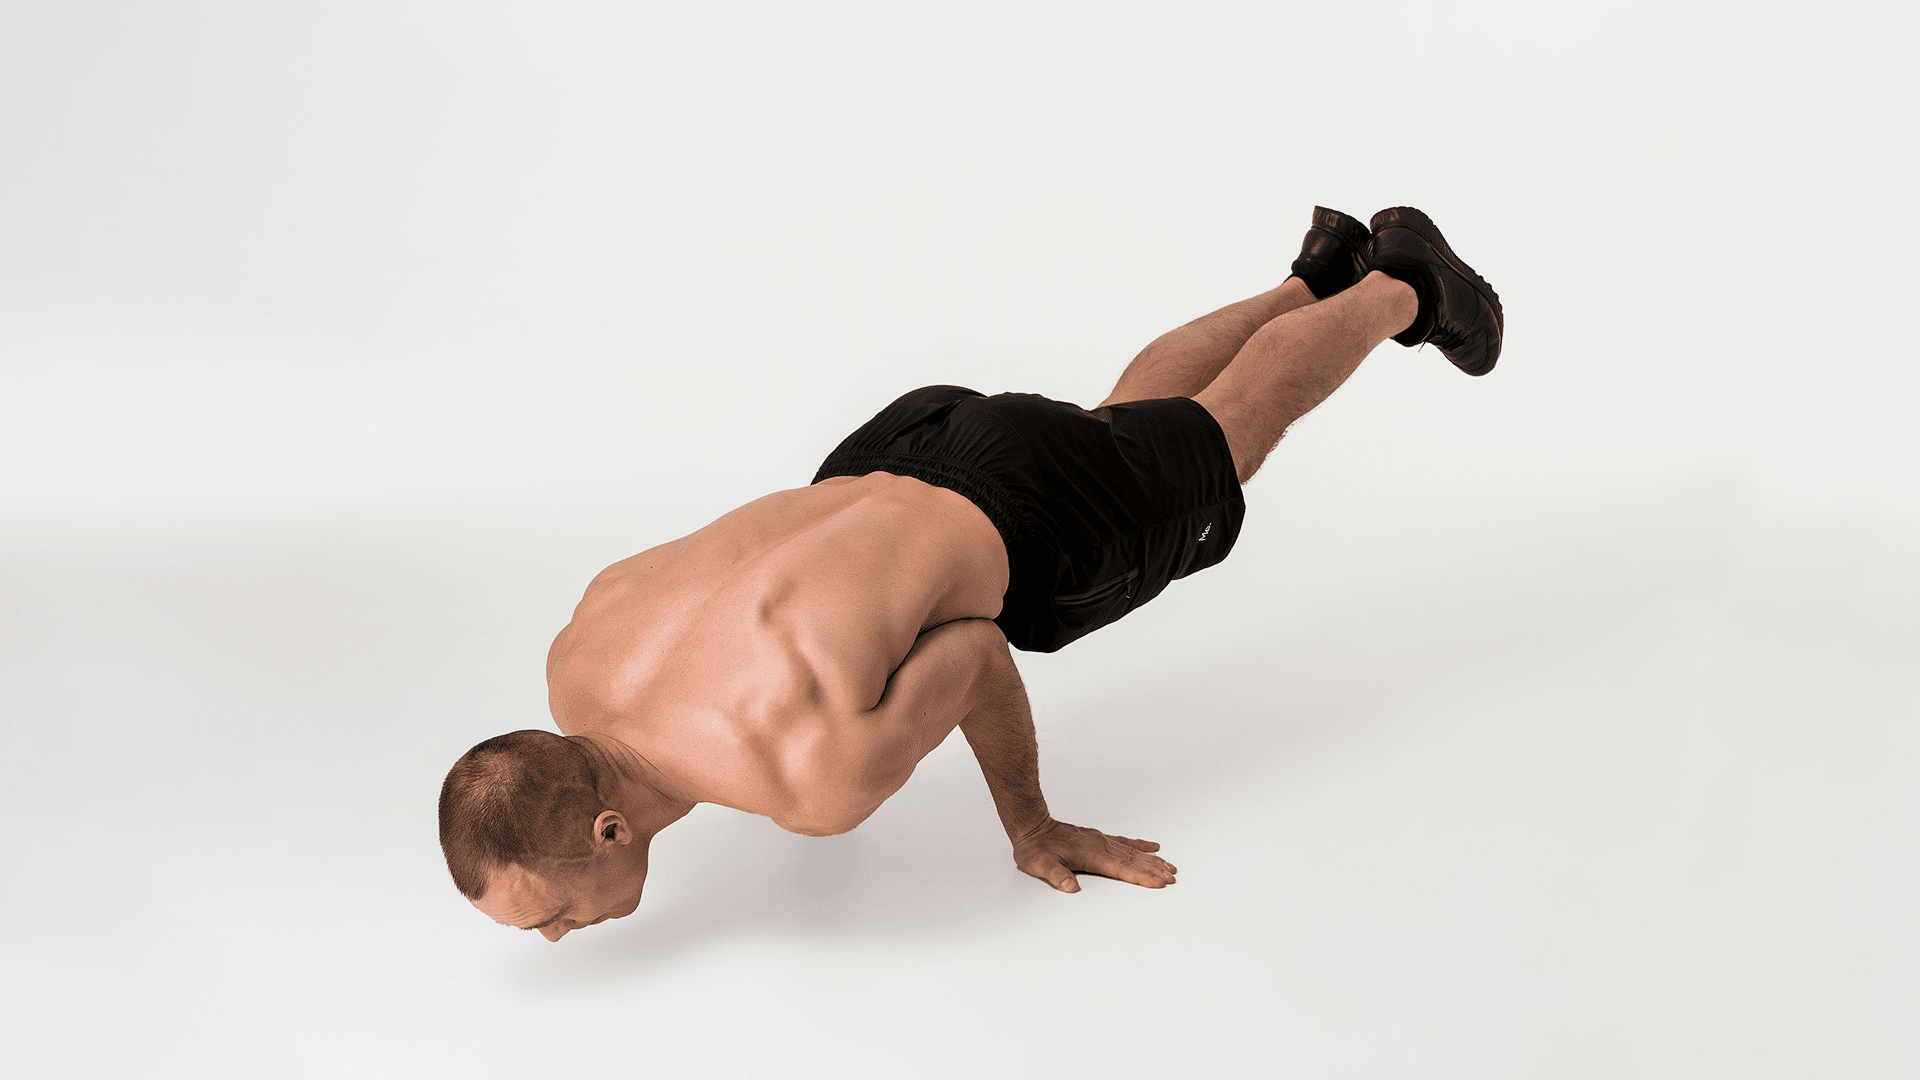
Single Leg Front Lever
Single Leg Front Lever introduces asymmetrical training, forcing your core and back to compensate for the imbalance.
Muscles worked: Core, lower back, and one leg’s musculature.
Necessary equipment: A pull-up bar.
Purpose: To transition from tuck variations to the full front lever by engaging one leg at a time.
Here’s how to step into the single-leg front lever:
- Assume a front lever tuck position.
- Extend one leg out in front while keeping the other tucked to your chest.
- Keep your hips level and your extended leg straight.
- Hold this position before switching legs.
Straddle Front Lever
Straddle Front Lever reduces resistance on your core and back, making it slightly easier to perform than the full front lever.
Muscles worked: Core, lats, shoulders, and glutes.
Necessary equipment: A pull-up bar.
Purpose: To engage the same muscles as the full front lever but with a wider leg position to decrease the difficulty.
To progress with the straddle front lever:
- Start in the tuck lever hold.
- Progressively extend both legs outwards in a straddle position.
- Keep your arms and back straight, and align your body parallel to the floor.
- Return to the tuck position and repeat.
Through these exercises, you progressively increase the challenge, building the strength and technique needed for the ultimate goal—the front lever.
Check out our Daily Calisthenics Routine guide for ideas on how to incorporate these front lever exercises into your training.
What Skill Level Is The Front Lever
The front lever is considered an advanced calisthenics movement, due to the high level of strength and control required.
How hard, or easy it is for you to perform the front lever depends on three factors:
- Your body weight – the heavier you are, the more challenging it will be.
- Your ape index – the ratio between your arm span and height. A longer ape index makes the front lever easier to perform.
- Your center of gravity – if your center of gravity is lower (meaning your lower body weight is heavy) you may find it more challenging to perform the front lever and vice versa
It’s worth noting that genetics can also play a role in how easily you can perform the front lever. Some individuals may have a natural advantage, due to their muscle fiber composition and joint structure.
However, consistent training and focus on improving form and technique can help anyone progress towards achieving a front lever.
Our upper-body calisthenics has more body-weight exercises you can try.
What Are The Negatives for The Front Lever?
Like any exercise, there are potential risks and negatives associated with the front lever. Some of these include:
- Shoulder and elbow strain or injury – if you lack proper technique and control, you may put excessive stress on your shoulder and elbow joints.
- Lower back strain – without proper form, the lower back can become strained during this movement.
- Overtraining – constantly pushing your body to perform the front lever can lead to overtraining, resulting in fatigue and potential injuries.
To minimize these negatives, it’s important to progress slowly and focus on proper form and technique. It’s also essential to listen to your body and take rest days when needed.
Read more: Calisthenics Shoulder Exercises: Techniques and Workouts
FAQs
Is Back Lever Harder Than Front Lever?
No, it’s not. The back lever is considered less difficult than the front lever. It requires less strength and is more about technique, while the front lever is a power move that requires a high degree of straight-arm, back, and core strength before you can perform it successfully.
In a back lever, your arms are somewhat locked into position because of the way your shoulders work, which makes the exercises comparatively easier
Note that the difficulty can also vary depending on individual strengths and weaknesses. For example, the back lever can get harder as you extend your hips more.
Is Front Lever Harder Than Muscle Up?
The front lever and muscle-up are both considered advanced calisthenics moves, but they require different types of strength. The front lever focuses on more isometric strength, while the muscle-up requires explosive pulling power.
That said, which one is harder depends on an individual’s strengths and weaknesses. Some may find the front lever easier due to their upper body strength, while others may struggle with the explosive power needed for a muscle-up.
Can I Do a Front Lever Every Day?
No, it’s not recommended to do front-lever training every day. Like any strength training exercise, your muscles need time to recover and adapt before you can push them harder.
Training the same muscle groups every day without adequate rest can lead to overtraining and potential injuries (5). It’s best to incorporate rest days into your workout routine and watch out for signs of fatigue.
Are Calisthenics Skills Worth It?
Calisthenics skills are highly beneficial and worth having. They can improve your overall physical fitness, including strength, balance, coordination, and flexibility (4). They also add variety to your workout routine and offer a new challenge for those who may find traditional weightlifting monotonous.
In addition, calisthenics skills can be performed anywhere, without the need for specialized equipment. If you enjoy outdoor workouts or have limited access to a gym, calisthenics skills are a great way to stay fit and challenged.
The Bottom Line
The front lever is a challenging exercise that requires a combination of strength, control, and technique. By incorporating exercises like tuck lever rows, tuck lever pull-ups, skin the cat, single leg front lever, and straddle front lever into your training routine, you can build the necessary muscle strength and control to perform this impressive calisthenics movement.
DISCLAIMER:
This article is intended for general informational purposes only and does not serve to address individual circumstances. It is not a substitute for professional advice or help and should not be relied on for making any kind of decision-making. Any action taken as a direct or indirect result of the information in this article is entirely at your own risk and is your sole responsibility.
BetterMe, its content staff, and its medical advisors accept no responsibility for inaccuracies, errors, misstatements, inconsistencies, or omissions and specifically disclaim any liability, loss or risk, personal, professional or otherwise, which may be incurred as a consequence, directly or indirectly, of the use and/or application of any content.
You should always seek the advice of your physician or other qualified health provider with any questions you may have regarding a medical condition or your specific situation. Never disregard professional medical advice or delay seeking it because of BetterMe content. If you suspect or think you may have a medical emergency, call your doctor.
SOURCES:
- Benefits of Front Lever (n,d,themovementathlete.com)
- Get Your First Front Lever Progression With This 7 Days Workout (2022,bodyweighttrainingarena.com)
- PROGRESSIVE OVERLOAD EXPLAINED (nd,nasm.org)
- The advantages of body-weight exercise (2012,harvard.edu)
- When and how to spend a rest day (2019,medicalnewstoday.com)