Ready to shake up your core workout routine and slide into a toned midsection? We’ve got the perfect exercise to help you break free from the monotonous world of planks and leg raises: Wall slides! This under-the-radar gem is a game-changer for those looking to challenge their core muscles in an entirely new way. The best part? You need nothing more than a wall and this step-by-step guide. We’ll reveal the secret behind wall slides, teach you the proper technique, and explore variations that will leave your abs begging for more. So, let’s put those walls to work and sculpt a stronger, more defined core.
What Are Wall Slides?
Wall slides are a simple and effective exercise that targets the muscles in your shoulders, upper back, and core. They help improve posture, shoulder mobility, and overall upper body strength. Wall slides can be performed virtually anywhere, as all you need is a flat wall to lean against.
How to Perform Wall Slides:
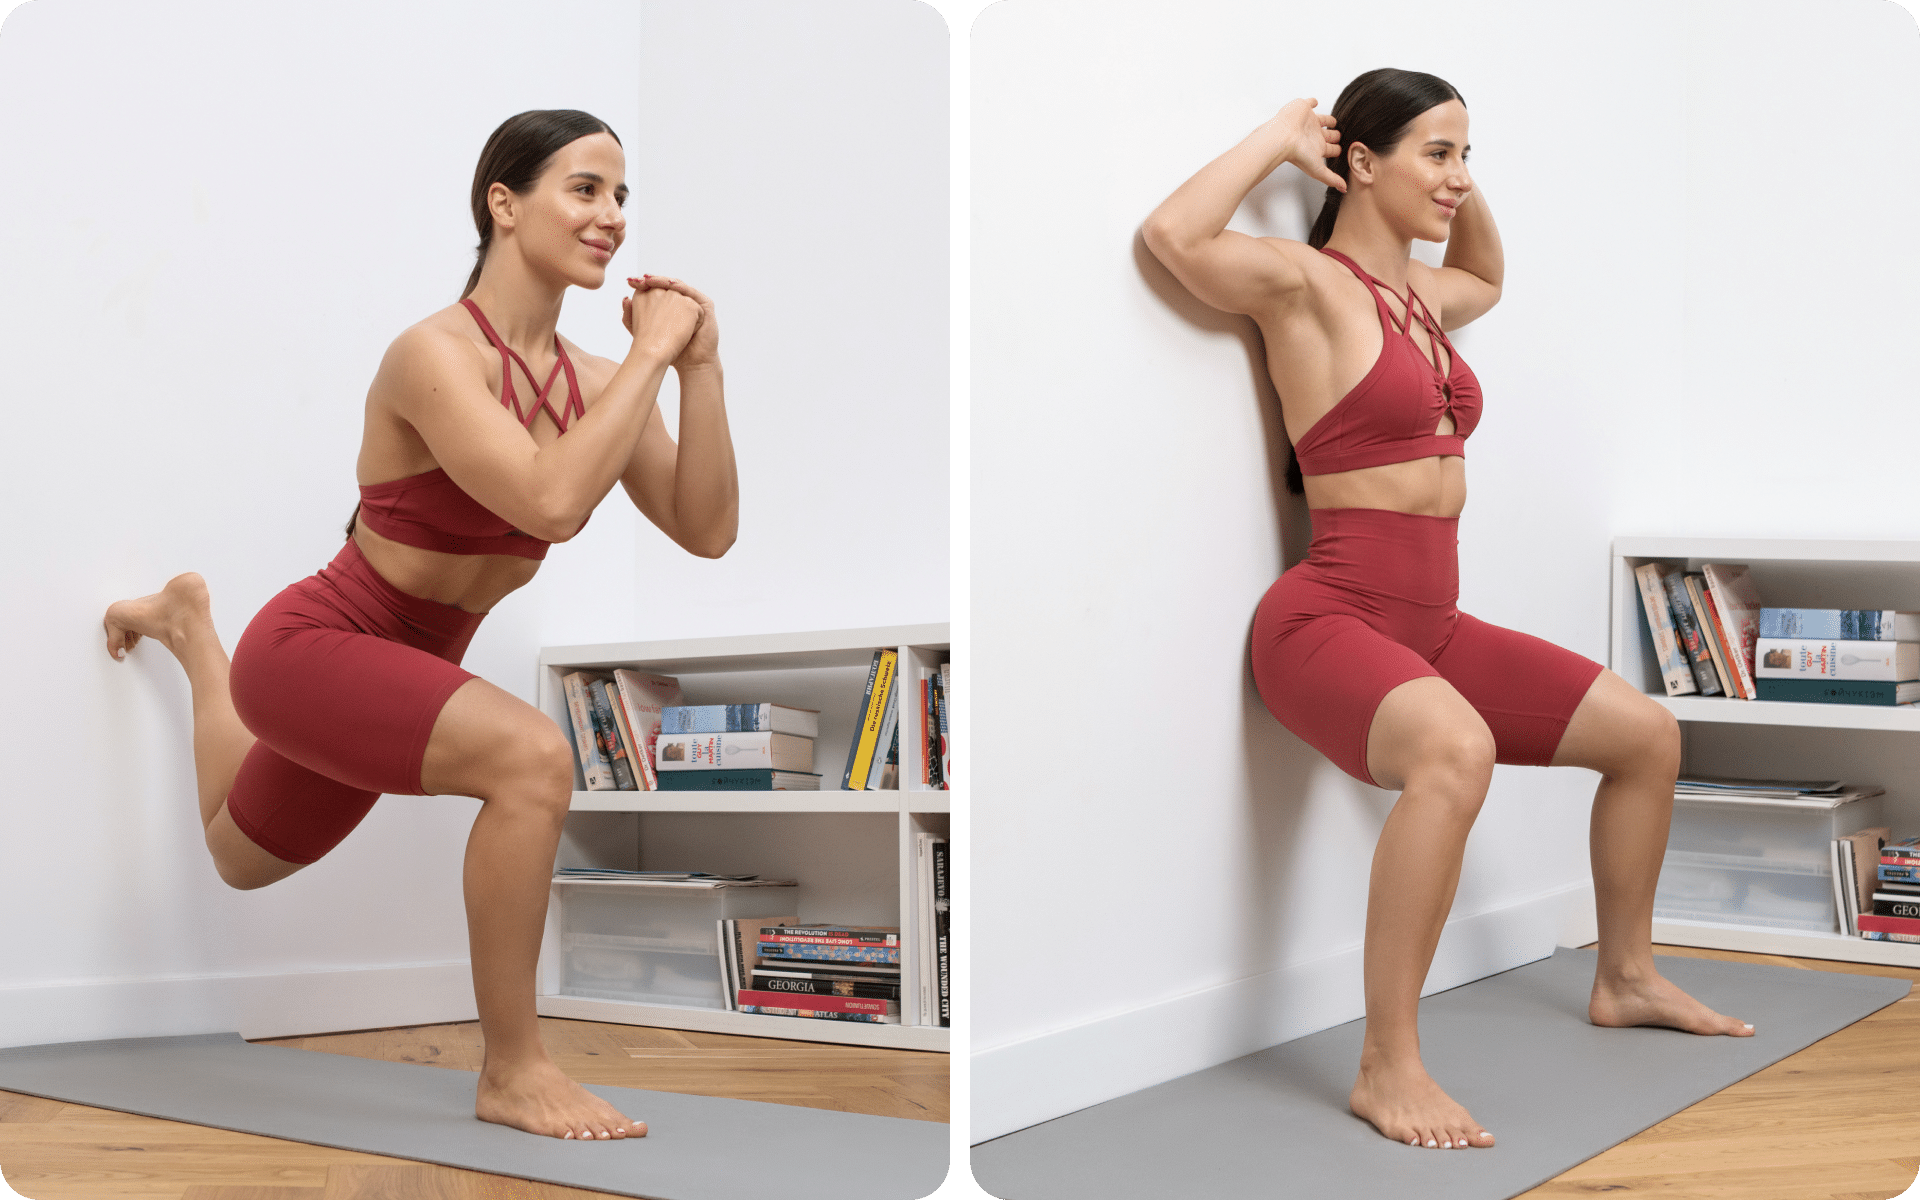
- Stand with your back against a flat wall, ensuring your head, shoulders, and buttocks are in contact with the wall.
- Place your feet shoulder-width apart and about 6-12 inches away from the wall, with a slight bend in your knees.
- Raise your arms to shoulder height and bend your elbows at a 90-degree angle, so your hands are pointing upwards. Your elbows, wrists, and the backs of your hands should be touching the wall.
- Slowly slide your hands up the wall, straightening your arms overhead or as far as you can go while maintaining contact with the wall. Keep your core engaged and ensure your lower back doesn’t arch away from the wall.
- Once your arms are fully extended overhead or to your full range without losing contact with the wall, pause for a moment before slowly sliding your hands back down to the starting position.
- Repeat this movement for 10-15 reps, or as many times as you can maintain proper form.
Read More: Beyond Traditional Asanas: Exploring The Art Of Wall Yoga Poses
What Muscles Are Involved In Wall Slides?
Wall slides involve multiple muscle groups, primarily focusing on the upper body and core. Here’s a list of the main muscles involved in wall slides and their functions:
1. Deltoids (Shoulders)
The deltoids are the large, triangular muscles covering the shoulder joints. They have three parts: anterior (front), lateral (middle), and posterior (rear) deltoids (4). Wall slides engage all three parts, helping to stabilize and mobilize the shoulders throughout the movement.
2. Trapezius (Upper Back)
The trapezius is a large, kite-shaped muscle that extends from the base of the skull down to the middle of the back. It helps elevate, depress, and retract the shoulder blades (2). During wall slides, the trapezius works to maintain proper scapular positioning and control.
3. Rhomboids (Mid-Upper Back)
The rhomboids are small, diamond-shaped muscles located deep to the trapezius muscle. They help retract, rotate, and stabilize the shoulder blades (1). Wall slides engage the rhomboids, promoting a healthy upper back posture.
4. Serratus Anterior (Ribcage)
The serratus anterior is a fan-shaped muscle that runs along the rib cage, below the armpits. It plays a crucial role in stabilizing the shoulder blades and maintaining proper scapular movement (5).
Wall slides activate the serratus anterior, which can help to improve shoulder stability and mobility.
5. Rotator Cuff Muscles (Shoulder Joint)
The rotator cuff is a group of four small muscles (supraspinatus, infraspinatus, teres minor, and subscapularis) that surround the shoulder joint, providing stability and facilitating rotation (3).
Wall slides engage the rotator cuff muscles, promoting shoulder health and preventing potential injuries.
6. Core Muscles (Abdominals And Lower Back)
The core muscles include the rectus abdominis, obliques, transverse abdominis, and erector spinae. These muscles work together to provide stability and support for the entire body (6). During wall slides, the core muscles are engaged to maintain proper posture and alignment.
If you’ve mustered up the courage to crush your weight loss goal, let Betterme take the sting out of this demanding process. Our app will help you restructure your habits, remold your life and crank up your fitness results!
What Do Wall Slides Do For You?
Wall slides offer numerous benefits for your overall health and fitness. By targeting the upper body and core muscles, this simple yet effective exercise can have a positive impact on your posture, shoulder mobility, and muscle strength.
Here’s a detailed look at the key benefits of incorporating wall slides into your workout routine:
1. Improved Posture
Wall slides help strengthen the muscles responsible for maintaining proper posture, including the trapezius, rhomboids, and core muscles.
By training these muscles you can alleviate common postural issues like rounded shoulders and forward head posture, thereby reducing the risk of developing chronic pain or discomfort in your neck, upper back, and shoulders.
2. Increased Shoulder Mobility
The movement pattern of wall slides promotes a healthy range of motion in the shoulder joint (7).
By engaging the rotator cuff muscles, deltoids, and serratus anterior, you can improve shoulder flexibility and decrease the likelihood of injuries related to poor mobility, such as impingement or tendonitis.
3. Enhanced Upper Body Strength
Wall slides target several key muscles in the upper body, including the deltoids, trapezius, and rhomboids.
Regularly performing wall slides can lead to increased muscle strength, stability, and endurance, which can make daily activities that involve lifting, pushing, or pulling easier to perform.
4. Better Scapula Stability
The serratus anterior and other muscles involved in wall slides play a crucial role in stabilizing the shoulder blades (scapula).
Improved scapular stability can lead to better overall shoulder function, allowing you to execute various upper-body exercises with greater control and efficiency (8).
5. Reduced Risk Of Shoulder Injuries
By promoting proper shoulder mechanics and strengthening the supporting muscles, wall slides can help prevent common shoulder injuries. This is particularly beneficial for athletes or individuals who engage in sports or activities that place significant stress on the shoulder joint. This can also be beneficial to all individuals, especially in helping to support and improve posture.
6. Convenience And Accessibility
One of the great things about wall slides is that they can be performed virtually anywhere, requiring nothing more than a flat wall. This makes them an ideal exercise for people with busy schedules or limited access to gym equipment.
Read More: Make Your Own Wall Pilates Exercise Chart With Detailed Instructions For Each Type Of Exercise
Wall Slides Exercise Variations
Variations are an important part of incorporating wall slides into your workout routine. By changing the angle or resistance, you can target different muscles and keep your training interesting.
Below are five wall slide variations, their benefits, and instructions on how to perform them:
1. Side Bridge Wall Slides
Benefits: This variation targets the obliques, shoulders, and glutes while improving balance and stability.
How to Perform:
- Stand sideways next to a wall, with your feet shoulder-width apart and your left side facing the wall.
- Lean on your left forearm placed against the wall at shoulder height, with your elbow bent at 90 degrees.
- Engage your core and lift your hips to form a straight line from your head to your feet.
- Slowly slide your left forearm up the wall while maintaining a side bridge position.
- Pause at the top, then return to the starting position.
- Complete the desired number of reps, then switch sides.
2. Wall Slides With Resistance Band
Benefits: This variation increases the challenge by adding resistance, further strengthening the shoulders, upper back, and core muscles.
How to Perform:
- Loop a resistance band around your wrists and stand with your back against a flat wall.
- Position your arms in the wall slide starting position, with elbows bent at 90 degrees and the backs of your hands touching the wall.
- Maintaining tension in the resistance band, slowly slide your hands up the wall, then return to the starting position.
- Complete the desired number of reps.
3. Wall Slides With Foam Roller
Benefits: This variation helps improve thoracic spine mobility and shoulder flexibility while encouraging proper alignment.
How to Perform:
- Place a foam roller vertically along the wall.
- Stand with your back against the foam roller and your feet shoulder-width apart.
- Position your arms in the wall slide starting position, with elbows bent at 90 degrees and the backs of your hands touching the wall.
- Slowly slide your hands up the wall while maintaining contact with the foam roller, then return to the starting position.
- Complete the desired number of reps.
4. Wall Slides With External Rotation
Benefits: This variation targets the rotator cuff muscles, promoting shoulder health and stability which can help prevent injury.
How to Perform:
- Stand with your back against a flat wall, feet shoulder-width apart.
- Position your arms in the wall slide starting position, with elbows bent at 90 degrees and the backs of your hands touching the wall.
- Slowly slide your hands up the wall while simultaneously rotating your wrists outward, so your palms face forward at the top of the movement.
- Return to the starting position by reversing the motion.
- Complete the desired number of reps.
Reasons why BetterMe is a safe bet: a wide range of calorie-blasting workouts, finger-licking recipes, 24/7 support, challenges that’ll keep you on your best game, and that just scratches the surface! Start using our app and watch the magic happen.
5. Wall Slides With Head Nods
Benefits: This variation helps improve neck mobility and encourages proper head positioning during the exercise.
How to Perform:
- Stand with your back against a flat wall, feet shoulder-width apart.
- Position your arms in the wall slide starting position, with elbows bent at 90 degrees and the backs of your hands touching the wall.
- As you slide your hands up the wall, gently nod your head forward, tucking your chin towards your chest.
- As you slide your hands back down, lift your chin and return your head to the neutral position.
- Complete the desired number of reps.
What Are Some Wall Slides Alternatives?
Wall slide alternatives can help you target similar muscle groups and achieve similar benefits, making them excellent options for those who may need or prefer a different exercise.
They can be beneficial for those who may have limited access to a suitable wall, experience discomfort during wall slides, or simply want to incorporate additional exercises that target similar muscle groups.
Here are some wall slide alternatives and step by step instructions for performing them:
Scapular Push-Ups
Scapular push-ups focus on scapular retraction and protraction, targeting the serratus anterior, trapezius, and rhomboid muscles.
How to Perform:
- Begin in a high plank position with your hands shoulder-width apart, directly under your shoulders.
- Keeping your arms straight, lower your chest by retracting (squeezing) your shoulder blades together.
- Press your chest back up by protracting (spreading) your shoulder blades apart.
- Repeat for the desired number of reps.
Band Pull-Aparts
Band pull-aparts provide resistance to the upper back and shoulder muscles, such as the deltoids, trapezius, and rhomboids.
How to Perform:
- Stand with your feet shoulder-width apart, holding a resistance band with both hands at chest height.
- Extend your arms straight out in front of you, with palms facing up.
- Slowly pull the band apart by moving your hands outward while squeezing your shoulder blades together.
- Return to the starting position and repeat for the desired number of reps.
Shoulder Dislocations
Shoulder dislocations help improve shoulder mobility and flexibility, targeting the deltoids and rotator cuff muscles as well as can help to relieve tight chest muscles.
How to Perform:
- Stand with your feet shoulder-width apart, holding a broomstick or resistance band in front of you with a wide grip.
- Keeping your arms straight, slowly raise the stick or band overhead and behind your back without bending your elbows.
- Bring the stick or band back over your head to return to the starting position.
- Repeat for the desired number of reps.
Face Pulls
Face pulls target the rear deltoids, trapezius, and rhomboids while also engaging the rotator cuff muscles.
How to Perform:
- Attach a rope handle to a cable machine or use a resistance band anchored at chest height.
- Stand facing the anchor point, holding the rope or band with both hands, palms facing each other.
- Pull the rope or band towards your face, keeping your elbows high and squeezing your shoulder blades together.
- Slowly return to the starting position and repeat for the desired number of reps.
YTWL Exercises
YTWL exercises target the upper back, shoulders, and rotator cuff muscles, promoting proper scapular movement and stability. Their name is derived from the four positions that form each exercise: Y, T, W, and L.
How to Perform:
- Lie face down on an exercise bench or the floor, with your arms extended overhead in a “Y” shape, thumbs pointing up.
- Lift your arms off the bench or floor, squeezing your shoulder blades together, then lower them back down.
- Move your arms to form a “T” shape, with palms facing down, and repeat the lifting motion.
- Next, move your arms into a “W” shape, with elbows bent and palms facing forward, and lift your hands off the bench or floor.
- Finally, move your arms into an “L” shape, with elbows bent at 90 degrees and palms facing down, and lift your hands off the bench or floor.
- Complete the desired number of reps for each position.
The Bottom Line
Wall slides are a simple, effective, and versatile exercise that can be performed virtually anywhere. They target various muscles in the upper body and core, helping to improve posture, shoulder mobility, and upper body strength.
As with any exercise, always focus on maintaining proper form and technique to maximize the effectiveness and minimize the risk of injury.
DISCLAIMER:
This article is intended for general informational purposes only and does not serve to address individual circumstances. It is not a substitute for professional advice or help and should not be relied on for making any kind of decision-making. Any action taken as a direct or indirect result of the information in this article is entirely at your own risk and is your sole responsibility.
BetterMe, its content staff, and its medical advisors accept no responsibility for inaccuracies, errors, misstatements, inconsistencies, or omissions and specifically disclaim any liability, loss or risk, personal, professional or otherwise, which may be incurred as a consequence, directly or indirectly, of the use and/or application of any content.
You should always seek the advice of your physician or other qualified health provider with any questions you may have regarding a medical condition or your specific situation. Never disregard professional medical advice or delay seeking it because of BetterMe content. If you suspect or think you may have a medical emergency, call your doctor.
SOURCES:
- Anatomy, Back, Rhomboid Muscles (2022, ncbi.nlm.nih.gov)
- Anatomy, Back, Trapezius (2023,ncbi.nlm.nih.gov)
- Anatomy, Rotator Cuff (2022, ncbi.nlm.nih.gov)
- Anatomy, Shoulder and Upper Limb, Deltoid Muscle (2022, ncbi.nlm.nih.gov)
- Anatomy, Thorax, Serratus Anterior Muscles (2022, ncbi.nlm.nih.gov)
- Core Stability Training for Injury Prevention (2013, ncbi.nlm.nih.gov)
- Scapulothoracic Muscle Activity during Use of a Wall Slide Device (WSD), a Comparison with the General Wall Push up Plus (2016, ncbi.nlm.nih.gov)
- The effects of wall slide and sling slide exercises on scapular alignment and pain in subjects with scapular downward rotation (2016, ncbi.nlm.nih.gov)
