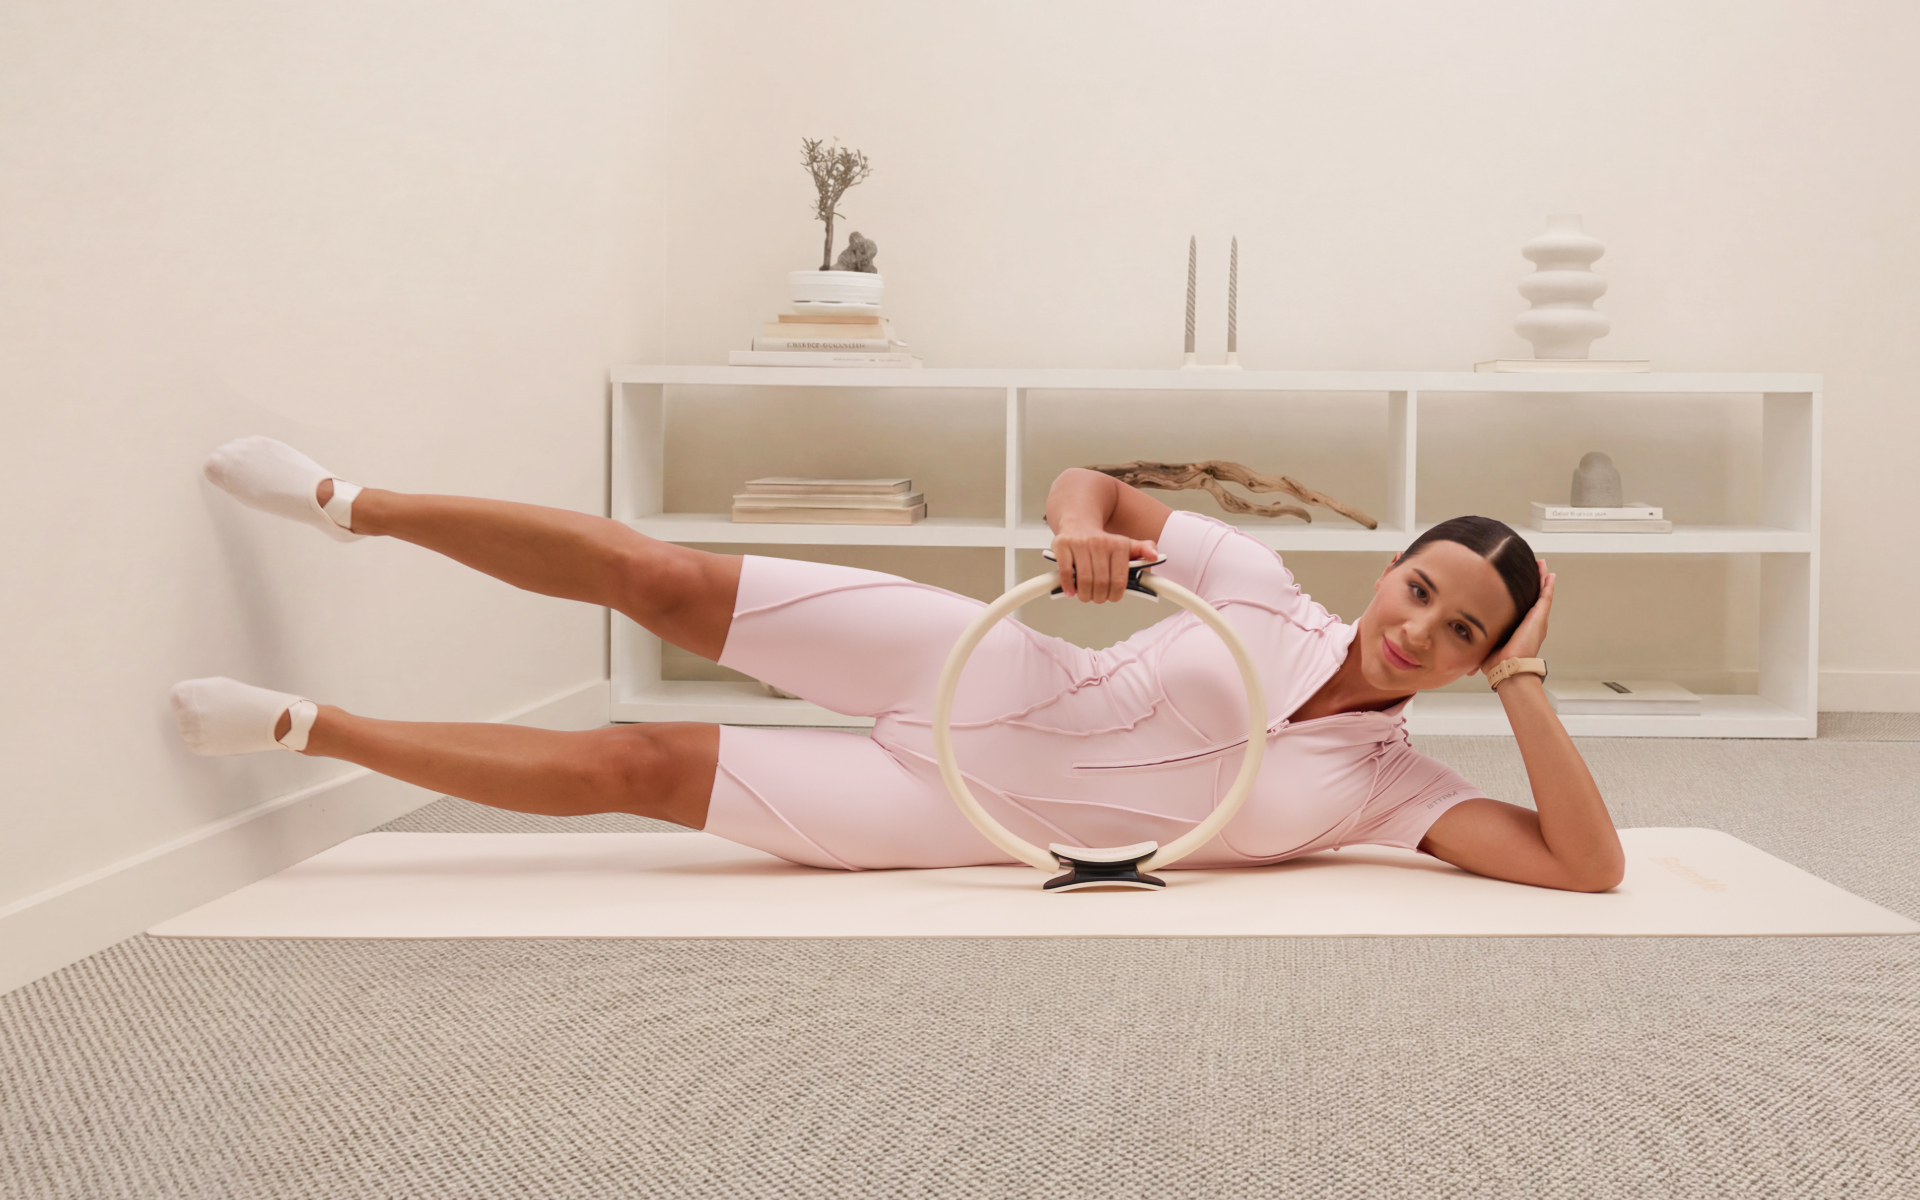
For centuries, yoga has been known for its stress-relieving benefits. The best part? You can easily curate a flexible regime according to your health and fitness goals. It can go as intense as you want or as a relaxing workout to become more mindful. Wall yoga is a category of yoga that has become quite popular recently. It is one of the most approachable yoga poses because it requires little strength or flexibility. The benefits of wall yoga and its convenience are increasing its demand. More people wish to explore wall yoga poses and achieve a calming state of mind without much hassle. If you wonder whether wall yoga is for you, this article is the best place to start. We have covered everything you need to know about wall yoga, so you can make an informed decision once you are done reading.
What Is Wall Yoga?
Wall yoga was initially meant to deepen access to yoga poses and improve alignment. You can do the poses alone or seek professional assistance to learn them.
It brings the opportunity to explore spinal extensions, standing poses, and inversions. The practitioner gets support from the wall and holds poses with less strain. Meanwhile, they can focus on breathing and more profound release of the muscles.
This practice has proven to be an excellent way of increasing flexibility and building strength. It tends to enhance the awareness of the constant play between ease and effort we seek in yoga.
What Are The Benefits Of Wall Yoga?
Wall yoga might be all you need after an eventful day at work. The perks it brings our way may compel you to design a routine immediately.
Some of its benefits include:
Relieves Muscle Cramps
It is one of the best ways to soothe cramped legs and drain tension (1). People involved in extreme physical activity during the day or those who spend their days standing or sitting may have sore muscles at night. In fact, wall yoga may also help with pelvic floor relaxation and relieves menstrual cramps (2). The pelvic muscles relax in this pose, which works as an exercise for a tense pelvic floor.
Reduces Lower Back Tension
You may feel relief in lower back pressure when performing wall yoga. It tends to improve the tightness in the lumbar region while relaxing its muscles. Tension is released when the body is in a supine position, and this reduces the back from mild strain (3). The moves stretch the hamstrings and back of the neck, easing the back pain.
Increases Circulation
This pose is recommended for leg and foot edema (4). It may also improve lymphatic fluid movement for individuals with low blood pressure or those who stand for most of their days. Elevating the legs drains excess fluids and helps circulate the blood back to the heart.
Eases Migraines And Digestion
Most headaches are related to tension, so the legs-up-the-wall pose gently relaxes the back, shoulders, and neck muscles.
Read More: The Ultimate Guide To Gentle Chair Yoga For Beginners And Seniors
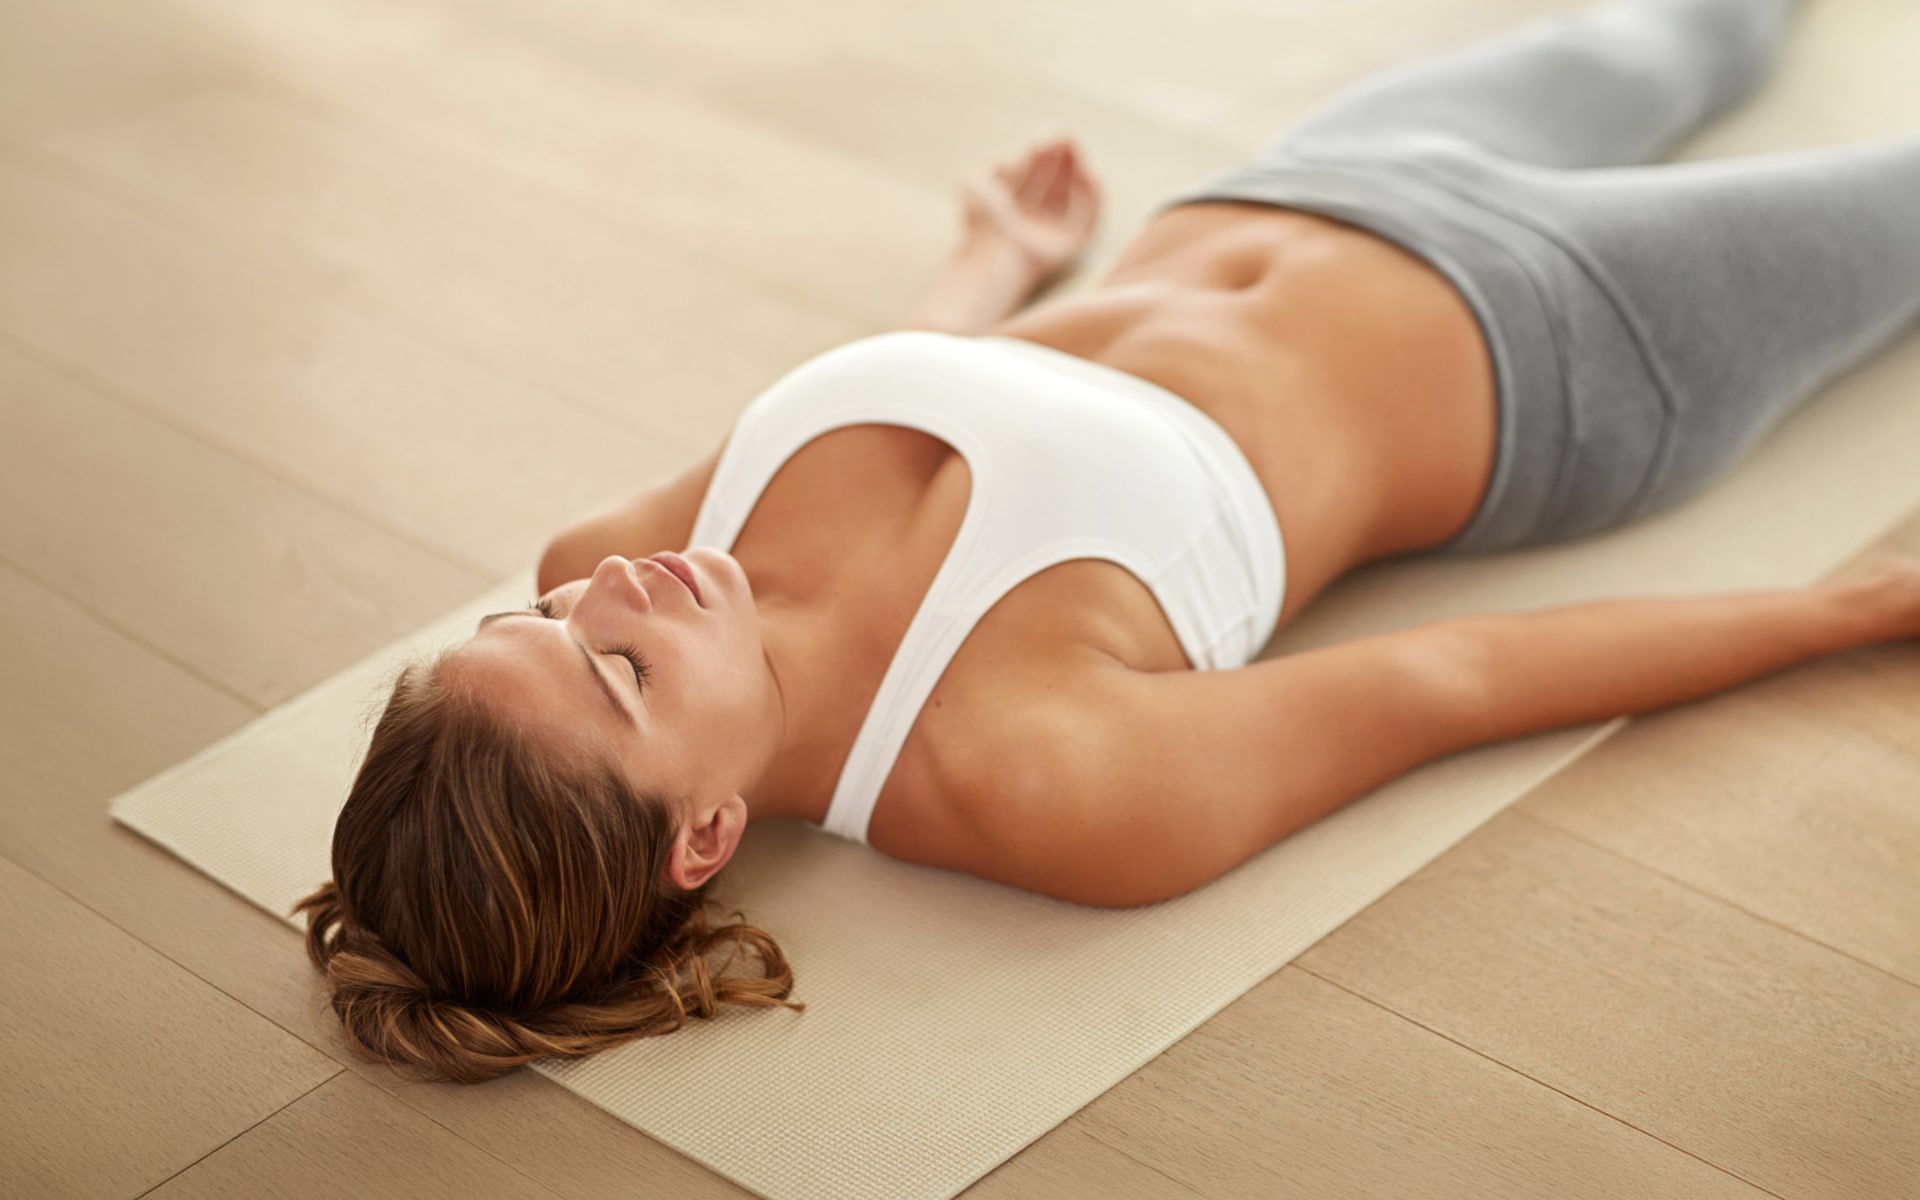
Improves Sleep
The legs-up-the-wall pose is considered relaxing after a hectic day. Combined with controlled breathing, this pose tends to slow down the body. This, in turn, brings a relaxation response that may lead to decreased anxiety, insomnia, and stress.
Studies have also proven that restorative yoga poses may help those who suffer from the drawbacks of:
- Cancer
- Menopause
- Metabolic syndrome
- Chronic pains
- Venous diseases
Science has proven yoga to have many advantages for our health and happiness (5). This specific yoga pose called “Legs-Up-the-Wall” has a lot of benefits that are worth considering.
How To Do Legs-Up-The-Wall Yoga Pose?
Now that we have discussed the perks of wall yoga poses let’s explore some poses that can be enhanced using the wall:
Butterfly
This variation of legs-up-the-wall stretches your inner thighs and hips.
To do the Butterfly pose:
- Sit down with your back straight and bring your feet together so that the soles touch. Keep your tummy muscles pulled in.
- Hold onto your feet with your hands and put your elbows against your thighs.
- Breathe in deeply, preparing yourself. Then, as you breathe out, slowly bend forward and stop when you feel the stretch. Stay in this position for at least 30 seconds.
You can also place blocks under your hips to lift them, which creates a light inversion in your belly. A strap can be used so that you can easily relax and release in the pose without exerting an effort to hold the legs up.
Straddle
The straddle pose can open hips, groin, and the back of thighs. It also provides a gentle opening to inner knees. To do the Straddle pose:
- Extend your legs wide from the butterfly pose.
- Relax in this position for 5 or more breaths.
Spinal Twist
A spinal twist promotes expansion in ribs and sides of the body. It may also compress and massage the internal organs. To do the Spinal Twist pose:
- Lie on your back and stretch your arms to the sides, like a “T” shape, with your palms facing down.
- Bend your right knee and place your right foot on your left knee.
- Breathe out and let your right knee drop towards the left side of your body. This will twist your spine and lower back. Look towards your right fingertips.
- Keep your shoulders flat on the floor, close your eyes, and relax your body in this position. Let gravity do the work, so you don’t need to use any effort.
- Breathe and hold this position for 6-10 breaths.
- To come out of the pose: breathe in, roll your hips back to the floor, and breathe out as you lower your leg back down.
Whether you’re looking to simply pep up your fitness routine, jazz up your diet with mouth-watering low-calorie recipes or want to get your act together and significantly drop that number on your scale – BetterMe app has got you covered! Improve your body and revamp your life with us!
Thread The Needle
This position is recommended for deep hip opening.
To do the Thread the Needle pose:
- Bend your right knee and position your outer ankle below the left thigh. This should be placed above the left knee.
- Gradually bend the left knee while pressing your foot onto the wall.
- Start lowering your left foot until the shin is parallel to the floor.
- You will notice your thigh and hip stretching.
- Stay in this position for 1-5 minutes.
- Repeat on the opposite side.
Figure Four
Figure Four is one of the wall yoga exercises that relaxes the nervous system, hence, bringing relief from long days of being in a chair or standing up.
To do the Figure Four pose:
- Place your buttocks against the wall, and your legs stretching up on the wall. Lie flat on your back. You can place a blanket beneath your back to make yourself more comfortable. If your lumbar spine is rounded and your buttocks lift off the floor, you can scoot away a few inches from the wall.
- Place one leg up the wall and cross the ankle of your other leg across the thigh. This should be placed above the kneecap of your straightened leg.
- The foot of your bent leg should be flexed while ensuring that the ankle doesn’t twist.
- Allow the knee and hip of your bent leg to move away from the midline of your body.
- Bring your bent knee towards the wall for a deeper hip stretch.
- Relax your upper body and shoulders while focusing on the feeling in your legs and hips.
- Close your eyes and relax.
- Breathe into your diaphragm and feel your breaths moving in your pelvis and hips.
- Return the bent leg up the wall to join your other leg to exit this pose.
- Repeat these steps on your other leg.
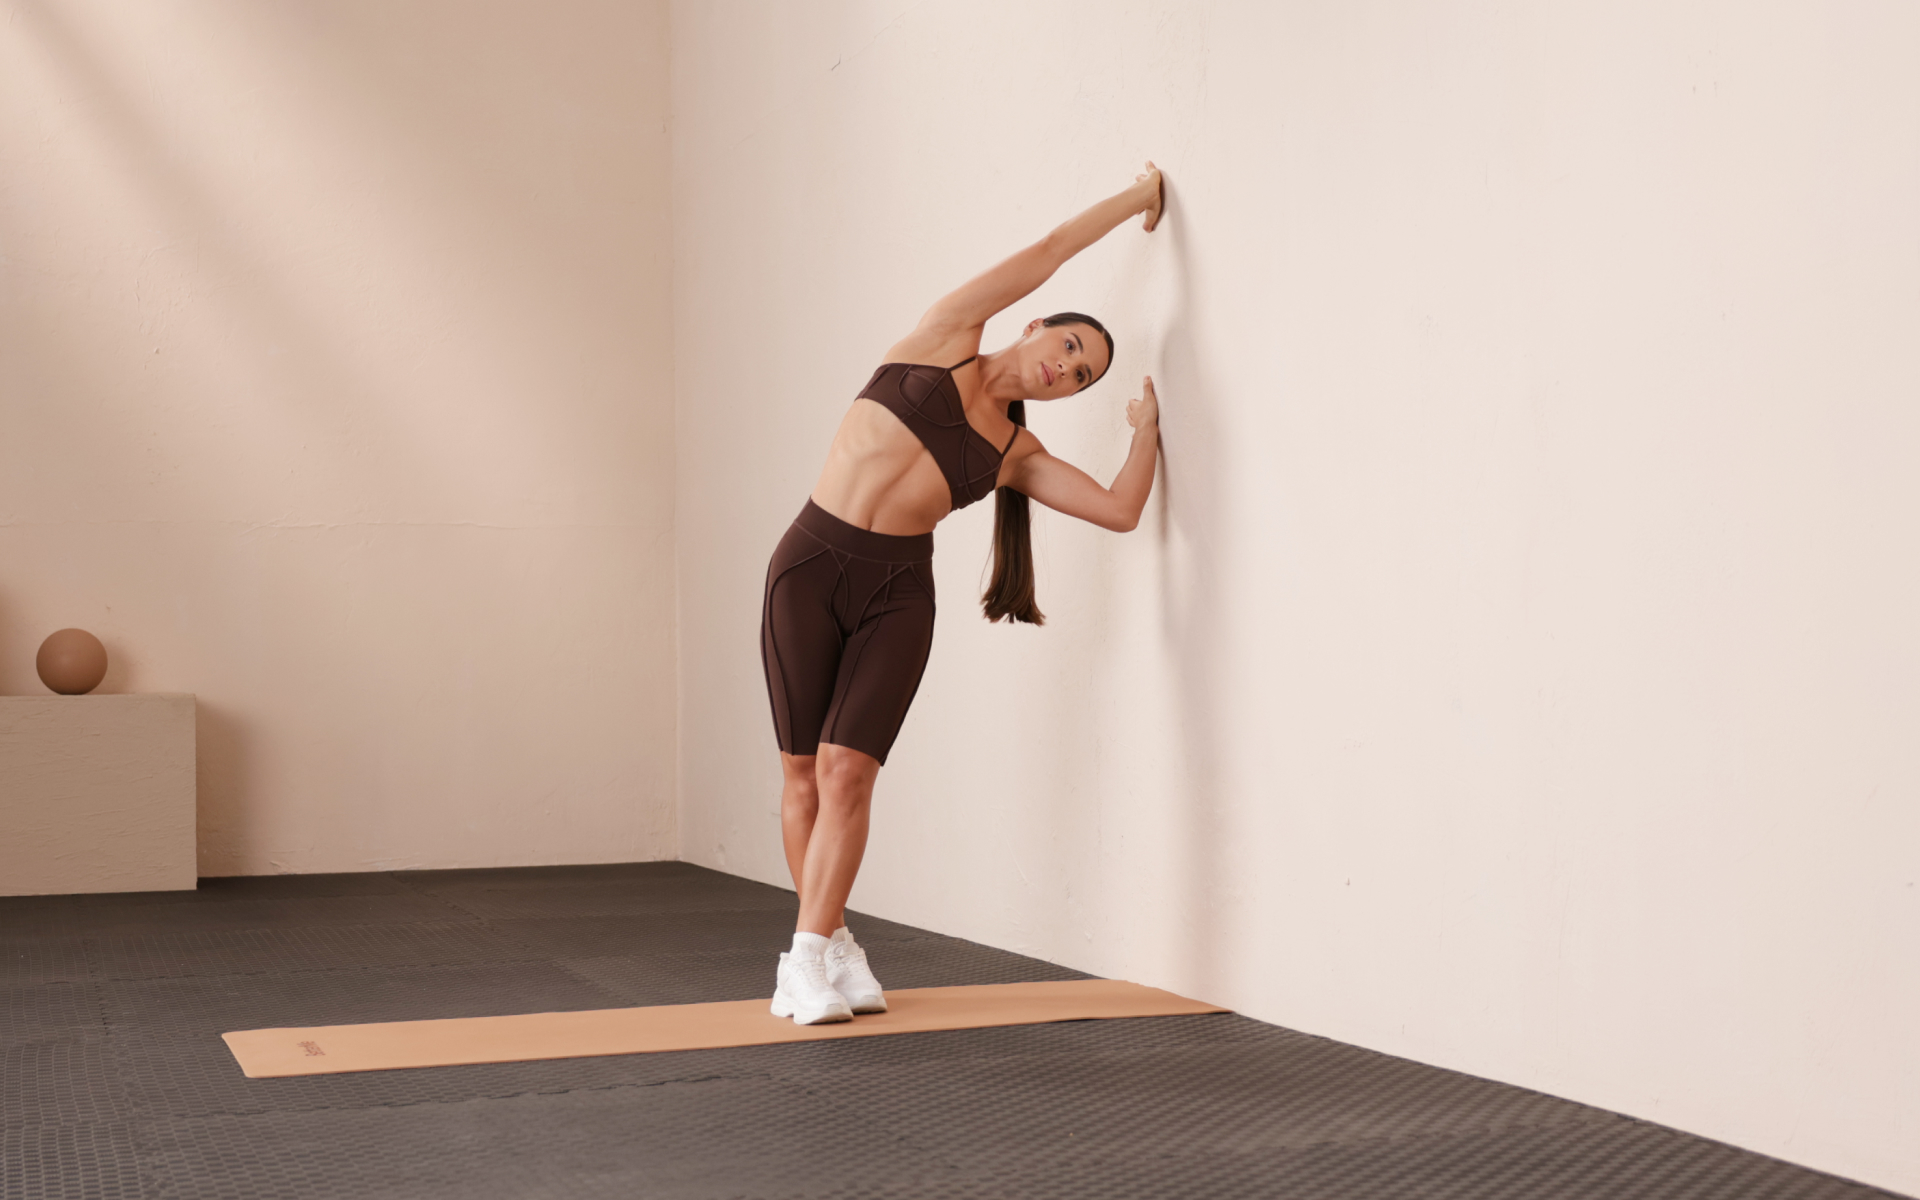
Half Moon Pose
Half Moon is a wall yoga sequence that can be done against a wall for better balance. The wall helps you align your hips and open up towards the side of the room.
To do the Half Moon pose:
- Stand with your feet slightly closer than your shoulders.
- Turn your right foot outward by 90 degrees and shift your weight to your right leg.
- Look towards your right side, slowly bend at your waist, and reach down towards the floor or a yoga block with your right arm.
- At the same time, slowly lift your left leg off the ground until it is parallel to the floor.
- Keep your back straight, like a thread is pulling from your head down through your left leg.
- Open your chest and slowly raise your left arm so that your arms form a straight line.
- You can look up or down, whichever is comfortable for you.
- Inhale deeply and stretch your body and limbs away from your stomach.
- Exhale and allow your body to settle towards your waist and find your center of balance.
- Hold this position for as long as you can. Then switch sides by balancing on your other leg.
Half Moon pose is moderately difficult. It can be a substantial upgrade if you have experienced the beginner poses and are ready to progress.
Read More: Does Chair Yoga For Lower Back Pain Help?
Wide-Legged Standing Forward Pose
Wide-Legged Standing Forward pose is a pretty calming legs-up-the-wall yoga pose. It helps stretch your back and hamstrings while carrying other perks like improved digestion and a calmed mind (6).
To do the Wide-Legged Standing Forward pose:
- Start in the mountain pose and bring your hand to your hips. Turn left and open your feet wide apart. Then, turn your toes inwards and slide your heels outwards so the edges of your feet are parallel with the edges of the mat. Now, align your heels.
- Lengthen your torso and inhale while reaching the crown of your head towards the ceiling. Exhale and fold forward at the hips. Ensure the front of your torso is long. Then, drop your head and gaze behind you.
- Rest your hands on the floor between your legs. Keep your elbows bent while they point behind you. If you can’t bring your hands on the floor, place them on yoga blocks.
- Shift your weight slightly forward onto the balls of your feet.
- Make sure your hips are aligned with your ankles. Then, start walking your hands back further. Aim to align your fingers with your toes (and eventually your heels). Also, try to align your elbows directly above your wrists.
- Engage your quadriceps (the front thigh muscles) strongly and lift them towards the ceiling.
- Take deep breaths and lengthen your spine as you inhale. On your exhales, fold deeper into the pose.
- Try to bring the top of your head down further, and if possible, rest it on the floor.
- Hold this position for up to a minute.
- To release, bring your hands to your hips. Press firmly through your feet and inhale as you lift your torso with a flat back. Step your feet together and return to mountain pose.
The Wide-Legged Standing Forward pose is a soothing wall yoga sequence that may relax your back when practiced in a proper way (6). Go easy on yourself, and don’t compel yourself into the pose.
Standing Splits
To do the Standing Splits pose:
- Place your heels 6-12 inches away from the wall, and move away or closer to the wall as you find suitable.
- You can anchor your hands on the blocks or floor.
- Bend the knee of one leg and make half of a hip circle to place the front of your thighs against the wall.
- Then, bend the knee of your standing leg.
- Gradually move away from the floor or the blocks you are pressing.
- Draw your shoulders towards the wall and move away from the ears.
- Square your hips towards the floor.
- Press your shin, knees, and top of your free foot in the wall direction.
If you struggle to even flirt with the idea of giving up your favorite foods or working out till your legs give way – BetterMe app is here to breathe a fresh perspective into the way you view the weight loss process! Check out the app and experience the fun side of fitness and dieting with BetterMe!
Reclined Side Splits
Reclined Side Splits against a wall are a great warm-up pose for regular side splits on the ground.
To do the Reclined Side Splits pose:
- Lie down on your back and swing your legs up against the wall. You can adjust how close or far away your hips are from the wall, depending on what makes you feel comfortable.
- Flex your feet, which means pulling your toes back towards your face. Then, separate your feet and let them sink toward the ground.
- You can rest your hands on the ground, your belly, or your inner thighs. You can also choose another arm position that feels comfortable. However, avoid using your hands to push your legs closer to the ground.
- Regardless of the variation of wall yoga you choose, close your eyes and place your arms on your heart or your belly – anywhere that allows you to relax. Focus on how your ribs expand and contract as you are breathing slowly.
- Try to maintain the pose for as long as you like. You can even take several minutes to eliminate all the stress and unwanted thoughts from the long day.
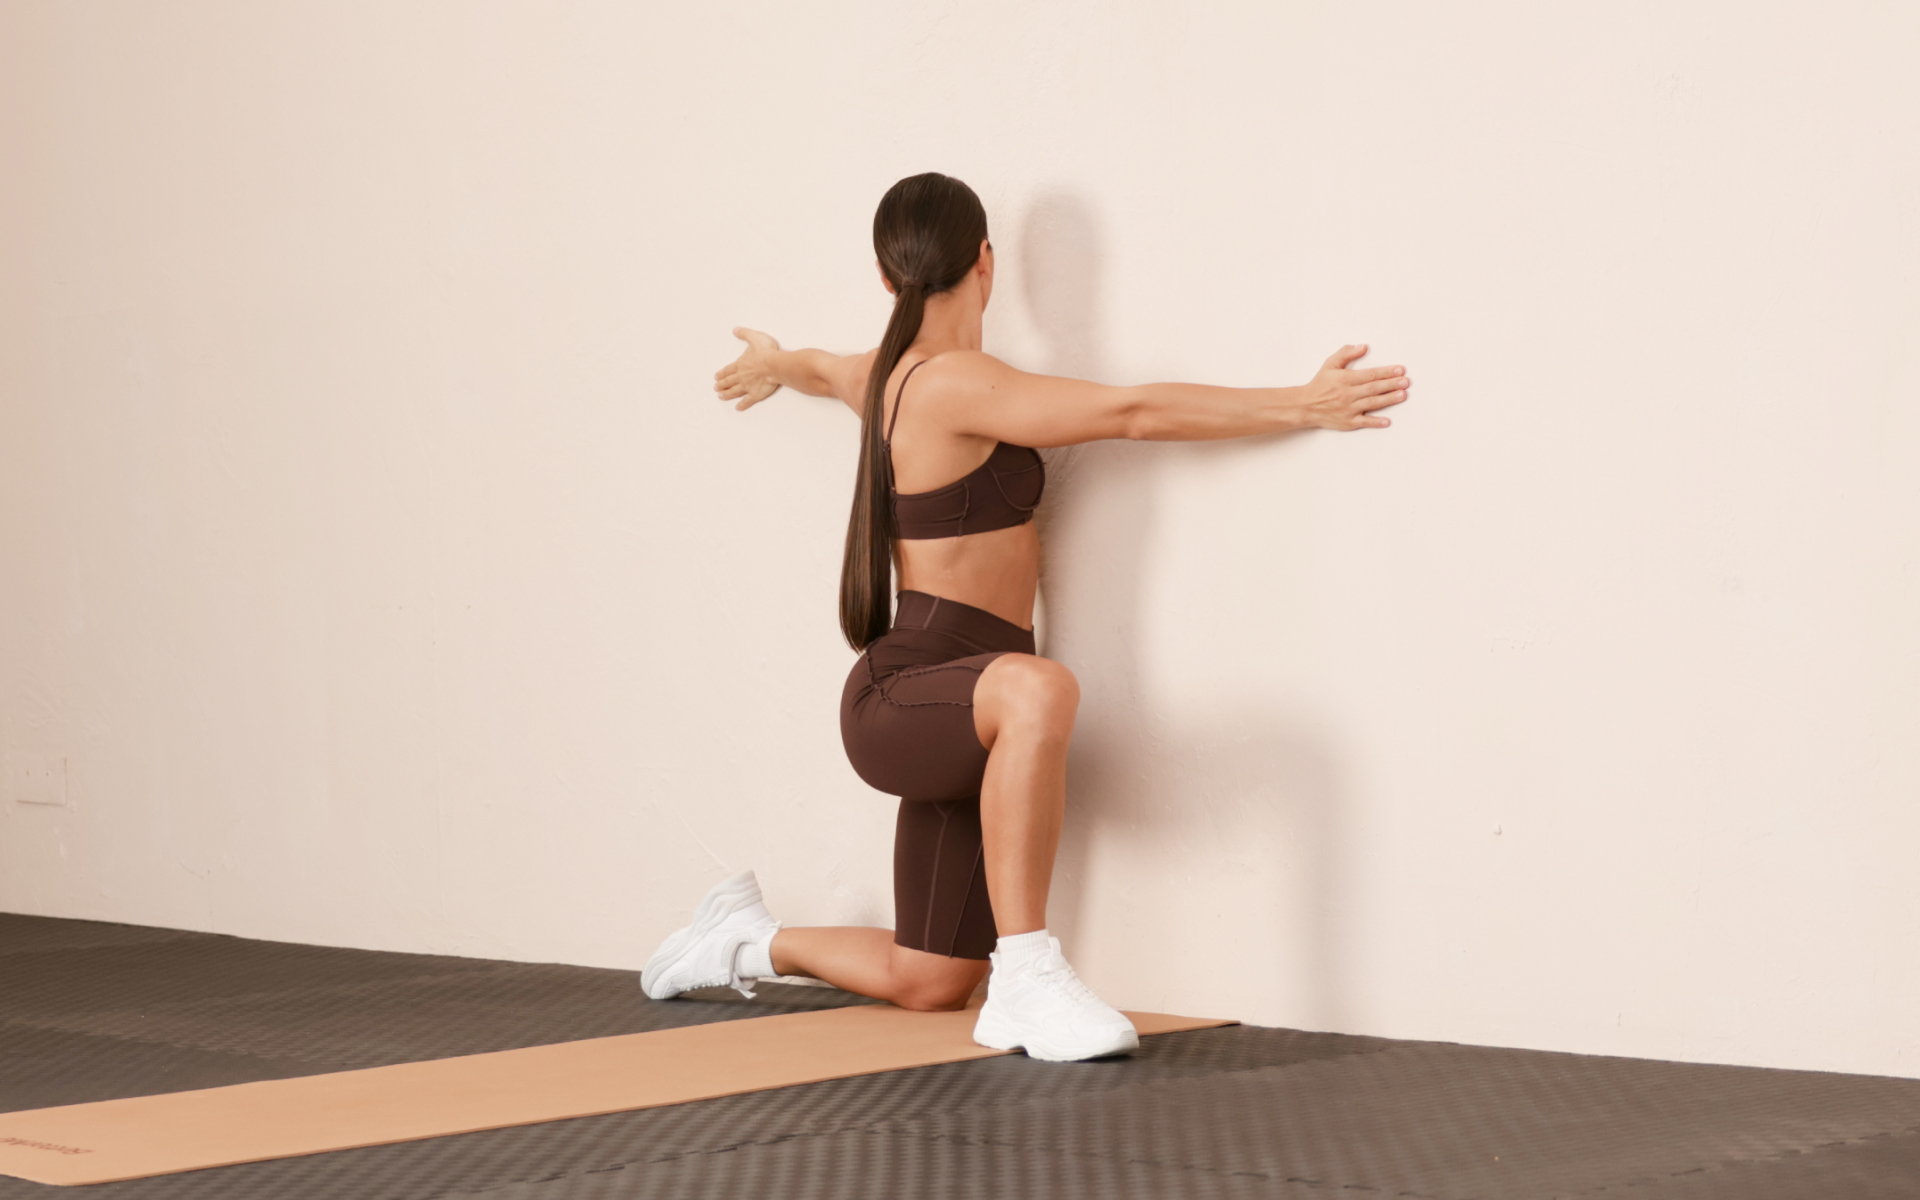
Is Wall Yoga Good for Seniors?
The best part about yoga is that it suits every kind of body. Unlike other strenuous exercises, wall yoga is good for seniors as it relaxes the body.
The main perks of wall yoga are (7):
- It helps with backache.
- It relieves tired legs.
- It softly opens the back of the legs.
- It may also help with knee pain reduction.
Seniors with difficulty practicing in the gym or following online exercise training should try wall yoga. They can practice it at home and curate a yoga routine that works for them.

What Are Wall Yoga Poses For Seniors?
Now that we know wall yoga is good for seniors, we must discuss some convenient poses that will help older adults, such as:
Shoulder Stretch
Follow these steps to do a shoulder stretch:
- Stand near a wall with your right arm extended straight behind you. Your right elbow and palm should touch the wall, and your fingers should point slightly downward. Move closer to the wall until your right shoulder feels a gentle pull.
- Let your left arm hang down by your side, and keep your toes pointing to the right side of the room.
- Without bending your right elbow or moving your palm away from the wall, slowly slide your right arm upward behind you. Go as far as you can without feeling any strain in your elbow or wrist. You should feel a stretch in your right shoulder.
- Raise your arm as comfortably as possible, and hold that position while taking 5 deep breaths. Then slowly lower your arm.
- Switch sides and repeat the same steps with your left arm. Afterward, return to the starting position, which is called mountain pose.
Notice how your shoulders feel more open. After doing this stretch, you can likely bring the back of your shoulders closer to the wall when you are in mountain pose. Initially, you may not be able to raise your arm very high, but practicing daily will help reduce tension in your neck and shoulder area and improve your posture.
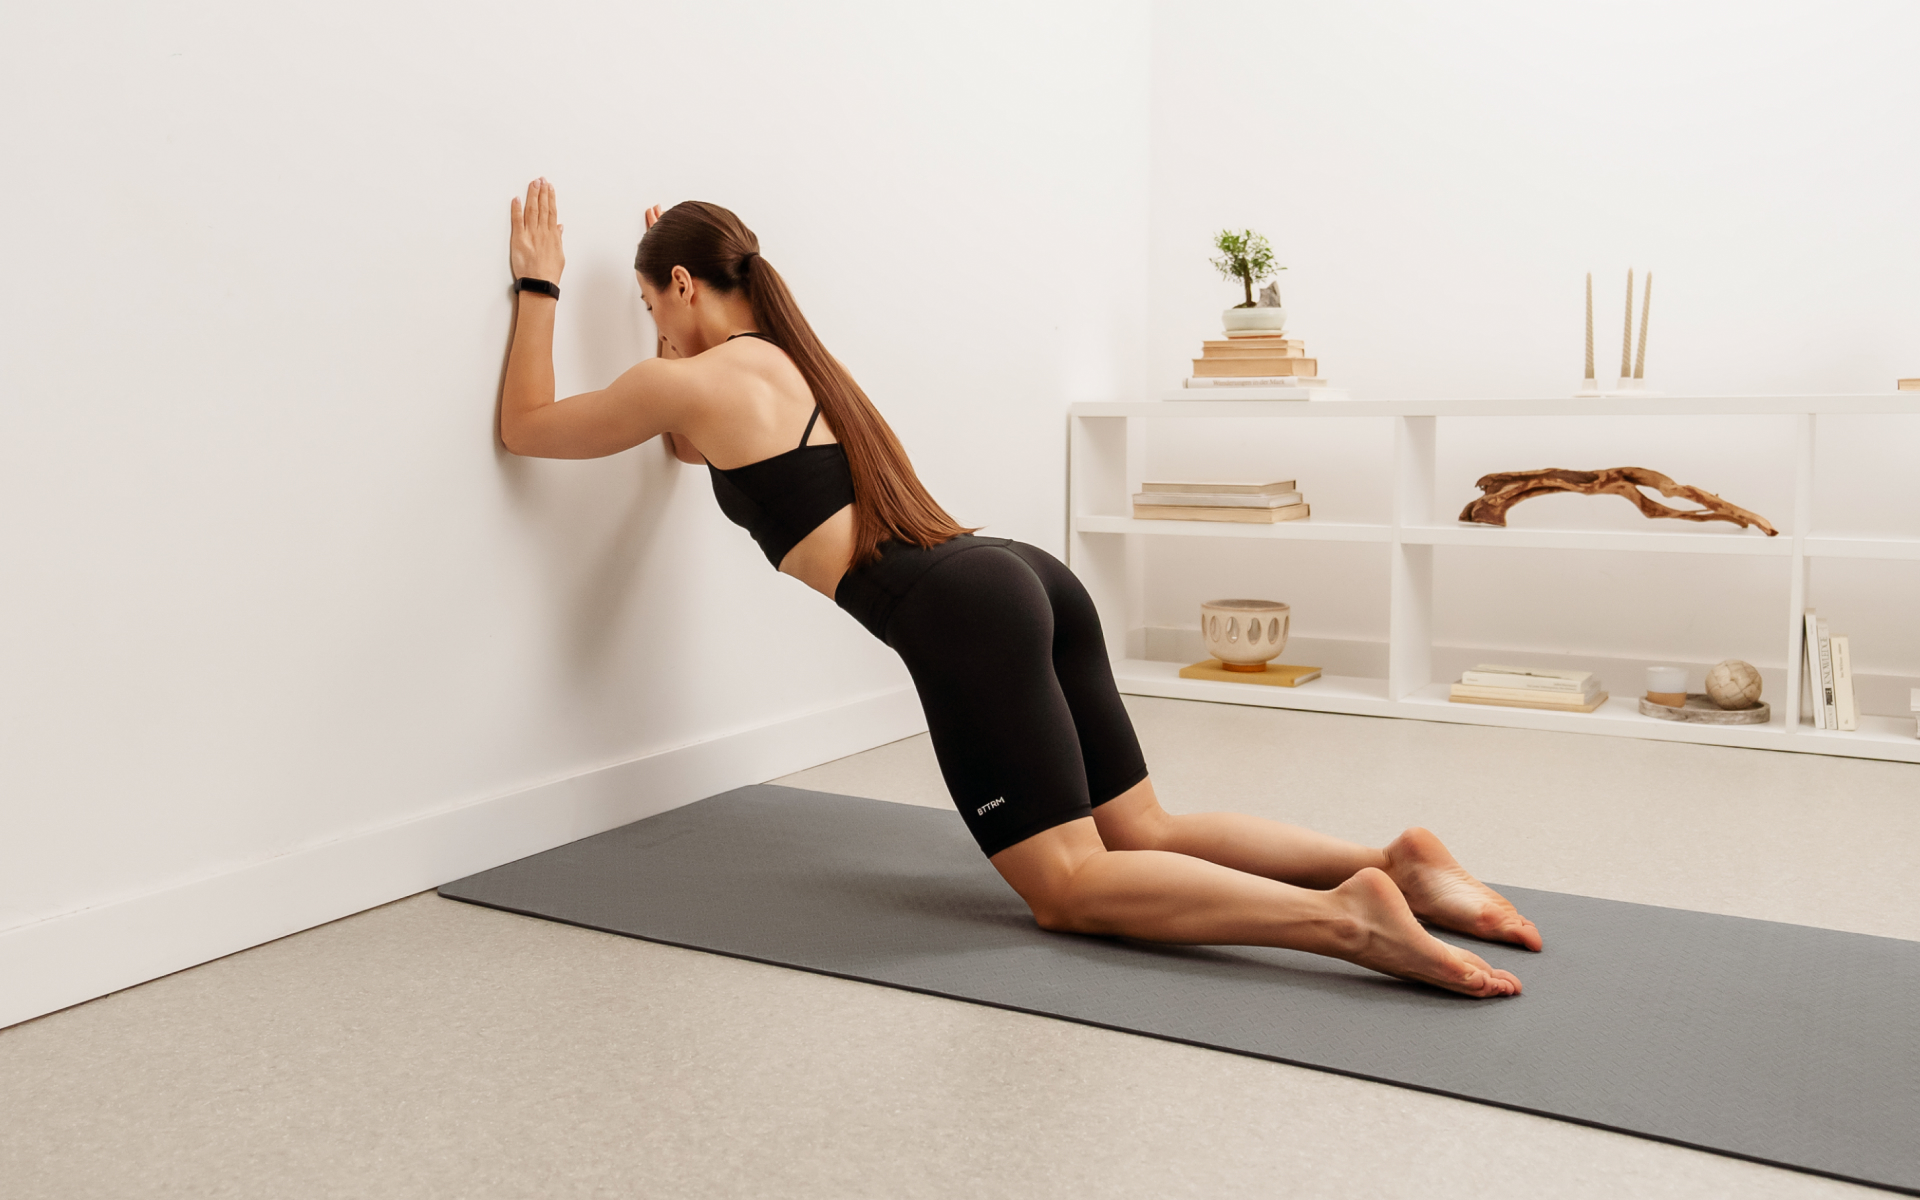
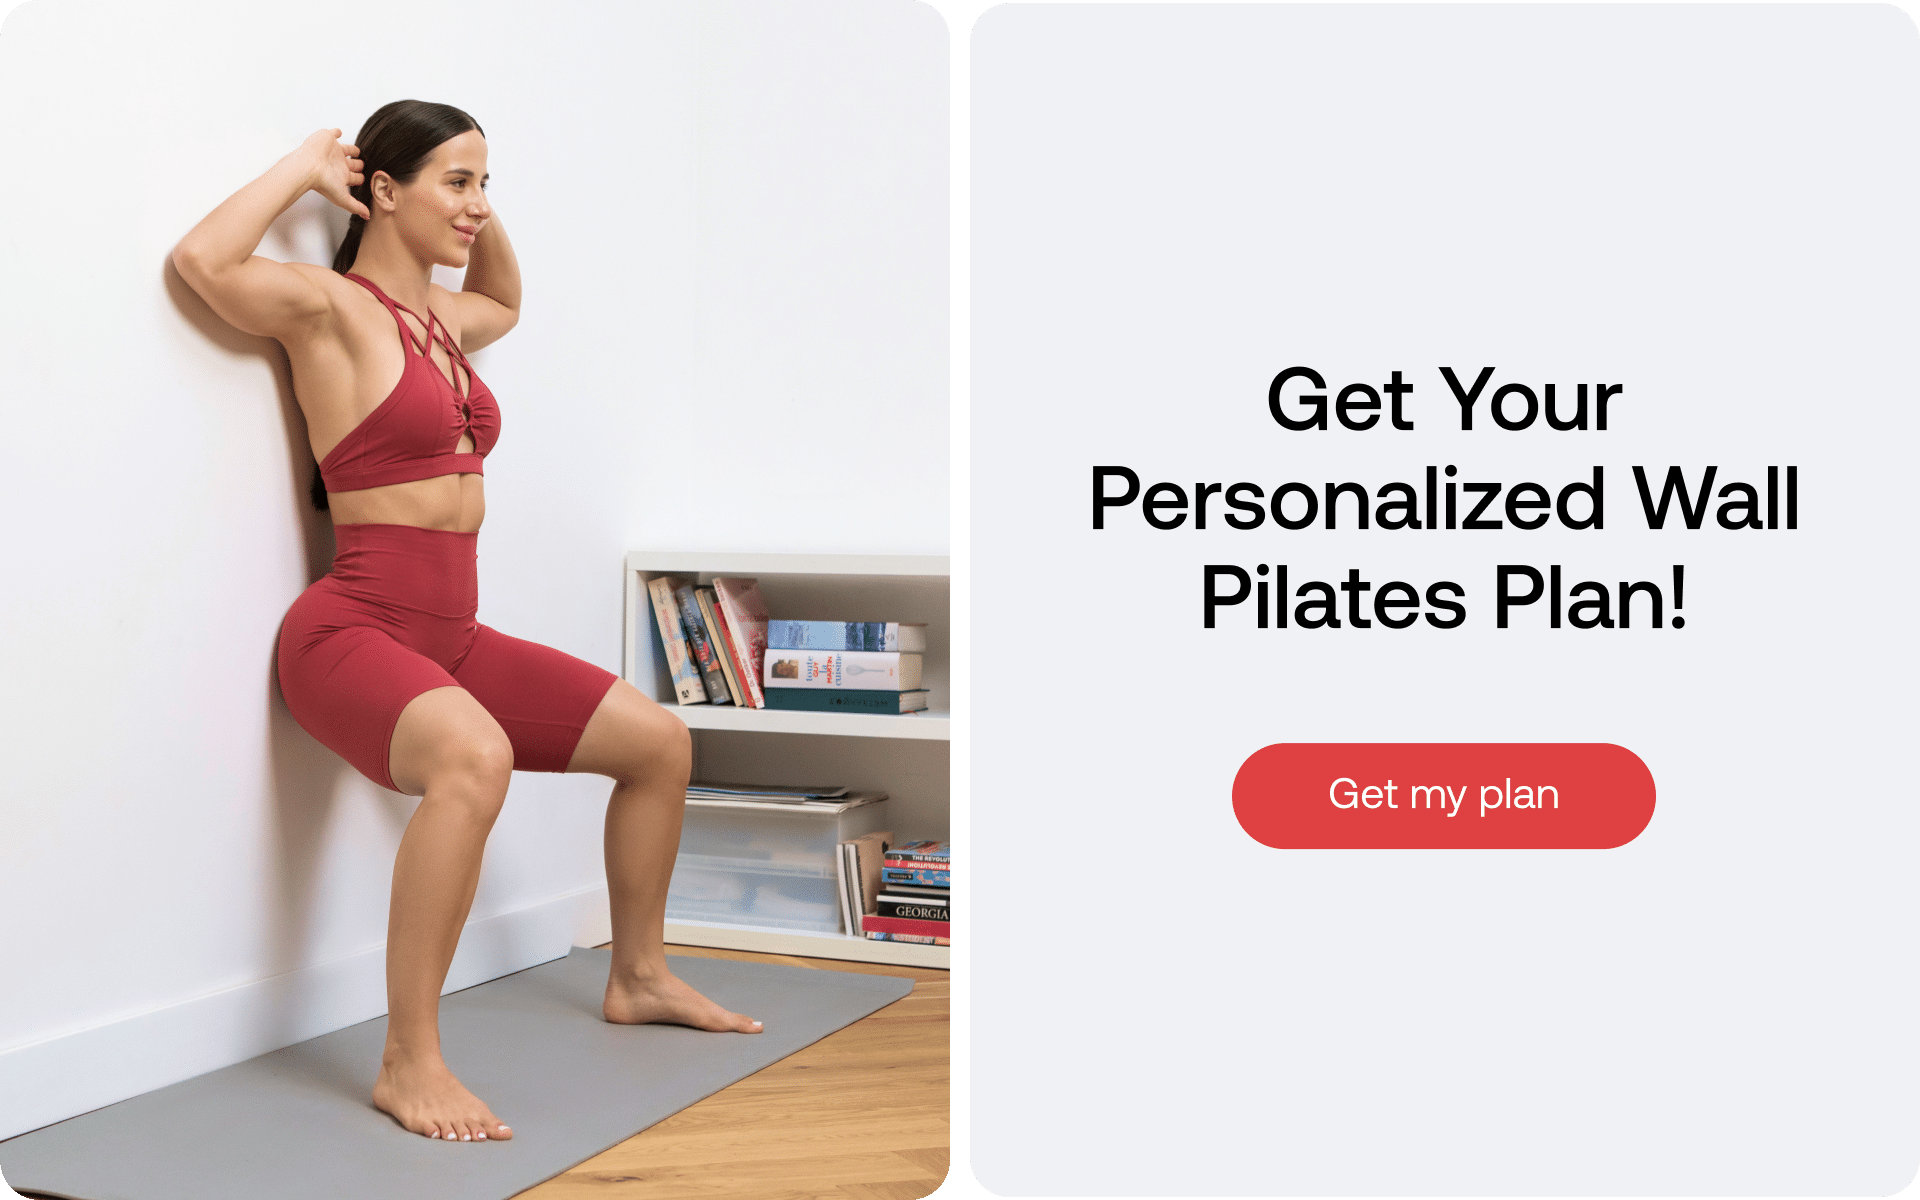
Mountain Pose
Here is what you should do when making a Mountain Pose:
- Stand with your feet firmly planted on the floor, pointing forward. Let your buttocks and the back of your shoulders touch the wall. Bring your feet under your hips.
- Use your abdominal muscles to lengthen your spine, lifting your shoulders away from your hips without raising them toward your ears. Don’t try to flatten your back against the wall. Your lower back may naturally curve inward while your upper and middle back and your buttocks touch the wall.
- Check if your outer shoulders touch the wall. Many of us tend to hunch forward, which can cause back pain and tight shoulders. It also restricts our breathing, preventing us from using our upper lungs.
- Try to gently widen your collarbones and lift your breastbone, allowing more of the back of your shoulders to move toward the wall. Let your neck lengthen from your shoulders, and imagine your head floating toward the ceiling. Close your eyes and take deep breaths.
- Keep your knees slightly bent, neither deeply bent nor locked.
Wall yoga sequence for seniors will be slightly different than that of other practitioners. However, individuals can choose to progress their regime according to their performance. It is advised to seek the help of a physical trainer or a fitness expert to learn about suitable wall yoga poses.

The Bottom Line
People have often chosen wall yoga to lose weight and maintain their overall fitness. Besides opting for wall yoga for weight loss, the practice has proven to be effective when dealing with anxiety and stress as well.
Embracing wall yoga is like entering a world of whimsical flexibility. Consider that wall a friend with whom you can rant about your chaotic day. You will find yourself defying gravity, expectations, and even laws of seriousness!
Are you ready to let your bodies and spirits soar to new heights of brilliance? Give it a shot, and let us know how it goes!
DISCLAIMER:
This article is intended for general informational purposes only and does not serve to address individual circumstances. It is not a substitute for professional advice or help and should not be relied on for making any kind of decision-making. Any action taken as a direct or indirect result of the information in this article is entirely at your own risk and is your sole responsibility.
BetterMe, its content staff, and its medical advisors accept no responsibility for inaccuracies, errors, misstatements, inconsistencies, or omissions and specifically disclaim any liability, loss or risk, personal, professional or otherwise, which may be incurred as a consequence, directly or indirectly, of the use and/or application of any content.
You should always seek the advice of your physician or other qualified health provider with any questions you may have regarding a medical condition or your specific situation. Never disregard professional medical advice or delay seeking it because of BetterMe content. If you suspect or think you may have a medical emergency, call your doctor.
SOURCES:
- BENEFITS OF LEGS-UP-THE-WALL POSE (2022, narayanahealth.org)
- 5 Simple Yoga Moves for Endometriosis and Pelvic Pain Relief (2019, everydayhealth.com)
- Supine Position (2017, sciencedirect.com)
- Yoga Poses for Edema (n.d., livestrong.com)
- Role of Yoga in Cancer Patients: Expectations, Benefits, and Risks: A Review (2017, ncbi.nlm.nih.gov)
- Yoga for Beginners: How to Do a Wide-Legged Forward Bend (2017, blog.mercy.com)
- What to Know About Legs-Up-the-Wall Yoga Pose (2021, webmd.com)