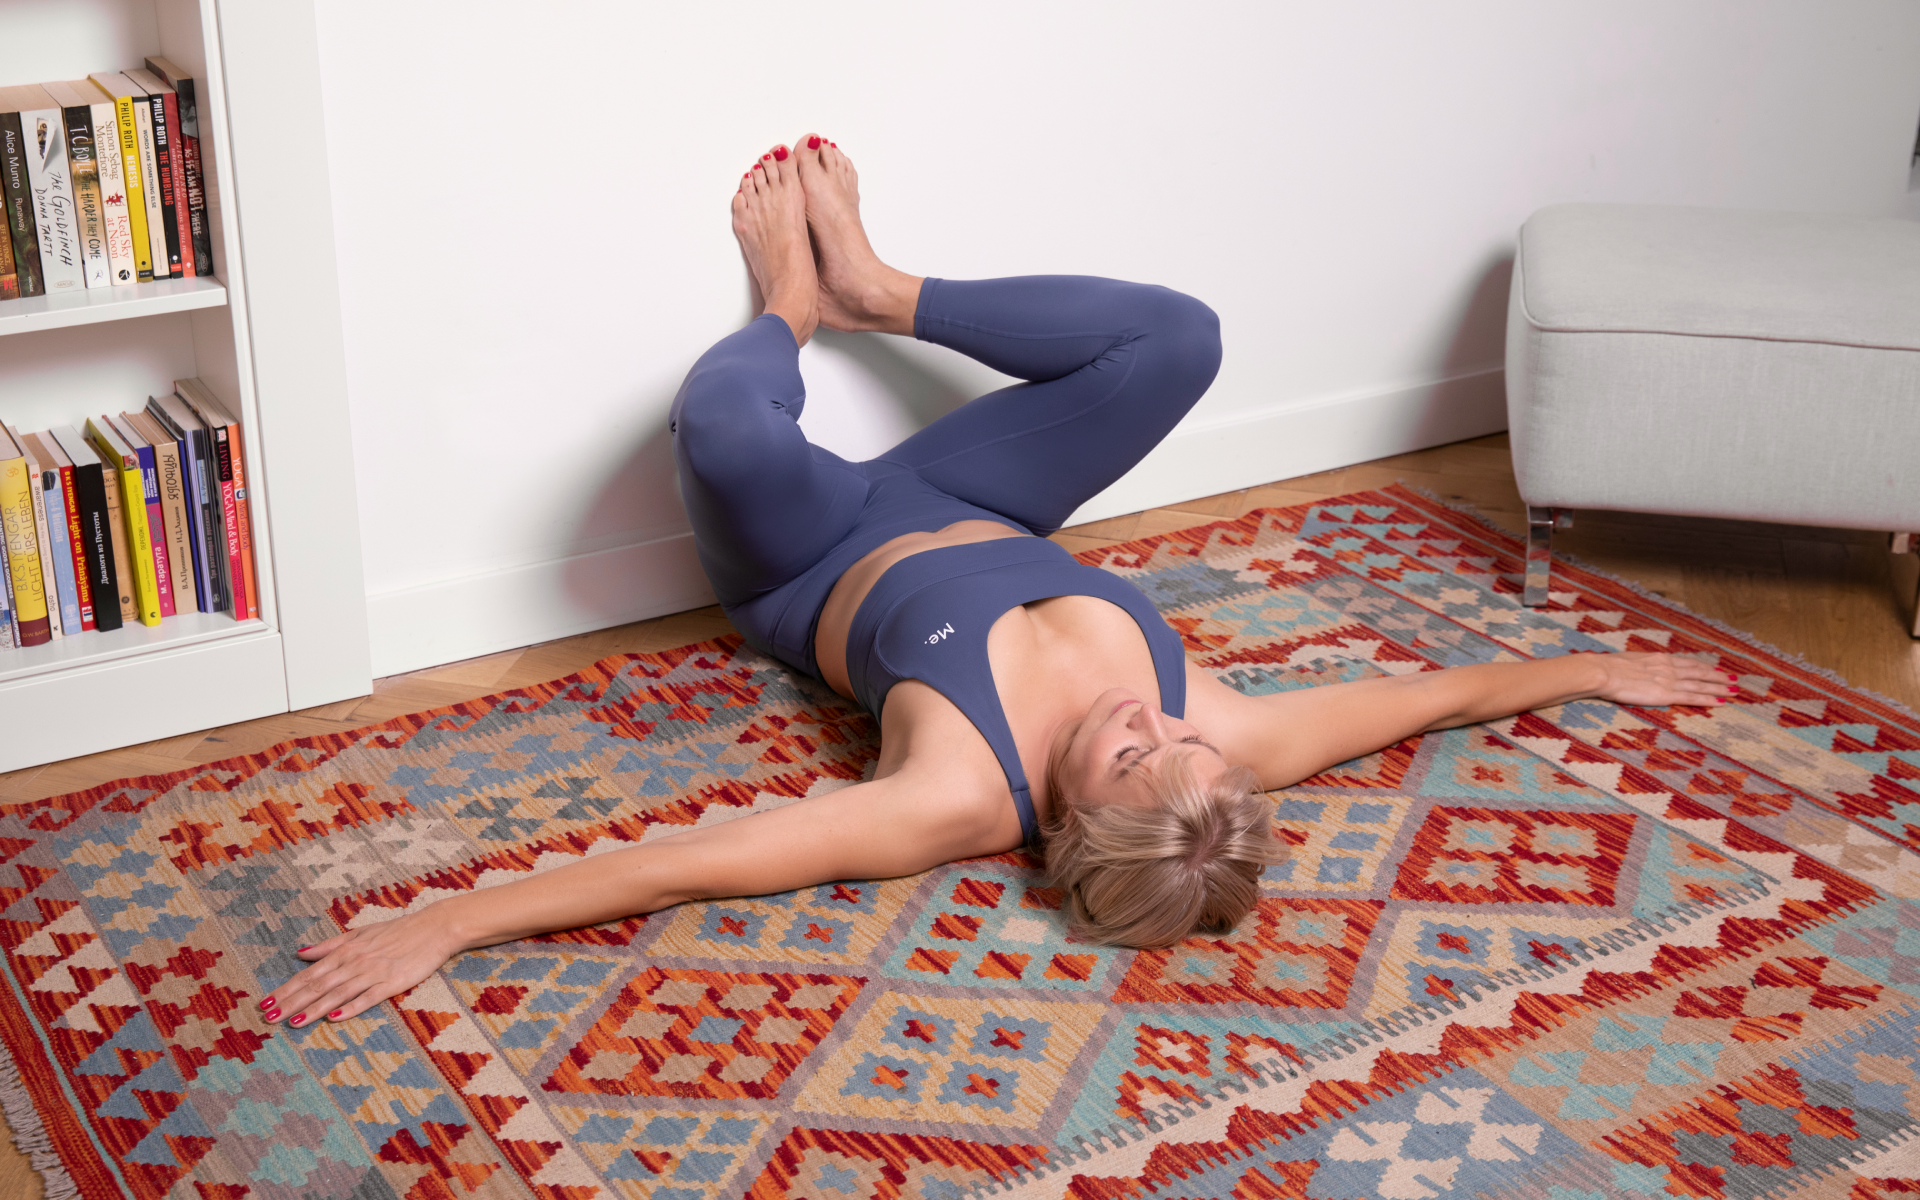
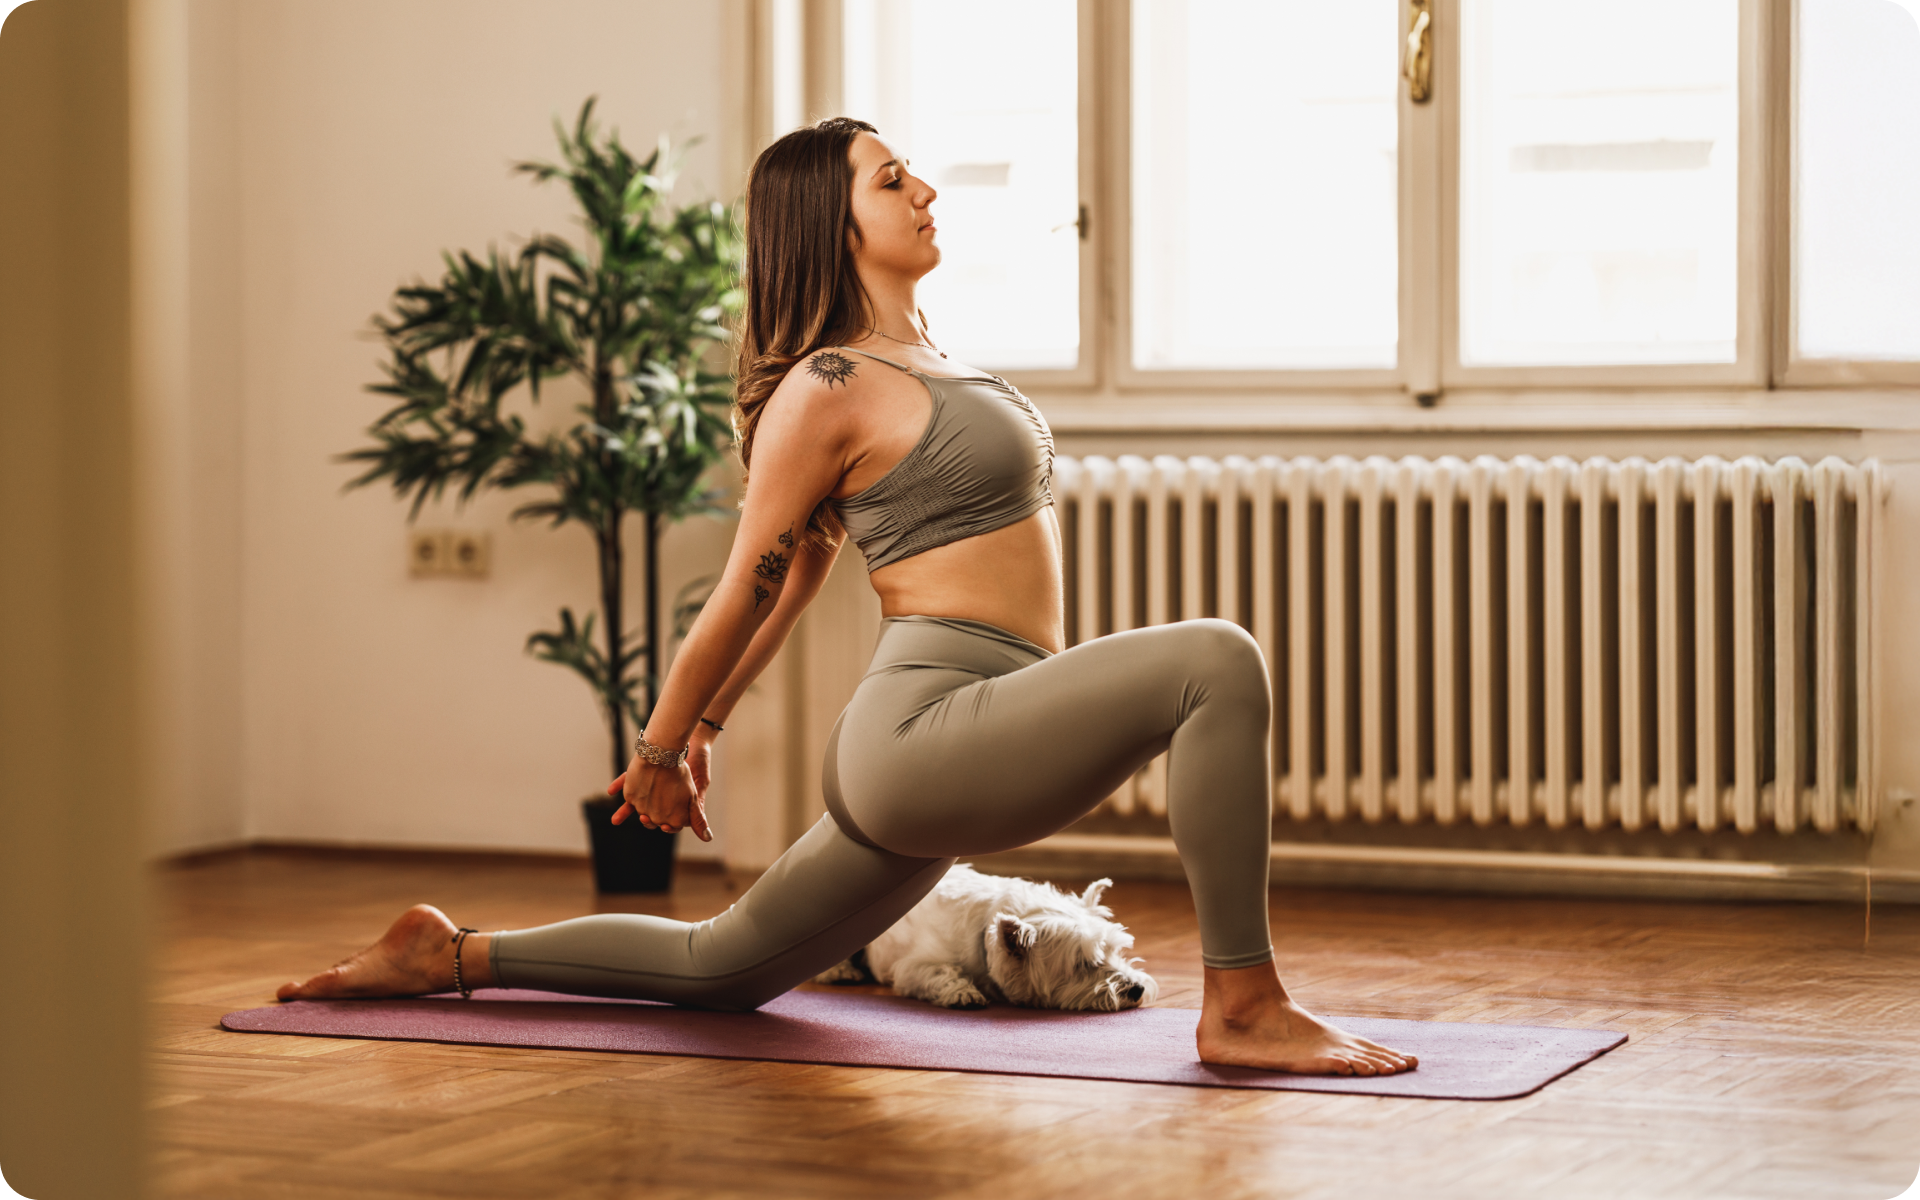
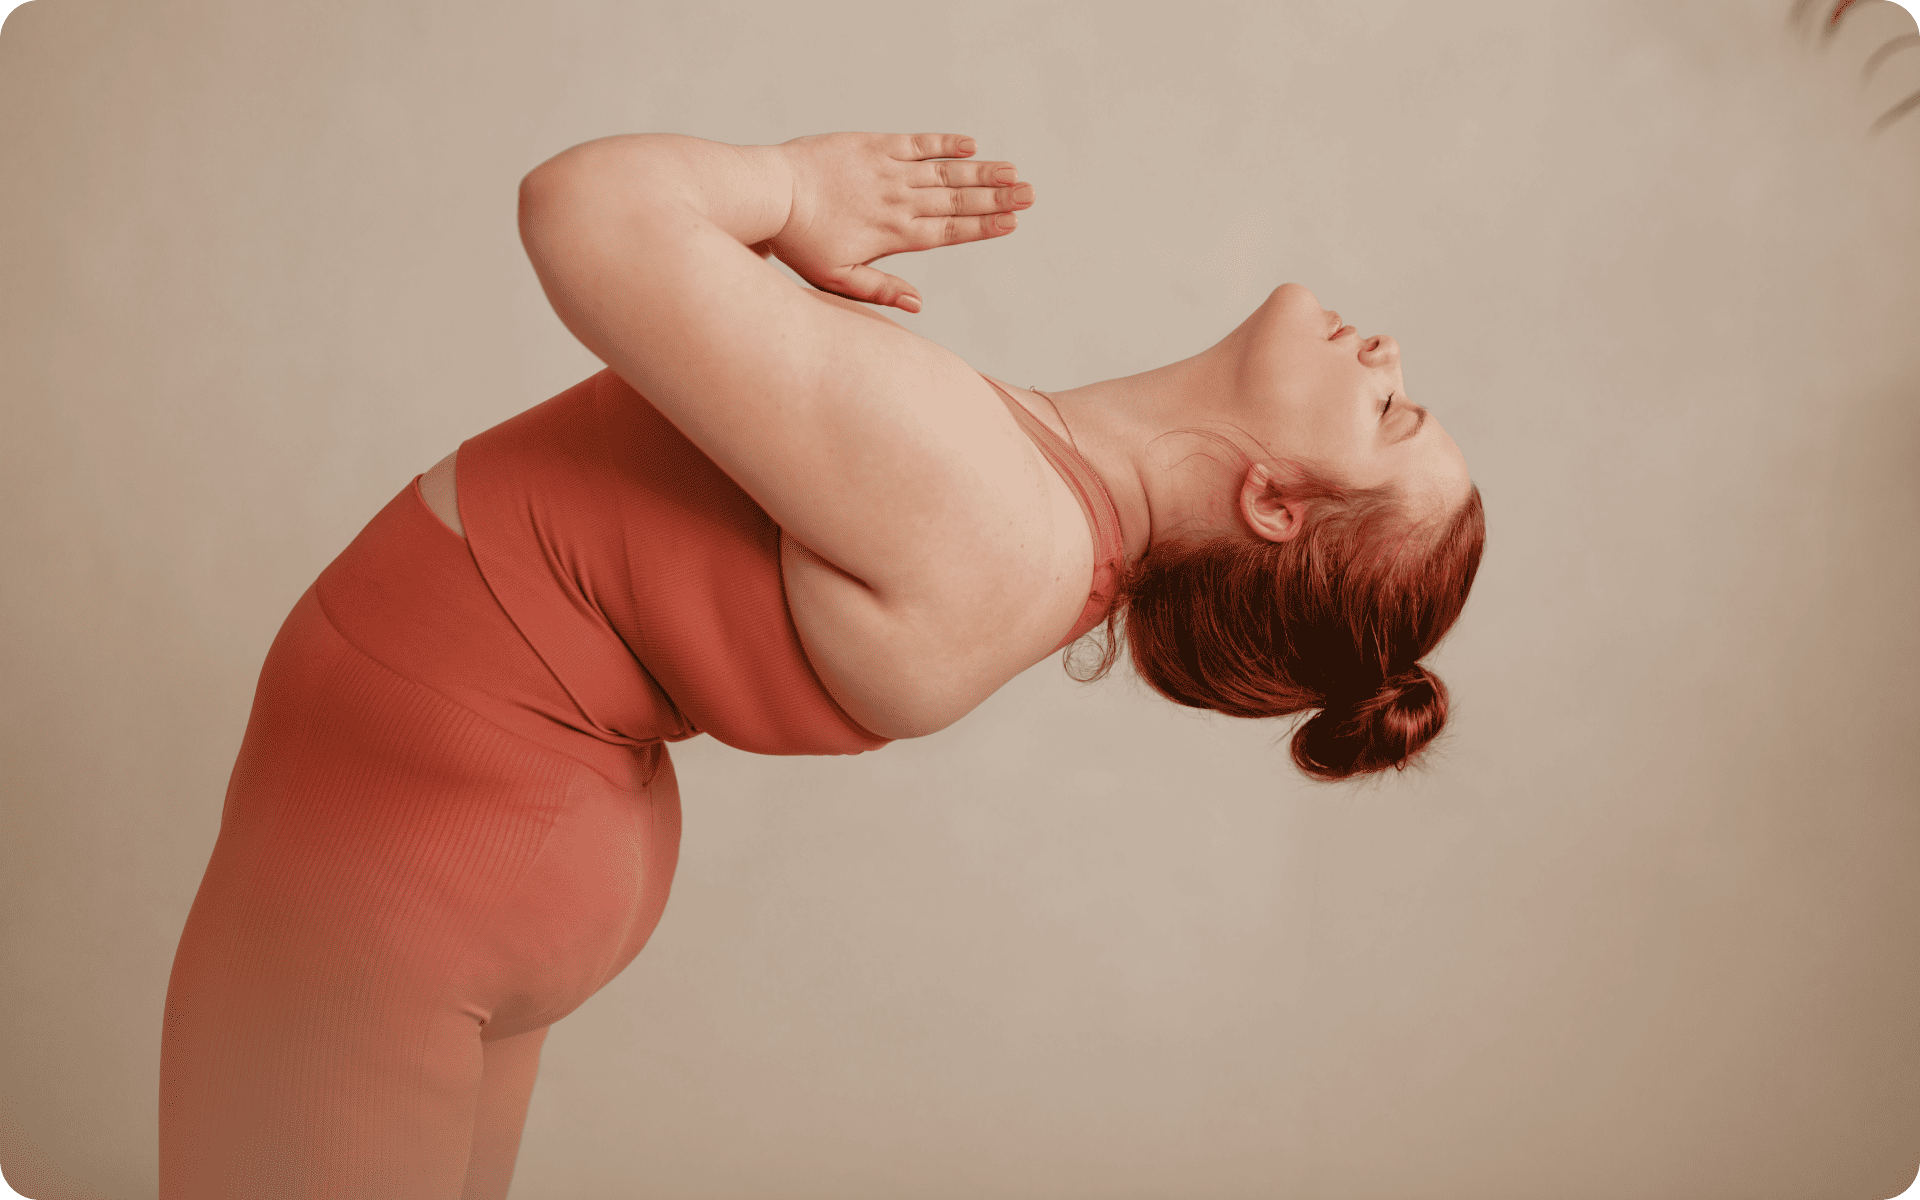
Picture a yoga session that leaves you feeling not only strong and energized, but also calm and centered. This is the perfect mix of benefits that power yoga offers. Power yoga is a popular form of yoga that incorporates strength, flexibility, and balance to create a dynamic and challenging practice.
Power yoga can be an effective tool for weight loss, as it combines physical activity with mindfulness, promoting healthy habits both on and off the mat. In this beginner power yoga sequence for weight loss, we explore 8 poses that target different muscle groups to help you build strength, increase flexibility, and burn calories.
We’ll also discuss modifications and variations for each pose, so that you can customize the sequence to your own level of experience and fitness.
What Is Meant By Power Yoga?
Power yoga refers to a vigorous and athletic style of yoga that is based on the traditional ashtanga yoga. It was developed in the 1990s by two American yogis, Bryan Kest and Beryl Bender Birch, who wanted to make yoga more accessible and appealing to Western audiences.
Unlike other forms of yoga that focus on relaxation and meditation, power yoga emphasizes physical movements and poses that challenge the body’s strength and flexibility. It also incorporates elements of cardio for an added calorie burn.
Power yoga can be considered a form of high-intensity interval training (HIIT), with its quick succession of poses that elevate the heart rate, followed by brief periods of rest and recovery. This makes it a great option for those looking to lose weight and improve their overall fitness.
In our, Power Yoga Calories Burned article, we go deeper into the science behind burning calories with power yoga and how it compares to other forms of exercise.
What Is The Difference Between Power Yoga and Regular Yoga?
The difference between power yoga and regular yoga is the intensity and pace of the practice. Regular yoga, such as Hatha or Vinyasa, focuses more on slow and mindful movements, while power yoga is fast-paced and physically challenging.
In regular yoga classes, there may be longer holds in each pose to focus on alignment and breath work. In contrast, power yoga involves shorter holds with a continuous flow of poses to build heat in the body and increase heart rate.
Additionally, traditional forms of yoga often include meditation and relaxation techniques at the end of a session, whereas power yoga typically ends with a final sequence of poses to cool down and stretch out the muscles.
When it comes to weight loss, progress is made by inches, not miles, so it’s much harder to track and a lot easier to give up. The BetterMe: Health Coaching app is your personal trainer, nutritionist, and support system all in one. Start using our app to stay on track and hold yourself accountable!
What Is The Difference Between Yin Yoga and Power Yoga?
The difference between yin yoga and power yoga is the focus and intensity of the practice. Yin yoga is a slow-paced style of yoga that involves holding poses for long periods, typically 3-5 minutes, to target the deep connective tissues and promote relaxation (res).
On the other hand, power yoga is dynamic and fast-paced, with a focus on building strength, increasing flexibility, and promoting weight loss. While yin yoga can be beneficial for stress relief and improving flexibility, power yoga offers cardiovascular benefits and helps to build muscle mass (mass).
Is Power Yoga Hard for Beginners?
Power yoga can be challenging for beginners, especially if you are new to physical activity or have limited flexibility. It requires a certain level of strength and stamina to hold poses and move through sequences with control and alignment.
However, power yoga can also be modified to suit different levels of experience. As a beginner, it’s important to listen to your body and take breaks when needed. You can also use props, such as blocks or straps, to help support your body in certain poses.
Check out our, Yoga for Strength article for tips on how to build strength and prepare your body for power yoga.
Power Yoga Weight Loss Sequence
Below is a list of the 9 poses we will cover in this sequence. Note that these aren’t specifically “power yoga poses”, rather they are common poses performed in a power yoga sequence.
The focus on fluid movement, holding poses for longer periods, quick repetitions, and incorporating strength-building elements are what make power yoga unique.
- Sun Salutations (Surya Namaskar)
- Downward Facing Dog (Adho Mukha Svanasana)
- Plank Pose (Phalakasana)
- Warrior II (Virabhadrasana II)
- Chair Pose (Utkatasana)
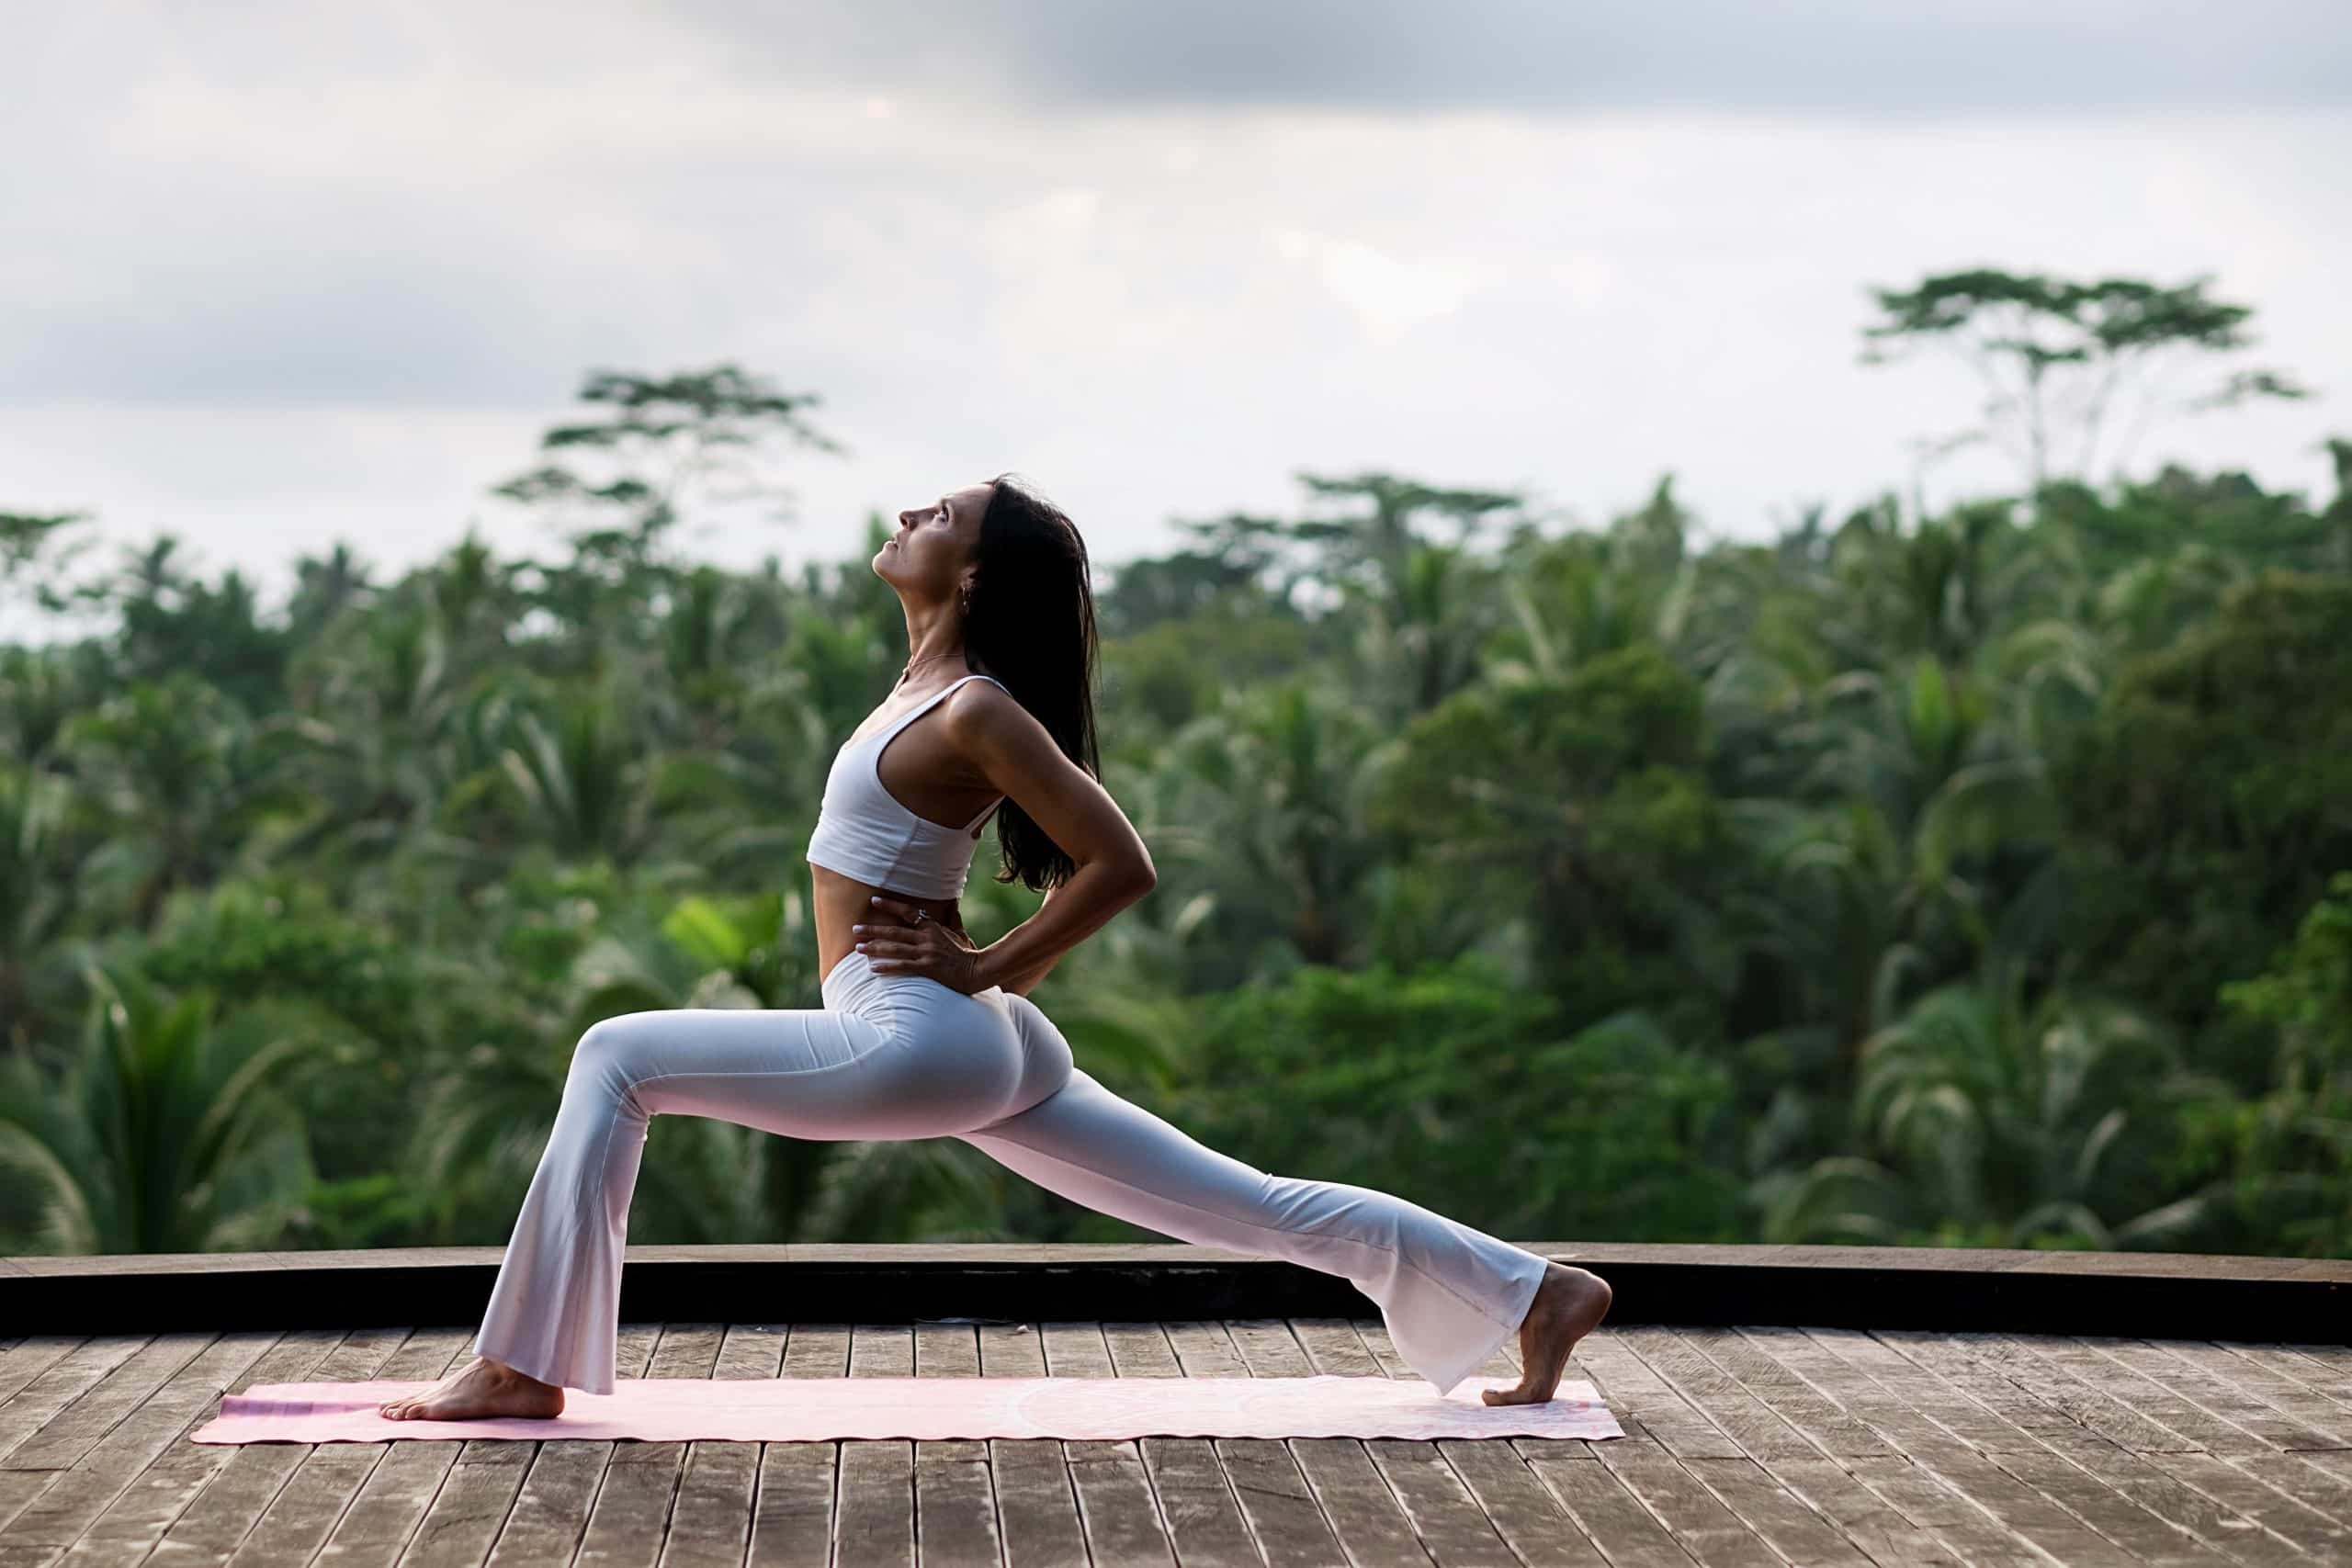
- High Lunge with Twist
- Boat Pose (Navasana)
- Bridge Pose (Setu Bandhasana)
- Cobra Pose (Bhujangasana)
1. Sun Salutations (Surya Namaskar)
Sun Salutations are a staple in any yoga practice. They are a series of 12 poses that flow together to create a dynamic sequence that warms up the entire body. Sun Salutations are great for building strength, increasing flexibility, and improving overall circulation.
Think of this as the warm-up for our power yoga sequence. To perform Sun Salutations, follow these steps:
- Begin standing at the front of your mat with your feet hip-width apart and your hands in prayer position at your heart center.
- Inhale as you raise your arms overhead, reaching up to the sky.
- Exhale as you fold forward from the hips, keeping your spine long and hinging at the waist.
- Inhale and lift halfway, bringing your hands to either shins or thighs, lengthening through the spine.
- Exhale and step back into a high plank pose.
- Hold in plank for a moment, then lower down into Chaturanga (low plank) with control.
- Inhale as you come into upward-facing dog, by lifting your chest up and forward, keeping your legs engaged.
- Exhale as you lift your hips up and back into downward-facing dog.
- Hold downward facing dog for a few breaths before stepping or jumping to the front of your mat to repeat the sequence from the top.
Repeat this series 3-5 times to fully warm up the body and prepare for the rest of the poses in our power yoga sequence.
Read more: Japanese Yoga: A Deep Dive Into Mindful Movements
2. Downward Facing Dog (Adho Mukha Svanasana)
Downward facing dog is a foundational pose in yoga and is often used as a resting pose. However, it also has many benefits for weight loss. This pose stretches the hamstrings, calves, and shoulders while strengthening the arms, legs, and core.
To perform downward facing dog:
- Begin on your hands and knees with your wrists under your shoulders and your knees under your hips.
- Tuck your toes under and lift your hips up towards the sky into an inverted V shape.
- Press evenly through both hands and feet, keeping your arms and legs straight.
- Engage your core by drawing your belly button towards your spine.
- Hold for a few breaths before releasing back down to the starting position.
Modifications: If you have tight hamstrings, keep a slight bend in the knees. You can also use blocks under your hands to make this pose more accessible.
3. Plank Pose (Phalakasana)
Plank pose may look simple, but it is a total body strengthener and great for toning the core muscles. It’s also a great way to build arm and shoulder strength, which are necessary for many other yoga poses.
To perform plank pose:
- Begin on your hands and knees with your wrists directly under your shoulders.
- Step both feet back so that you are in a high push-up position, with your arms straight and legs extended behind you.
- Keep your core engaged by drawing your belly button towards your spine and pressing through the heels to keep the legs active.
- Hold for a few breaths before releasing back down to the starting position.
Modifications: If holding this pose is challenging, you can lower onto your forearms instead of keeping the arms straight. You can also drop your knees to the mat for more support.
4. Warrior II (Virabhadrasana II)
Warrior II is a powerful pose that helps to build strength in the legs and core while also improving balance and focus. This pose also stretches the inner thighs and opens up the hips, which can be tight areas for many people.
To perform warrior II:
- Begin standing at the front of your mat with your feet about 3-4 feet apart.
- Turn your right foot out towards the side of your mat and keep your left foot facing forward.
- Bend into your right knee, keeping it stacked over your ankle, and extend your arms out to the sides with your palms facing down.
- Keep your gaze over your right fingertips, engaging through the core and pressing through both feet.
- Hold for a few breaths, before switching sides and repeating on the left side.
Modifications: If you have any knee issues, you can shorten the stance or keep a micro-bend in the knee to reduce pressure on the joint.
5. Chair Pose (Utkatasana)
Chair pose is a challenging pose that targets the glutes, thighs, and core. It also requires balance and focus, making it a great pose for improving mental strength and concentration.
To perform chair pose:
- Begin standing at the front of your mat with your feet hip-width apart.
- Inhale as you reach your arms up overhead with your palms facing each other.
- Exhale as you sit back into an imaginary chair, keeping your weight in your heels and knees bent.
- Keep your chest lifted and core engaged while holding this position for a few breaths.
- To come out of this pose, inhale as you stand back up to a neutral standing position with arms by your sides.
Modifications: For more support, you can place a block between your thighs or keep a slight bend in the knees instead of sitting all the way back into the pose.
6. High Lunge with Twist
High lunge with twist is a combination pose that targets multiple muscle groups at once. It strengthens the legs while also engaging the core and stretching through the chest and shoulders.
To perform high lunge with twist:
- Begin in a high lunge position with your right foot forward and left foot back.
- Inhale as you reach your arms up overhead.
- Exhale as you twist to the right, bringing your left hand to the outside of your right thigh and reaching your right arm back behind you.
- Keep your hips square and press through the back heel while holding this position for a few breaths.
- To come out of the pose, inhale as you untwist and bring both arms back up overhead.
- Repeat on the left side before moving on to the next pose in our power yoga sequence.
Modifications: If balance is an issue, you can keep your back knee down or place a block under your bottom hand for support in the twist.
If you wish to free yourself from all the extra pounds that have been weighing you down for way too long, start using the BetterMe: Health Coaching app and overhaul your entire life!
7. Boat Pose (Navasana)
Boat pose is a challenging core strengthener that also works the hip flexors and quads. It’s a great pose for building overall abdominal strength and stability.
To perform boat pose:
- Begin seated with your knees bent and feet flat on the ground.
- Lean back slightly, keeping your spine straight and core engaged.
- Lift your feet off the ground, bringing your shins parallel to the floor.
- From here, you can either keep holding onto the backs of your thighs or extend your arms out in front of you, palms facing up.
- Hold this position for a few breaths before releasing back down to the starting position.
Modifications: If keeping your legs extended is too challenging, you can keep your knees bent or place your hands behind your thighs for support. You can also use a yoga block between your feet to activate inner thigh muscles and make this pose more accessible.
8. Bridge Pose (Setu Bandhasana)
Bridge pose is an excellent way to strengthen the back muscles, glutes, and hamstrings while also stretching the chest, neck, and spine. It can help improve posture and alleviate back pain.
To perform bridge pose:
- Begin by lying on your back with your knees bent and feet flat on the ground, hip-width apart.
- Place your arms alongside your body with your palms facing down.
- Inhale and press through your feet to lift your hips up towards the ceiling.
- Interlace your fingers underneath your back and press your arms into the mat to lift your chest higher.
- Hold this position for a few breaths, keeping your glutes and core engaged.
- To release, exhale as you slowly lower your hips back down to the mat.
Modifications: If you have difficulty lifting your hips, you can place a block under your sacrum for support. If interlacing your fingers is uncomfortable, keep your arms alongside your body with palms pressing into the mat.
9. Cobra Pose (Bhujangasana)
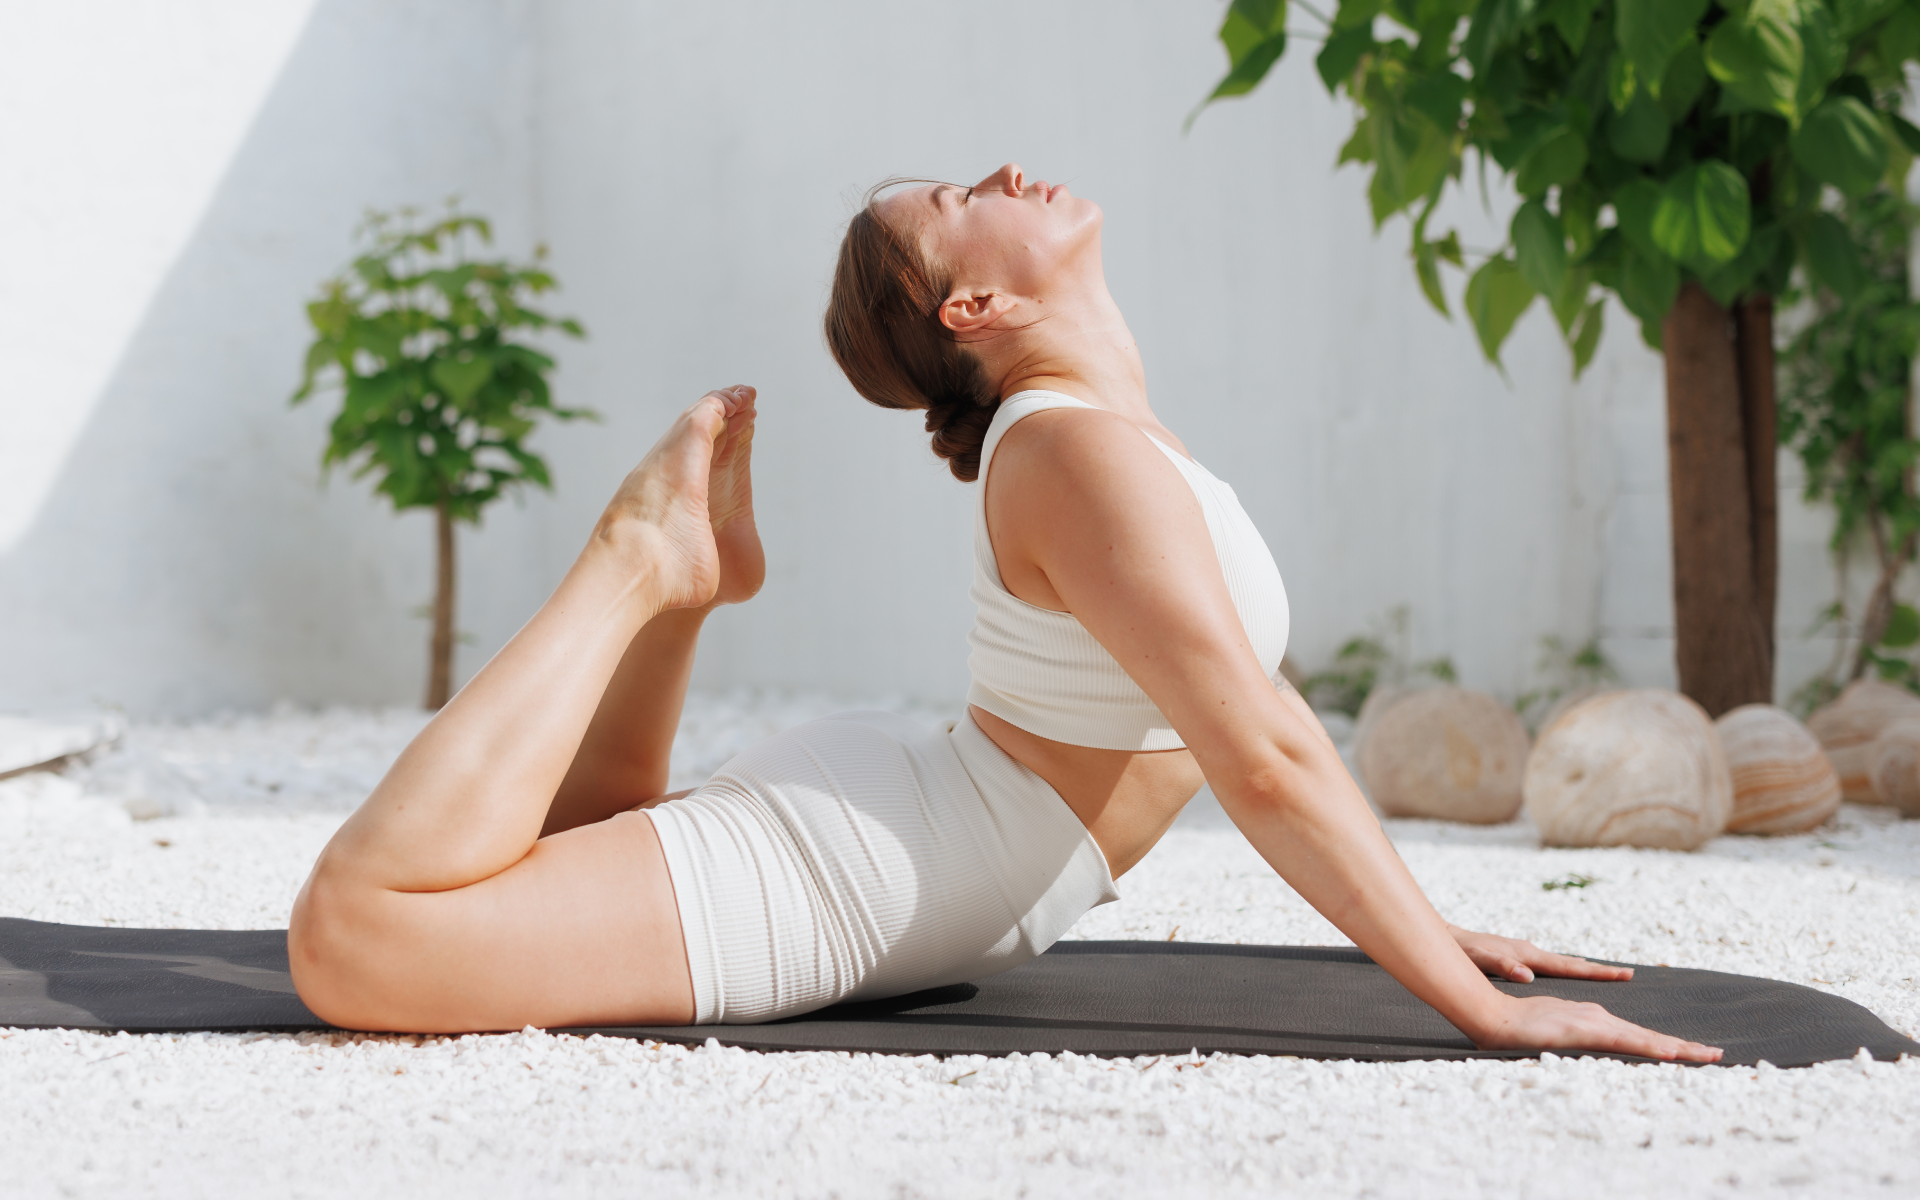
Cobra pose is a gentle backbend that strengthens the spine, opens the chest, and stretches the shoulders and abdomen. It’s an invigorating pose that can help reduce fatigue and stress.
To perform cobra pose:
- Begin by lying on your stomach with your legs extended behind you and the tops of your feet pressing into the mat.
- Place your hands under your shoulders with your elbows close to your body.
- Inhale as you slowly lift your chest off the ground, using the muscles of your back rather than pushing up with your arms.
- Keep your gaze slightly forward and your neck in line with your spine.
- Hold this position for a few breaths, keeping your lower body grounded.
- To release, exhale as you lower your chest back down to the mat.
Modifications: If lifting into a full cobra is too challenging, you can perform a baby cobra by lifting your chest just a few inches off the ground and keeping your hands light on the mat. Alternatively, you can keep your forearms on the mat for a sphinx pose.
Read more: Yoga for Moms Who Need a Break: A Simple Guide
FAQs
What Are The Disadvantages of Power Yoga?
The disadvantages of power yoga are similar to those of any intense physical activity. Some people may find it too challenging or physically demanding, leading to potential injuries. Additionally, if not practiced properly, power yoga can cause muscle strains and overuse injuries (2).
Is It Okay To Do Power Yoga Every Day?
It’s not recommended to do power yoga every day, as it’s an intense form of exercise that can cause strain on the body if not given enough rest and recovery time (2). It’s best to mix in other forms of exercise and take rest days in between power yoga sessions.
What Is The Hardest Type of Yoga?
There’s no definitive answer to this question, as different types of yoga can be challenging for different individuals. However, power yoga is often considered one of the more physically demanding forms of yoga due to its fast-paced, strength-building nature.
Is Power Yoga Actually Yoga?
Power yoga is a modern interpretation of traditional yoga practices, combining elements of strength training, cardio, and flexibility. While it may not adhere to all traditional principles of yoga, it still incorporates many aspects of the practice and can provide similar physical and mental benefits.
The Bottom Line
Power yoga is a dynamic and challenging form of exercise that combines traditional yoga poses with strength training and cardio elements. It offers numerous physical and mental benefits, including improved strength, flexibility, balance, and stress relief.
This guide covered some of the foundational poses and modifications to help you get started with your own power yoga practice. Remember to always listen to your body, take breaks when needed, and consult a physician before starting any new exercise routine.
DISCLAIMER:
This article is intended for general informational purposes only and does not serve to address individual circumstances. It is not a substitute for professional advice or help and should not be relied on for making any kind of decision-making. Any action taken as a direct or indirect result of the information in this article is entirely at your own risk and is your sole responsibility.
BetterMe, its content staff, and its medical advisors accept no responsibility for inaccuracies, errors, misstatements, inconsistencies, or omissions and specifically disclaim any liability, loss or risk, personal, professional or otherwise, which may be incurred as a consequence, directly or indirectly, of the use and/or application of any content.
You should always seek the advice of your physician or other qualified health provider with any questions you may have regarding a medical condition or your specific situation. Never disregard professional medical advice or delay seeking it because of BetterMe content. If you suspect or think you may have a medical emergency, call your doctor.
SOURCES:
- 7 Different Kinds of Yoga and How To Find the Right Practice (2022,clevelandclinic.org)
- The Dangers of Yin Yoga (2019,holistic-bodywork.org)
