If you want to be good at your favorite exercise activities, there’s less room for improvisation than you might think.
A recent study analyzing physiological adaptations in sedentary adults found that structured calisthenics programs done over 10 weeks significantly improved diastolic blood pressure, resting metabolism, and body fat percentage over a 10-week period (1). However, many beginners dive into bodyweight training without a plan, leading to plateaued progress, frustration, or worse – injury.
To help you navigate through this process, in this blog, we’ll discuss exactly how to start calisthenics, how to structure your routine based on scientific principles, and how to execute movements for optimal strength and hypertrophy outcomes.
How to Start Calisthenics as a Beginner
Starting calisthenics requires a shift in mindset from “how much weight can I move?” to “how well can I move my body through space?”
Calisthenics is a form of strength training that uses your own body weight as resistance. Unlike external weights, where you simply add plates to a bar, calisthenics requires you to manipulate leverage and body position to increase intensity.
- Assessing Your Starting Point
Before attempting advanced movements such as muscle-ups or levers, you must establish a baseline of strength. This isn’t just about safety, it’s about efficiency. A small study from 2017 done in untrained men showed a 16.4% increase in push-up strength and a 39.2% increase in pull-up strength over 8 weeks when utilizing proper progressions. However, this study had several limitations (2).
To begin effectively, you need to determine your “progression level”. This is the variation of an exercise that allows you to perform between 5 and 12 repetitions with perfect form before reaching technical failure.

- Equipment Essentials
While calisthenics is often marketed as “equipment-free”, a few key tools are necessary for a balanced physique:
- Pull-up Bar: Essential for vertical pulling mechanics.
- Parallel Bars or Dip Station: Essential for vertical pushing and core compression work.
- Gymnastic Rings: Highly recommended for increasing stabilization demands.
- Low Bar or sturdy table: For horizontal rowing movements.
Start by identifying a safe space in your home or a local park where these items are accessible. Calisthenics training for beginners at home is entirely feasible with just a doorway pull-up bar and a set of rings.
If you want more details about how to structure and progress your training, check out our in-depth calisthenics beginner program to read more about the topic.
BetterMe: Health Coaching app helps you achieve your body goals with ease and efficiency by helping to choose proper meal plans and effective workouts. Start using our app and you will see good results in a short time.
Can I Learn Calisthenics by Myself?
The short answer is yes, but self-teaching requires a disciplined approach to form and programming.
Learning calisthenics autonomously means you must become your own coach. You need to focus on your “proprioception” – the body’s ability to sense its location, movements, and actions (3). This will allow you to refine your own form as you get started, which is key for calisthenics.
The Role of Feedback Loops
Without a coach, you must create external feedback loops to correct your form.
- Video Analysis: Record your sets from the side and front angles. Compare your form to expert demonstrations.
- Tempo Control: Use a standardized tempo (e.g. 2 seconds down, 1 second pause, 1 second up) to ensure you aren’t using momentum to mask weakness.
- Logbook: Track not just reps, but the quality of those reps (e.g. “reps 1-5 clean, rep 6 form breakdown”).
By strictly adhering to these self-monitoring tactics, you can safely progress without direct supervision. However, be wary of “ego lifting”. If you cannot control the eccentric (lowering) phase of a movement for at least 2 seconds, you’re likely using a progression that is too difficult.
Read more: Home Calisthenics Workout Plan: A Clear, Beginner-Focused Guide with Pro Tips
How to Prepare Your Body for Calisthenics
Preparation is often misunderstood as just “warming up”. In reality, preparing for calisthenics involves mobilizing joints that will be subjected to high loads and activating specific muscle groups to ensure stability.
Joint Preparation
Calisthenics places unique stress on the wrists, elbows, and shoulders due to more weight-bearing movements through your upper body. Unlike a machine chest press, which locks you into a fixed path, a push-up or dip requires your connective tissue to stabilize the load.
- Wrists: Perform wrist circles, flexion, and extension stretches for 2-3 minutes.
- Shoulders: Perform skin-the-cats or resistance band dislocates to open the thoracic spine and shoulder girdle.
- Scapula: Engage in scapular pulls and pushes to ensure your shoulder blades can move freely through retraction (pinching together) and protraction (pushing apart).
Typically, doing much easier versions of the exercises you’re about to do in your workout is the most effective preparation.
The “Bodyline” Concept
Before loading dynamic movements, it may help to learn to create tension. This is often referred to as “bodyline work” or core bracing (4).
For example, a hollow body hold teaches you to posteriorly tilt your pelvis (tuck your tailbone) and engage your transverse abdominis. This alignment is essential for proper form for the lower back during push-ups, pull-ups, and levers, resulting in the appropriate challenge to each area.
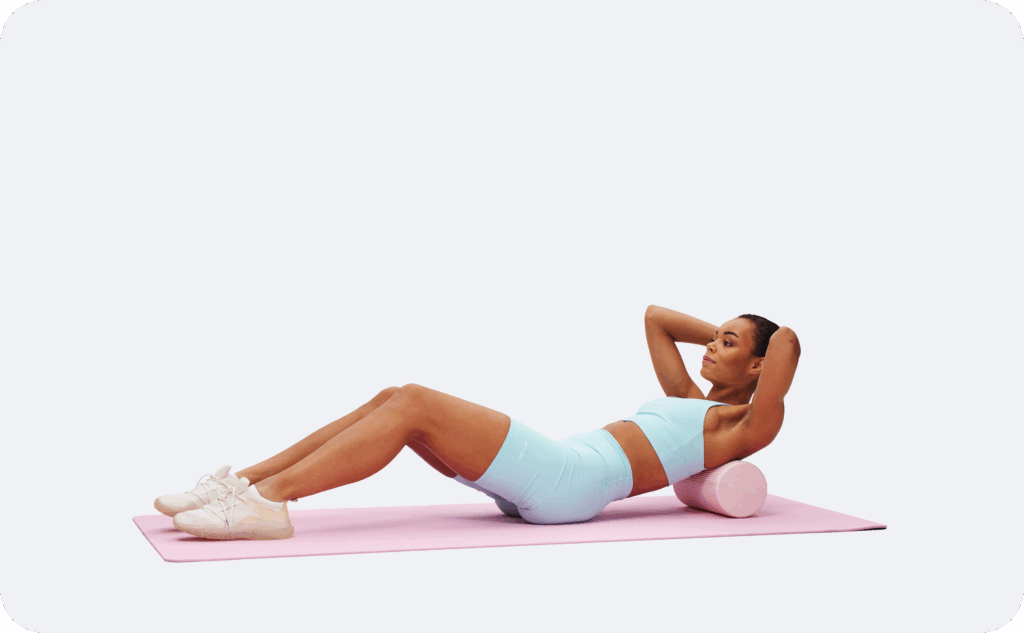
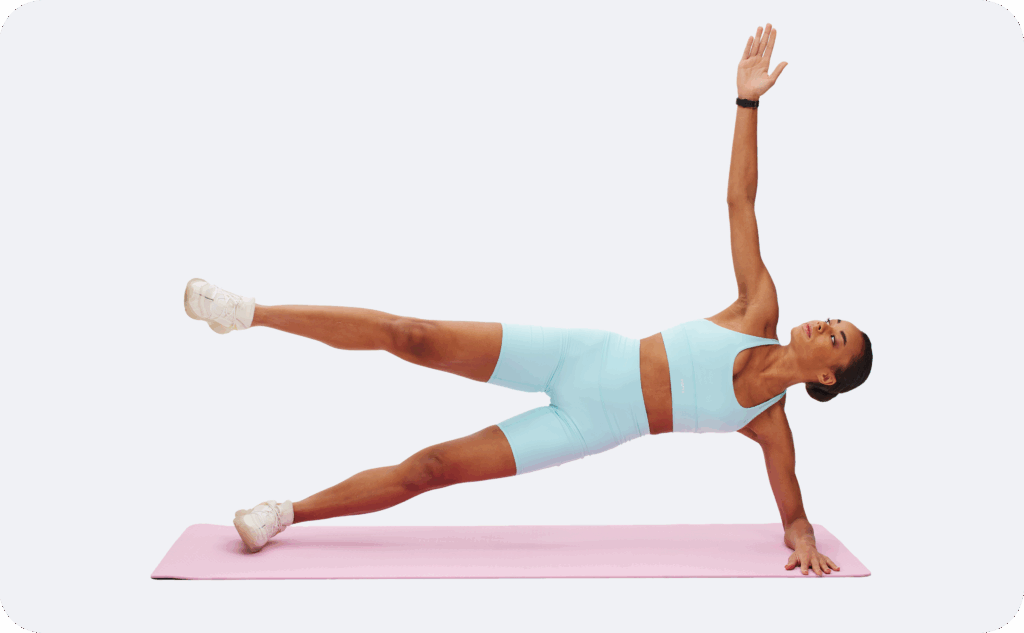
Perform 60 seconds of total work for the following static holds as part of your preparation:
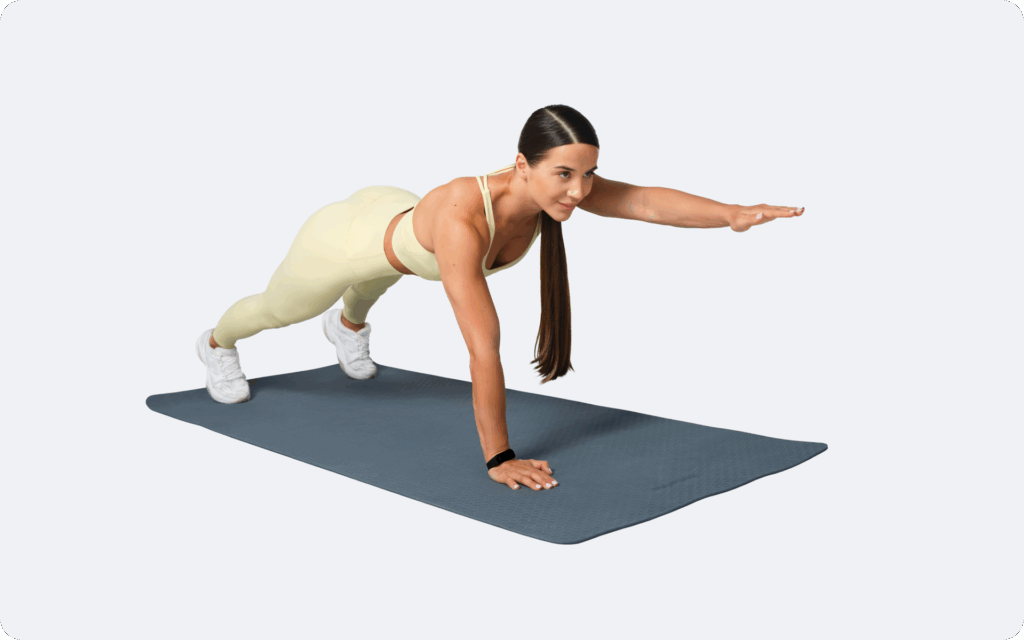
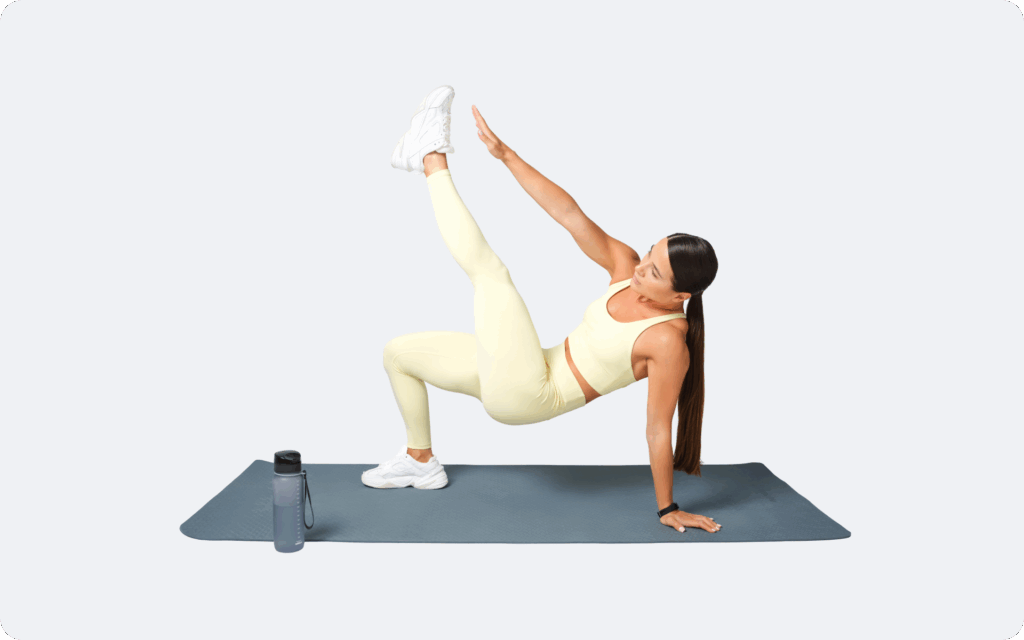
- Plank: Shoulders protracted, glutes squeezed.
- Side Plank: Hips driven up, straight line from head to heels.
- Hollow Hold: Lower back glued to the floor, legs and shoulders lifted.
- Arch Hold: Belly on floor, chest and thighs lifted (engaging the posterior chain).
This preparation phase ensures your body is prepared before you apply force.
If you want more tips and sample home-friendly routines, visit our calisthenics for beginners at home guide to read more about the topic.
What Is a Moderate Calisthenics Training Volume for Beginners?
A moderate training volume for a beginner is defined as a frequency that stimulates adaptation without exceeding your recovery capacity. Based on general strength training principles and expert research, a full-body routine performed 3 times per week is optimal for most beginners (5).
This frequency allows for approximately 48 hours of rest between sessions, which is the standard window that is required for protein synthesis and neural recovery in novice trainees.
The Balanced Routine Structure
A well-designed calisthenics exercises for beginners routine should be balanced to prevent postural imbalances. Most beginners focus heavily on pushing (push-ups) and neglect pulling (rows), leading to rounded shoulders. To avoid this, your routine must include:
- Vertical Push: (e.g. dips or overhead press)
- Vertical Pull: (e.g. pull-ups)
- Horizontal Push: (e.g. push-ups)
- Horizontal Pull: (e.g. bodyweight rows)
- Anterior Chain Legs: (e.g. squats)
- Posterior Chain Legs: (e.g. glute bridges or Nordic curls)
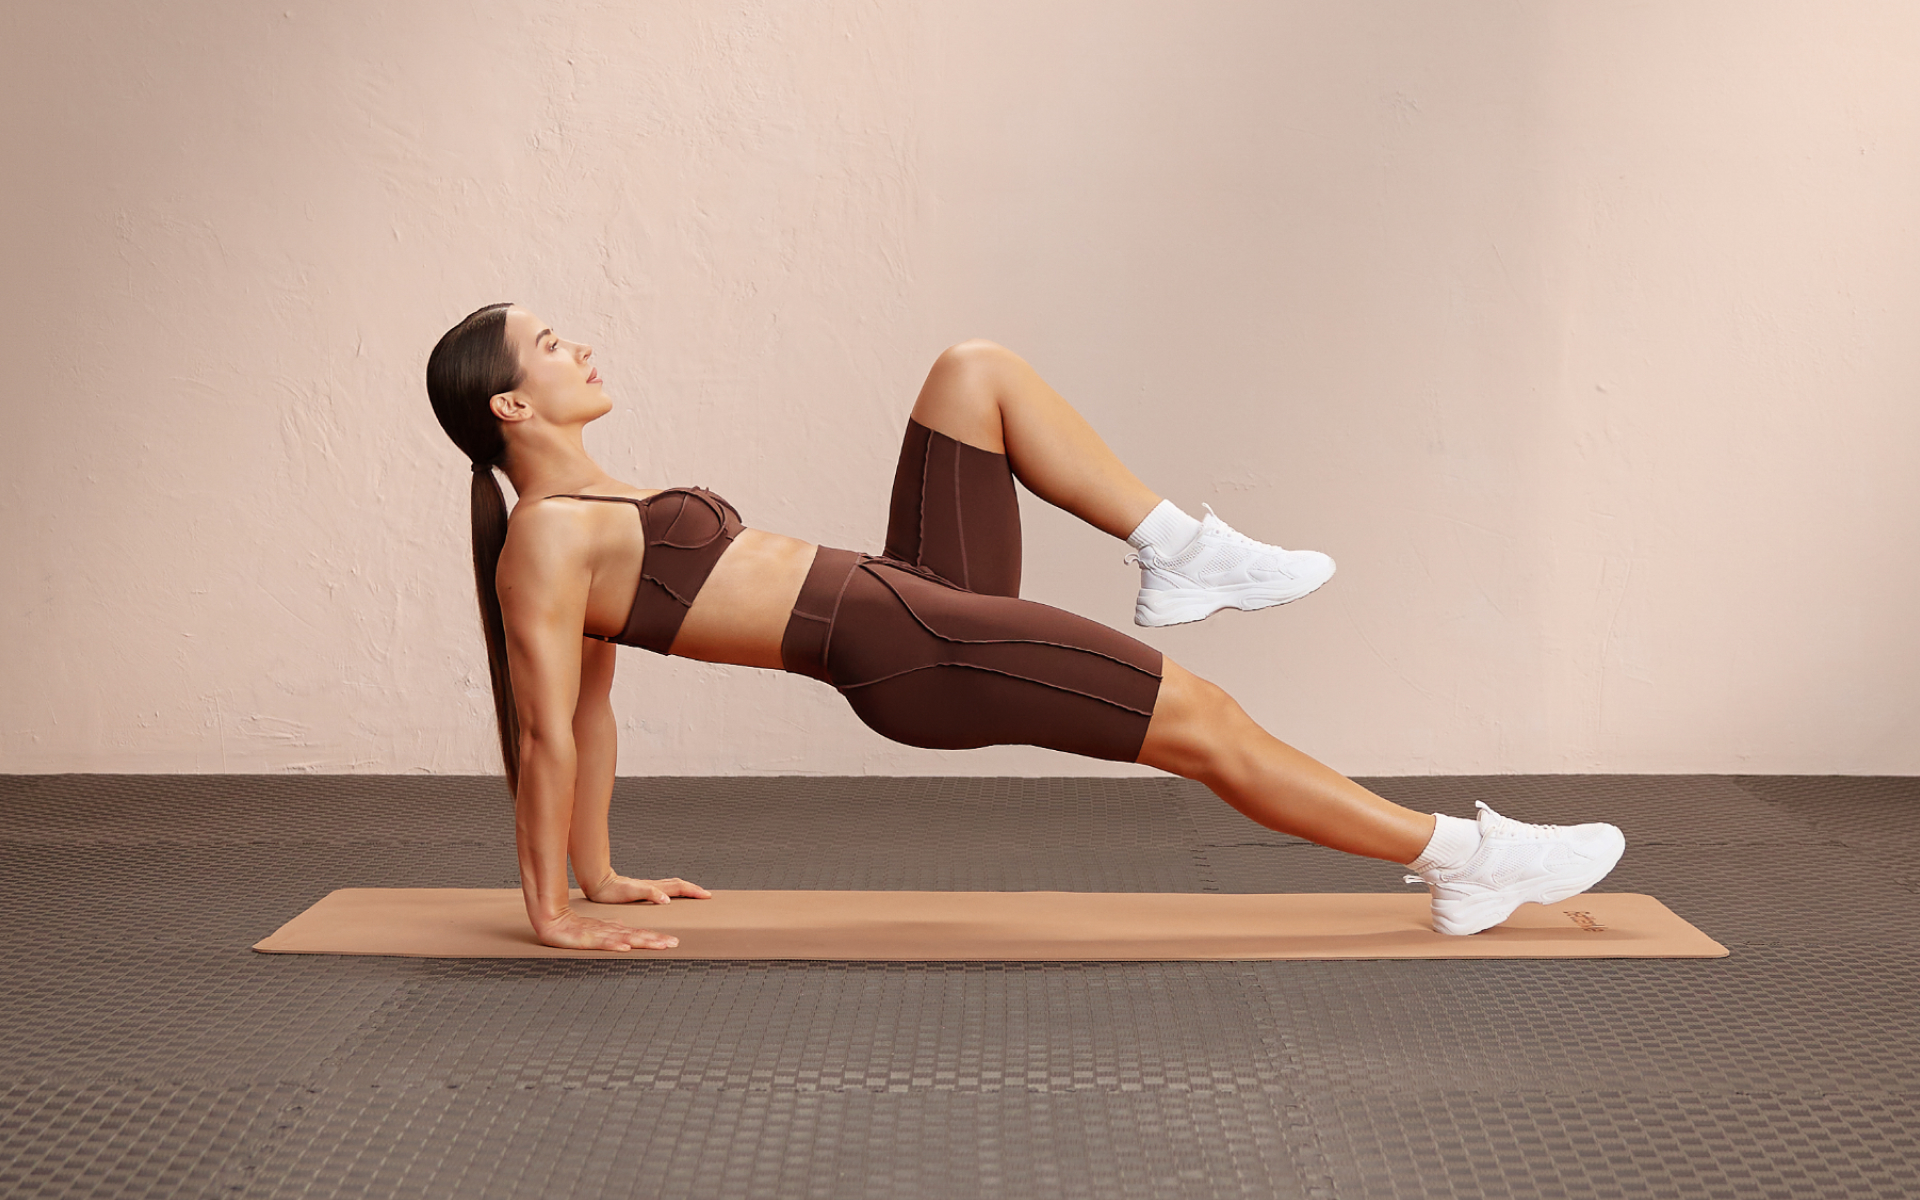
- Core Compression/Stability: (e.g. L-sits)
The Recommended Beginner Routine
This routine uses a “paired set” structure. You perform Set A1, rest for 90 seconds, perform Set A2, rest for 90 seconds, and repeat. This maximizes recovery for the muscle groups while keeping the workout density high.
Program Notes:
- Frequency: 3 days per week (e.g. Mon/Wed/Fri).
- Warm-up: 5-10 minutes of joint mobility and bodyline drills.
- Tempo: 10X0 (1 second down, 0 second pause at bottom, explode up, 0 second pause at top) for dynamic movements.
- Progression: Once you can hit the top end of the rep range (e.g. 8 reps) with perfect form for all sets and no muscle soreness, move to a harder progression.
Full-Body Beginner Calisthenics Routine
| Pair | Exercise | Sets | Reps | Rest | Notes |
|---|---|---|---|---|---|
| A1 | Pull-up progression | 3 | 5-8 | 90s | Focus on full range of motion |
| A2 | Squat progression | 3 | 5-8 | 90s | Keep your heels on the ground |
| B1 | Dip progression | 3 | 5-8 | 90s | Shoulders below your elbows at the bottom |
| B2 | Hinge progression | 3 | 8-12 | 90s | Focus on your hamstrings and glutes |
| C1 | Row progression | 3 | 5-8 | 90s | Pull rings/bar to your chest |
| C2 | Push-up progression | 3 | 5-8 | 90s | Keep your core braced (hollow body) |
| D1 | Core compression | 3 | 10-30s | 60s | L-sit or knee raise hold |
Exercise Instructions
Pull-up Progression
- Muscles Worked: Lats, biceps, rhomboids.
- Progression Step: If you cannot do a pull-up, do negatives (jump up, lower slowly for 5-8 seconds).
- Step 1: Grab the bar with an overhand grip, your hands slightly wider than shoulder-width apart.
- Step 2: Start from a dead hang with your shoulders elevated (touching your ears).
- Step 3: Depress your scapula (pull your shoulders down) to initiate the movement.
- Step 4: Pull your elbows down and back until your chin is over the bar.
- Step 5: Lower yourself under control to the full dead hang position.
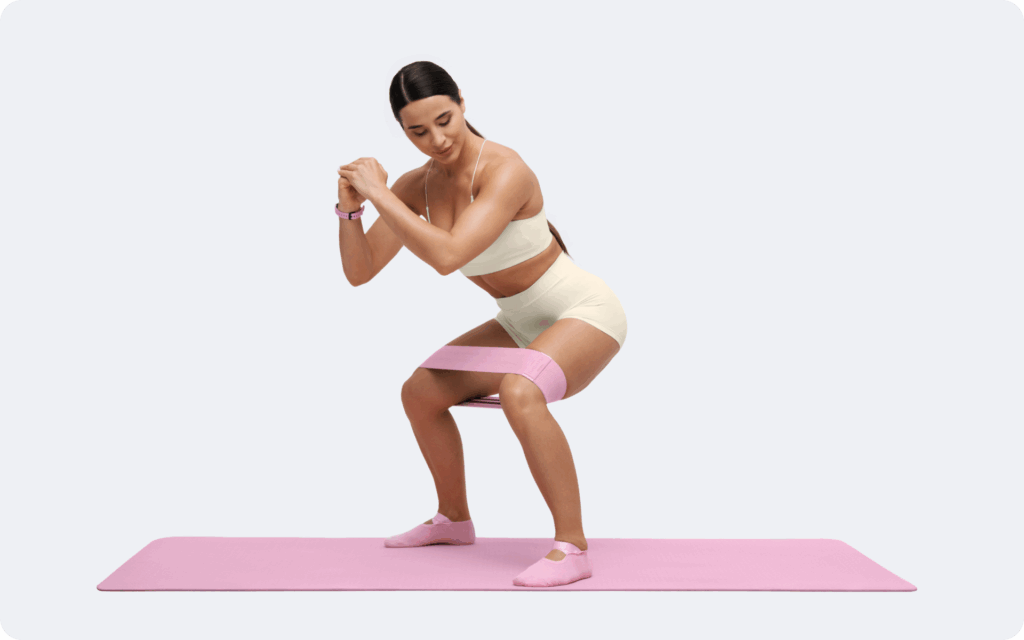
Squat Progression
- Muscles Worked: Quads, glutes, adductors.
- Progression Step: Assisted squat -> bodyweight squat -> split squat.
- Step 1: Stand with your feet shoulder-width apart, your toes pointed slightly out (15-30 degrees).
- Step 2: Initiate the movement by breaking at the hips and knees simultaneously.
- Step 3: Descend until your hip crease is below your knee (breaking parallel).
- Step 4: Keep your chest up and ensure your knees track over your toes.
- Step 5: Drive through the mid-foot to return to standing, squeezing your glutes at the top.
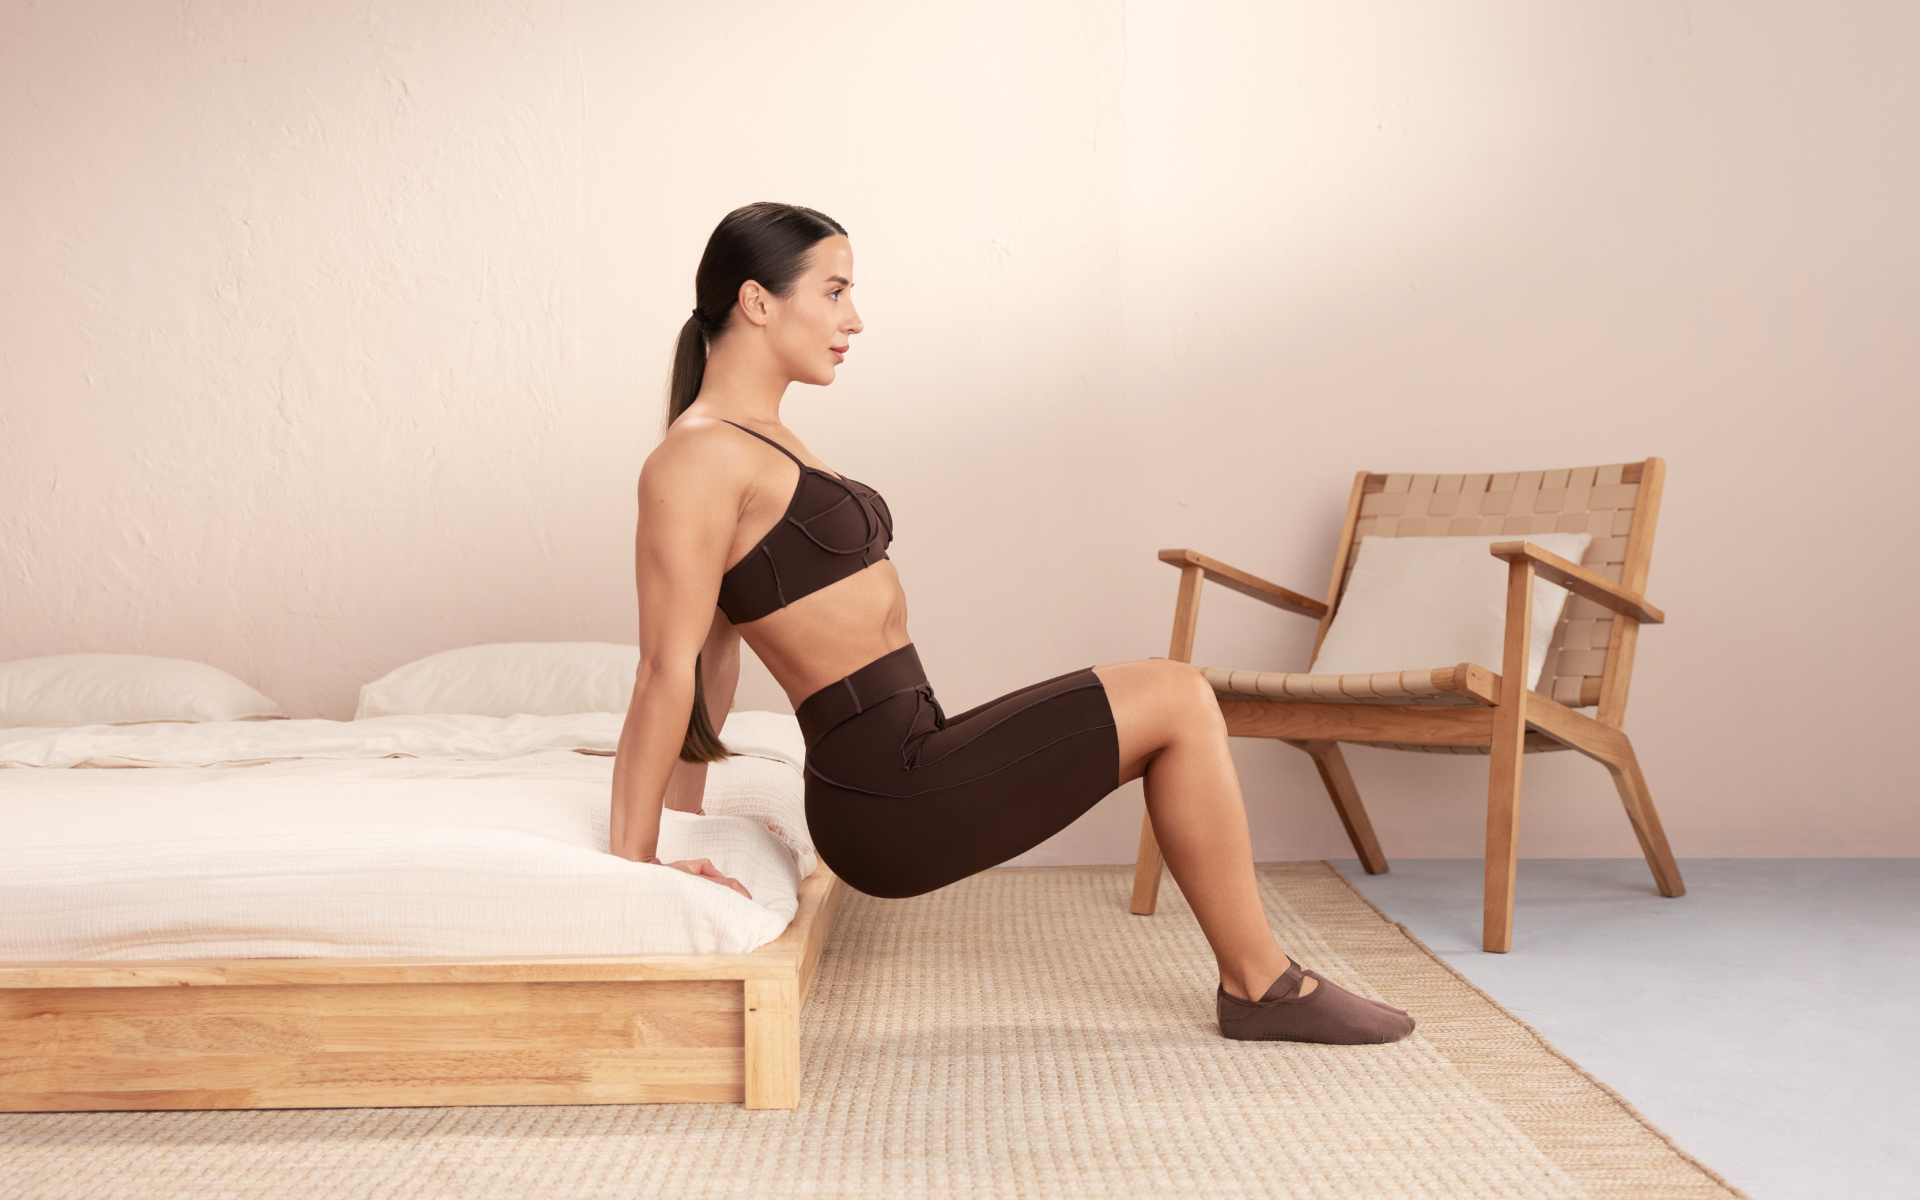
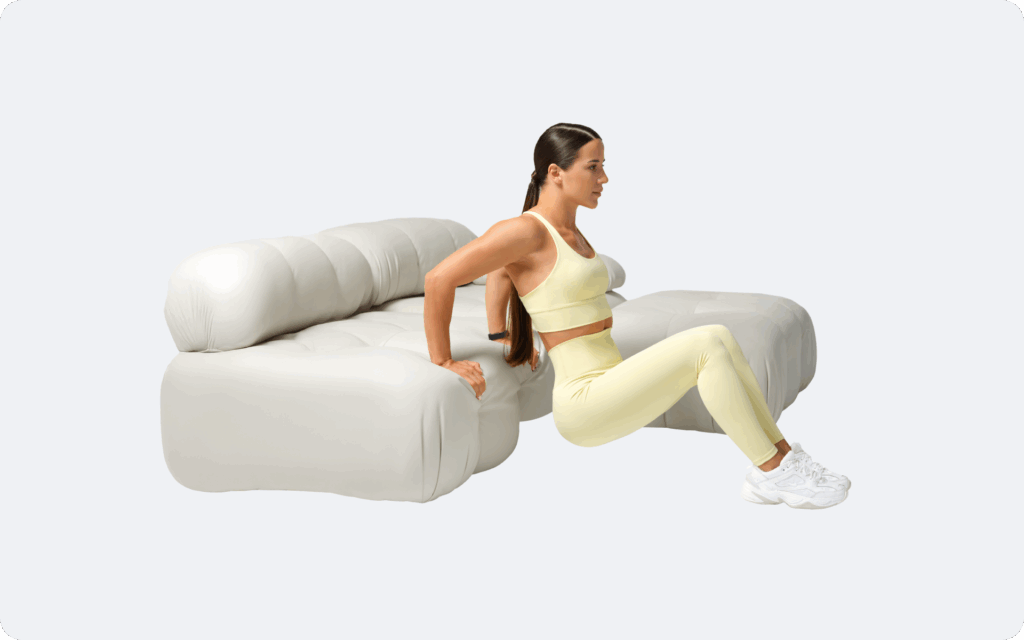
Dip Progression
- Muscles Worked: Chest, triceps, anterior deltoid.
- Progression Step: Parallel bar support hold -> negative dips -> regular dips.
- Step 1: Support yourself on parallel bars with your arms locked out and your shoulders depressed.
- Step 2: Lean forward slightly to engage your chest.
- Step 3: Lower your body by bending your elbows until your shoulders are below your elbows.
- Step 4: Keep your elbows tucked in, not flaring out.
- Step 5: Push back up to the starting position with straight arms.
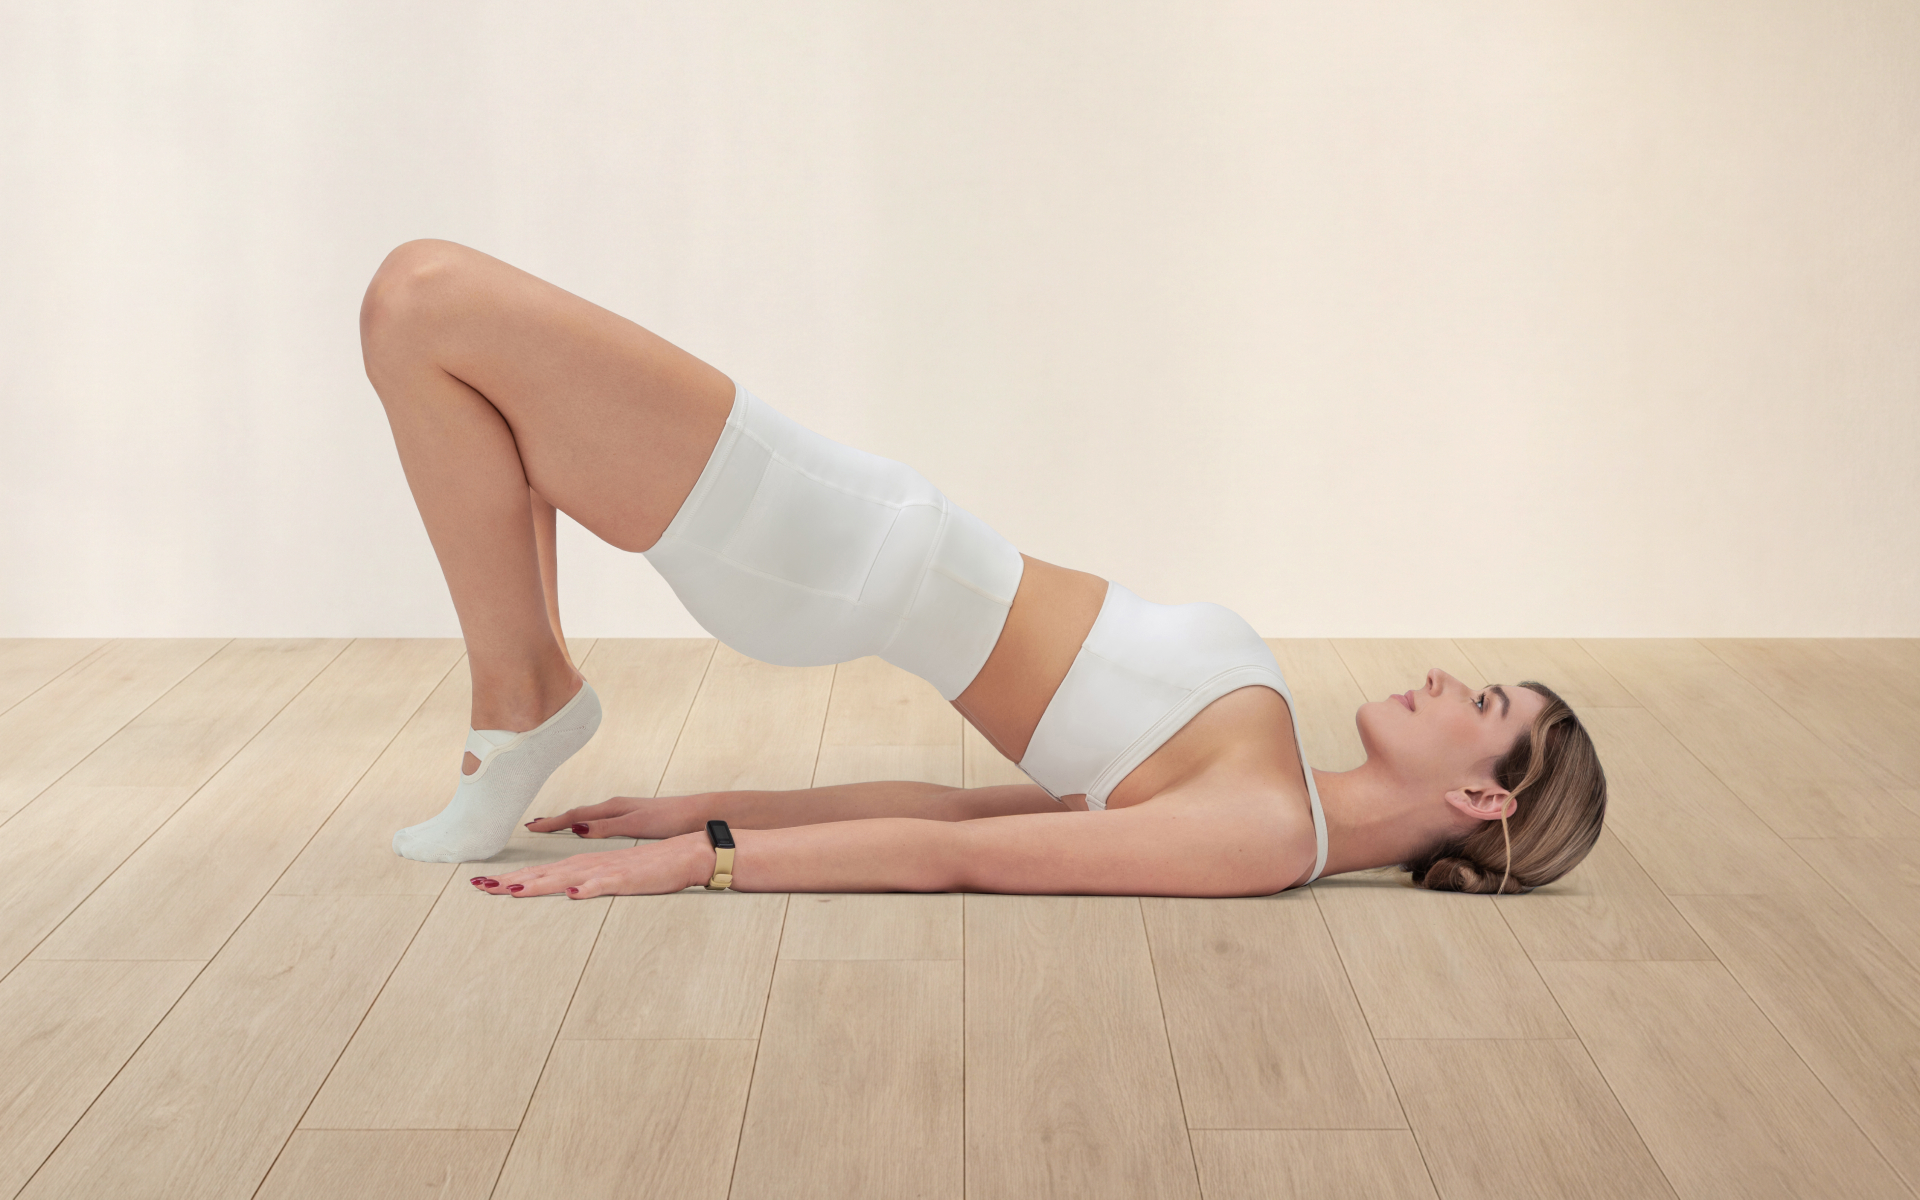
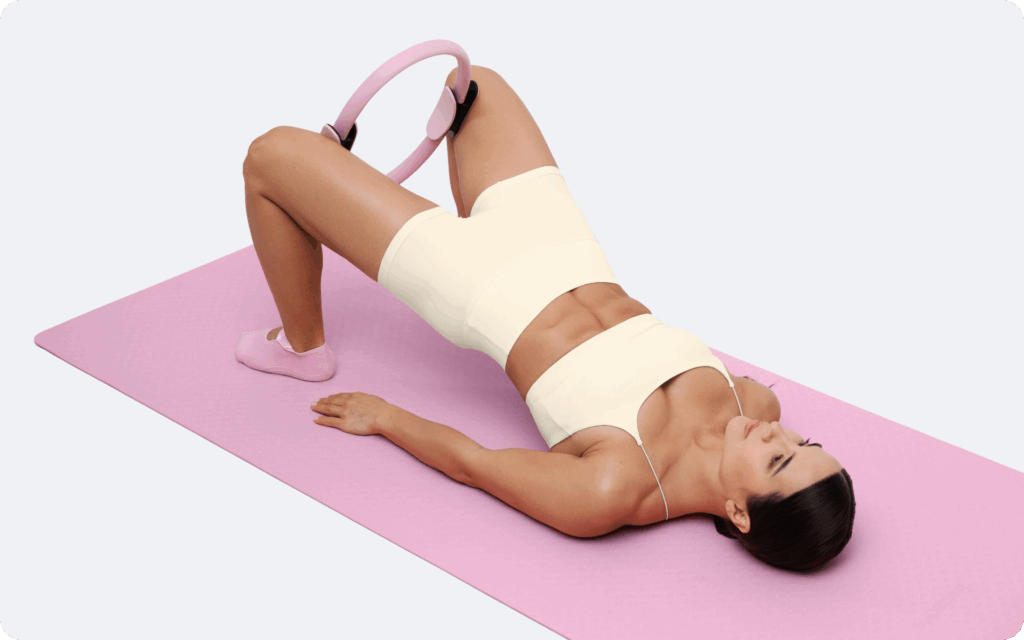
Hinge Progression (Glute Bridge / Single Leg Deadlift)
- Muscles Worked: Hamstrings, glutes, erector spinae.
- Progression Step: Glute bridge -> single leg glute bridge -> single leg RDL (no weight).
- Step 1 (Glute Bridge): Lie on your back with your knees bent and your feet flat on the floor.
- Step 2: Tuck your tailbone slightly to flatten your lower back.
- Step 3: Drive through your heels to lift your hips until your body forms a straight line from your shoulders to your knees.
- Step 4: Squeeze your glutes hard at the top for 1 second.
- Step 5: Lower slowly to the start.
Row Progression
- Muscles Worked: Rhomboids, lats, rear deltoids, biceps.
- Progression Step: Vertical row -> incline row -> horizontal row.
- Step 1: Set the rings or bar at waist height.
- Step 2: Grab the handles and lean back, keeping your body in a straight plank line.
- Step 3: Retract your scapula (pinch your shoulders together).
- Step 4: Pull your chest to the rings/bar, keeping your elbows close to the body.
- Step 5: Lower slowly, allowing the scapula to protract (spread) at the bottom.
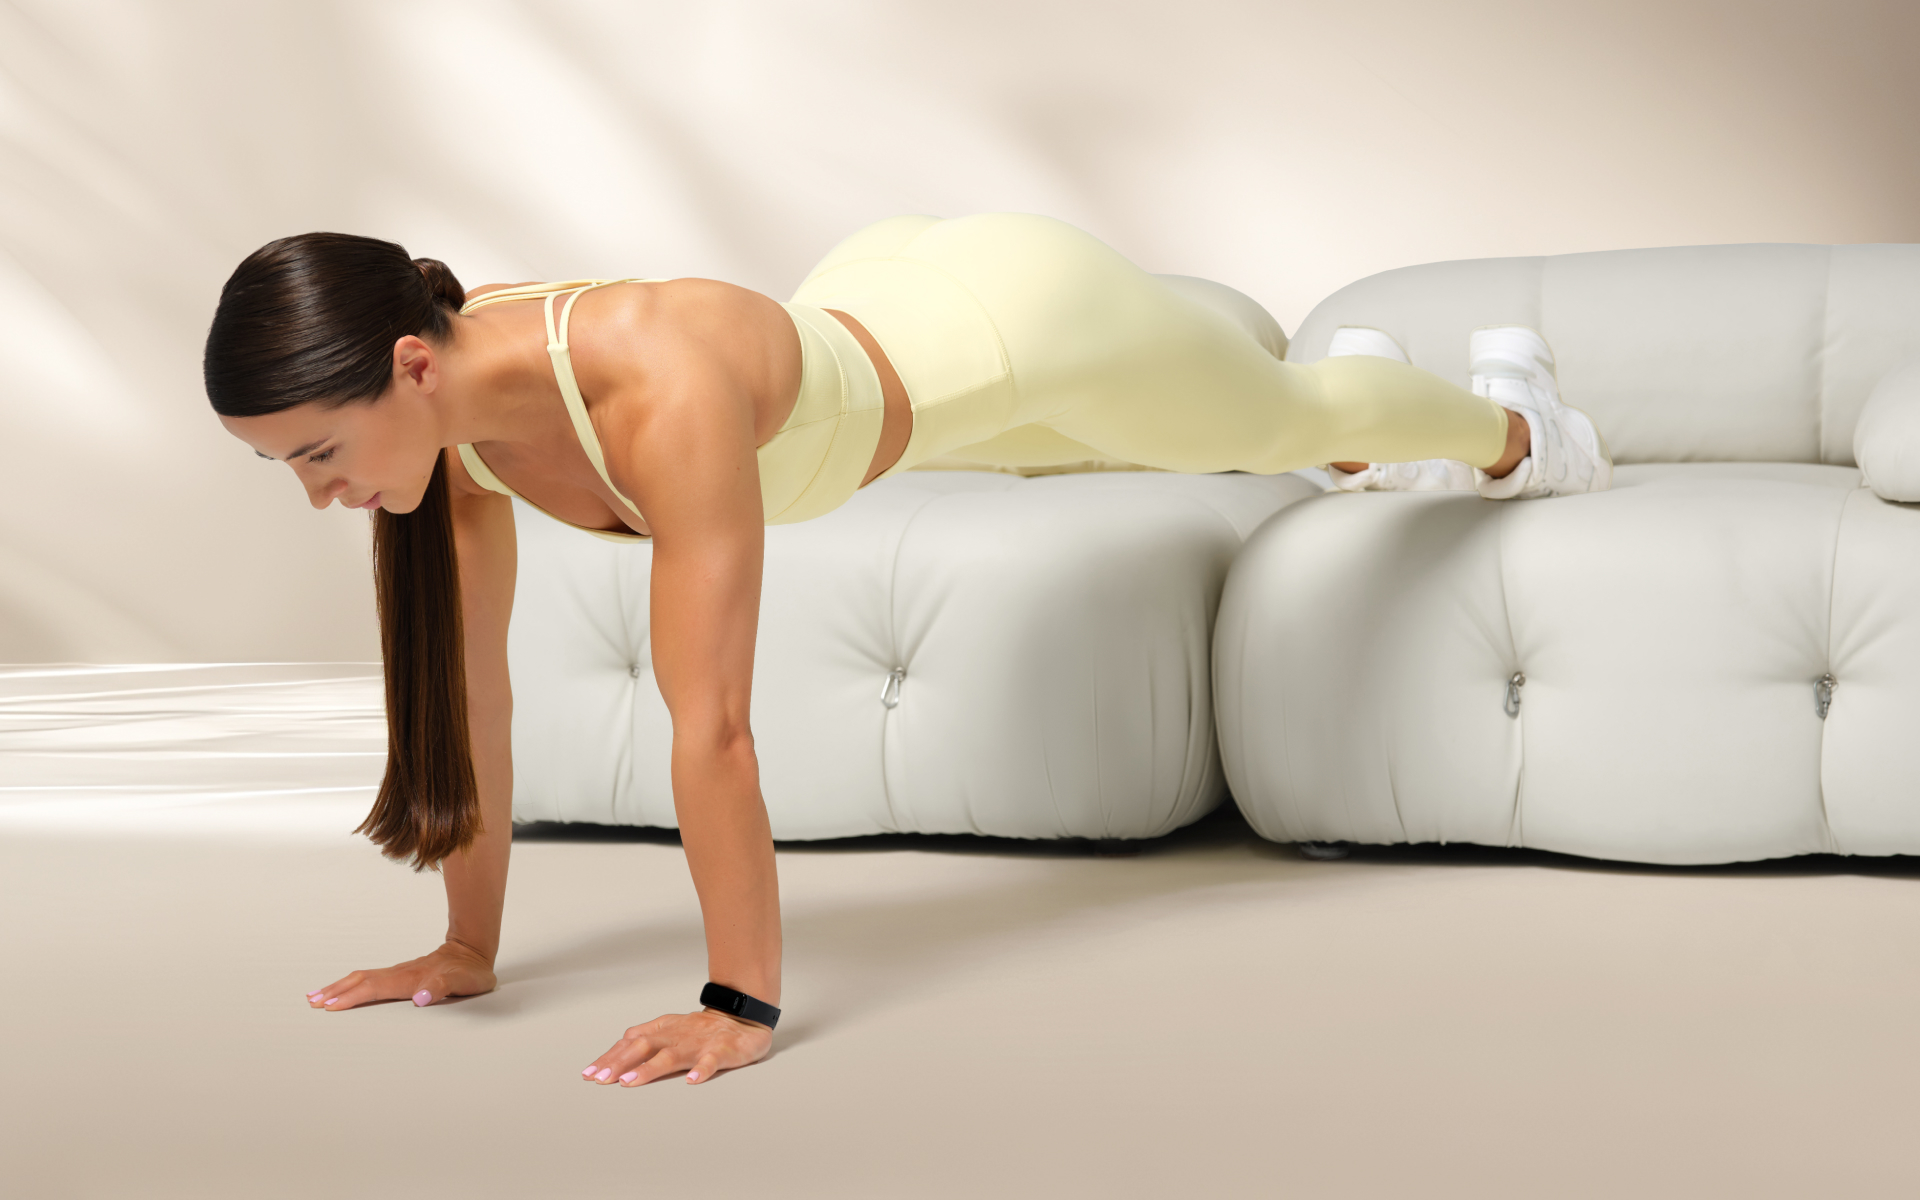
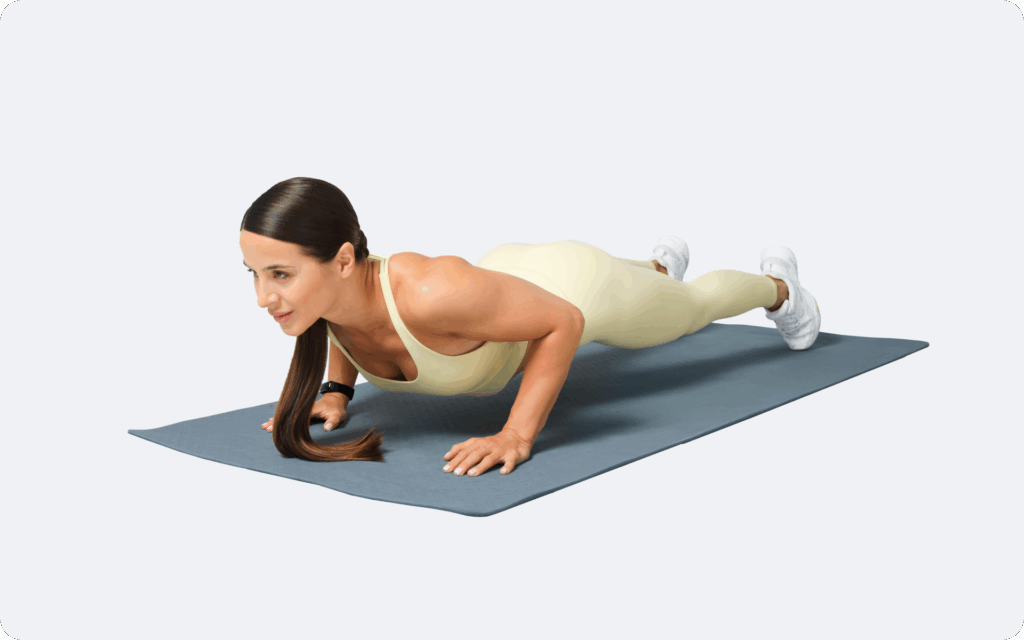
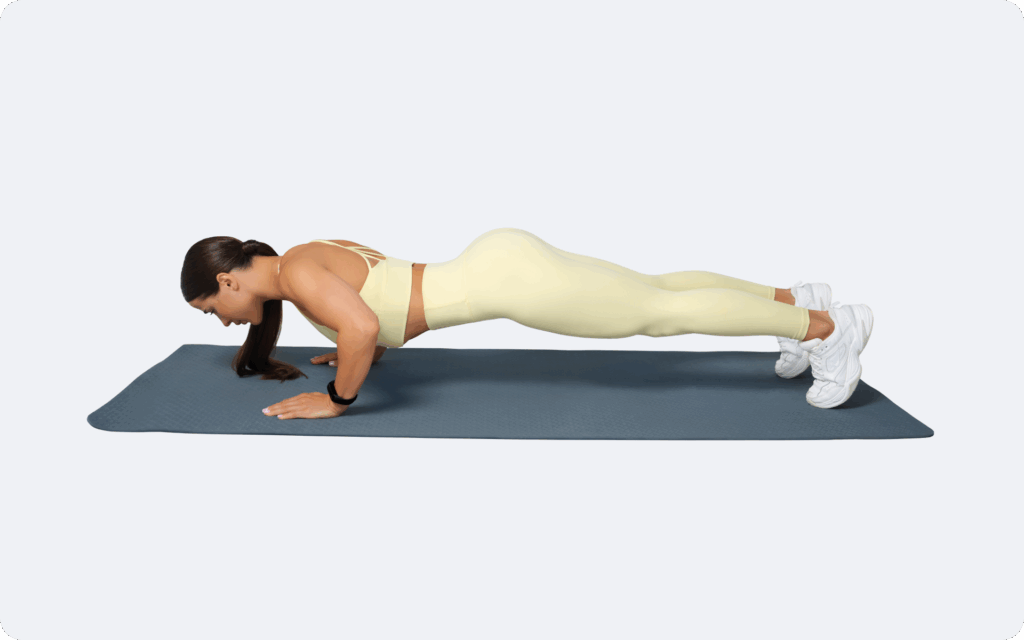
Push-up Progression
- Muscles Worked: Chest, anterior deltoid, triceps, core.
- Progression Step: Incline push-up -> knee push-up -> full push-up.
- Step 1: Start in a plank position with your hands directly under your shoulders.
- Step 2: Engage your glutes and core (posterior pelvic tilt) to prevent your back from arching.
- Step 3: Lower your body by bending your elbows at a 45-degree angle to your torso.
- Step 4: Descend until your chest is roughly 1 inch from the floor.
- Step 5: Push through the floor to return to the top, protracting your shoulder blades at the lockout.
Core Compression (L-Sit)
- Muscles Worked: Hip flexors, abdominals.
- Progression Step: Tuck hold -> one leg extended -> full L-sit.
- Step 1: Sit on the floor between parallel bars or with your hands on the floor.
- Step 2: Depress your shoulders to lift your butt off the ground.
- Step 3: Lift your knees into your chest (Tuck).
- Step 4: If you’re strong enough, extend one or both legs straight out.
- Step 5: Hold for time, making sure not to shrug your shoulders.
If you’re interested in exploring routines you can do without any equipment, check out our beginner calisthenics workout no equipment guide to learn more about the topic.

How Long Should a Beginner Do Calisthenics?
The duration of your “beginner phase” is determined by proficiency, not calendar days. You remain a beginner as long as you can make progress linearly – adding reps or moving to a slightly harder progression every session or every week.
The Timeline of Adaptation
Generally, the beginner phase lasts from 6 to 12 months.
- Months 1-3: Neural adaptation dominates. You’ll feel much stronger quickly as your nervous system learns to recruit muscle fibers efficiently.
- Months 4-6: Hypertrophy (muscle growth) becomes a more significant driver of strength gains. Structural changes in muscle tissue occur (7).
- Months 6+: Progress may slow slightly, requiring more structured deload weeks or periodization (6).
BetterMe will shake off your mental funk, rid you of your energy-zapping habits, and help you sculpt the body of your dreams. Intrigued? Hurry up and change your life for the better!
Graduating from Beginner Status
You’re ready to move to intermediate training when (note: the following benchmarks are based on widely accepted standards within the calisthenics and fitness community, drawn from a combination of expert recommendations and practical experience, rather than established by a single scientific study):
- Plateau: You can no longer add reps or improve form for 3 consecutive workouts despite adequate sleep (7-9 hours) and nutrition.
- Proficiency: You’ve achieved the “standard” benchmarks for calisthenics basics:
- 10 strict pull-ups
- 15 strict dips
- 20 strict push-ups
- 30s L-sit hold
- Pistol squat (assisted or full) proficiency
Don’t rush this phase. The connective tissue strength you build during these early months serves as a critical foundation, supporting the transition to more advanced skills such as the planche or front lever. Focusing on gradual progression promotes safer adaptation and helps reduce the risk of overuse issues as training intensity increases.
For those who are looking specifically for a 30-day calisthenics workout plan for beginners, 30 days is only an introduction. It takes consistent effort over months to see significant physiological changes. However, a 30-day block is an excellent way to build the habit.
Read more:Your Calisthenics 3-Month Transformation Guide
What Are Some Common Mistakes in Calisthenics?
As calisthenics relies on body control, the margin for error in technique is high. Avoiding these common pitfalls will save you months of rehabilitation and frustration.
1. Neglecting Scapular Mobility
Many beginners treat the shoulder as a static hinge. In calisthenics, the scapula must move.
- The Mistake: Doing pull-ups with your shoulders constantly shrugged up to the ears, or doing push-ups with your shoulder blades squeezed together at the top.
- The Fix: Actively depress your shoulders in pull-ups and dips, actively protract (push forward) your shoulders at the top of a push-up.
2. “Kipping” or Using Momentum
Using momentum (swinging) allows you to bypass the hardest part of the movement (the sticking point).
- The Mistake: Kicking your legs to get over the bar on a pull-up.
- The Fix: Use the 10X0 tempo. If you have to kick, the progression is too hard. Move back to negatives or band-assisted variations. Strength is built by grinding through the resistance, not skipping it.
3. Ignoring Leg Training
There is a stereotype that calisthenics athletes have “chicken legs”. This is a choice, not a requirement.
- The Mistake: Skipping leg day because bodyweight squats feel “too easy”.
- The Fix: Incorporate high-intensity unilateral leg work such as pistol squats, shrimp squats, and Nordic hamstring curls. These movements require immense strength and mobility, comparable to heavy barbell lifts.
4. Progressing Too Fast
Connective tissue (tendons and ligaments) adapts much more slowly than muscle tissue – believed to be due to a much slower turnover rate of tendons/ligaments (8).
- The Mistake: Attempting iron crosses or back levers within the first few months.
- The Fix: Stick to the basics until you own them. Mastery means you can perform the movement with perfect control while holding a conversation.
5. Inadequate Rest
Your muscles grow while you sleep, not while you train (9).
- The Mistake: Training every single day because you want to see results faster.
- The Fix: Adhere to the 3-day-a-week frequency initially. On off days, focus on active recovery such as walking or light mobility work, but let the prime movers rest.

Calisthenics isn’t inherently “better” than the gym (weight training), but it is different – calisthenics improves relative strength and body control (1), while weight training is superior for isolating specific muscles and maximizing absolute strength through precise incremental loading. You shouldn’t do a full-body high-intensity calisthenics workout every day as a beginner, as your muscles and connective tissues require approximately 48 hours to recover and adapt (9). However, you can perform light skill work (such as handstand practice) or mobility drills daily. Yes, you can get ripped doing calisthenics as it builds muscle mass (hypertrophy) through resistance and burns calories (1), but achieving a “ripped” look is primarily dependent on maintaining a low body fat percentage through a caloric deficit in your diet (10).Frequently Asked Questions
Is calisthenics better than the gym?
Can I do calisthenics every day?
Can you get ripped just doing calisthenics?
The Bottom Line
Embarking on a calisthenics journey is about more than just learning to do a pull-up -it’s a commitment to mastering your own physiology. By following a structured, evidence-based approach – prioritizing form, balancing your pushing and pulling, and respecting the recovery process – you’ll lay a foundation for lifelong strength and mobility. Remember, the most impressive athletes aren’t the ones who progress the fastest, but the ones who remain consistent the longest.
DISCLAIMER:
This article is intended for general informational purposes only and does not serve to address individual circumstances. It is not a substitute for professional advice or help and should not be relied on for making any kind of decision-making. Any action taken as a direct or indirect result of the information in this article is entirely at your own risk and is your sole responsibility.
BetterMe, its content staff, and its medical advisors accept no responsibility for inaccuracies, errors, misstatements, inconsistencies, or omissions and specifically disclaim any liability, loss or risk, personal, professional or otherwise, which may be incurred as a consequence, directly or indirectly, of the use and/or application of any content.
You should always seek the advice of your physician or other qualified health provider with any questions you may have regarding a medical condition or your specific situation. Never disregard professional medical advice or delay seeking it because of BetterMe content. If you suspect or think you may have a medical emergency, call your doctor.
SOURCES:
- Impact of specific calisthenics conditioning program on physiological and health-related fitness parameters of sedentary adults (2024, ijpas.org)
- The effects of a calisthenics training intervention on posture, strength and body composition (2017, researchgate.net)
- Effects of proprioceptive training on sports performance: a systematic review (2024, link.springer.com)
- Importance of Bracing and How to Do It (n.d., us.humankinetics.com)
- Determination of Resistance Training Frequency (2017, nsca.com)
- Effects of strength training on neuromuscular adaptations in the development of maximal strength: a systematic review and meta-analysis (2025, nature.com)
- Muscle Hypertrophy (2011, sciencedirect.com)
- Functional adaptation of connective tissue by training (2019, researchgate.net)
- The Importance of Recovery in Resistance Training Microcycle Construction (2024, jhk.termedia.pl)
- Normal ranges of body weight and body fat (n.d., us.humankinetics.com)