Have you ever looked at the toned arms of other people and felt slightly jealous? Surely you’ve tried to comfort yourself with the thought “Of, she was born that way” or “Oh, he’s got lucky genetics”.
Of course, genetics plays some role here but not the major one. If you’re leading a sedentary lifestyle, binge-eat whatever you desire, and lack enough sleep, your slim body may turn into a saggy one too.
Getting sculpted arms requires exercising and progress. Resistance bands promote these processes by increasing the time of tension and challenging your stability. They’re affordable, portable, and suitable for all fitness levels.
Another benefit of using bands lies in their convenience. You don’t need to trek to your gym. Find a spacious room at home, put on your comfy wear, and prepare yourself for the 8 easily effective arm exercises with loop bands.
Before jumping into the article, you should acknowledge one thing: you are amazing the way you are. With that in mind, you have the right to change your body shape if you’re not fully satisfied with it.
What are loop bands used for?
Overall, resistance bands are used to add resistance to your exercises.
Loop band uses for arms are versatile. First of all, they increase the time under tension or the amount of time a muscle is working. Your muscles will be more engaged due to the created resistance.
Loop bands can be used for working larger groups of muscles as well as smaller ones. Band Workouts could even be a great alternative to dumbbells. The research shows the positive effects of resistance bands on your upper body (3).
In a loop bands workout, your arm stabilizer muscles may have to work harder in some movements due to the unstable resistance it provides which means higher levels of muscle engagement. Also, loop bands can be an effective method for increasing flexibility and mobility in your upper body.
If you’re aiming to lose weight, adding resistance bands may help boost your chances of trimming the fat. Resistance band benefits for weight loss can be highlighted in a study in 2022. It shows that resistance band training can help lower body fat in overweight people better than other forms of training, including free weights and bodyweight exercises. (1).
Surely, loop bands can tone up your arms as much as dumbbells. The more resistance you add, the more your upper body is engaged, which ultimately leads to sculpted and stronger arms.
They are a perfect alternative for individuals who, for some reason, don’t use weights.
Luckily, there are plenty of resistance band exercises for beginners and advanced practitioners who can practice them from the comfort of their homes.
BetterMe will keep you laser-focused on your weight loss journey! Nutrient-packed meal plans, fat-blasting workouts, galvanizing challenges, and much more. Try using the app and see for yourself!
Are resistance bands effective for arms?
Yes, they are. You don’t need heavy weights to enjoy an effective arm workout. Loop bands are effective in challenging your stabilization and core activation. The study in 2021 published in Sports and Med states that resistance bands are beneficial for muscular strength (4).
On top of that, loop bands may provide similar muscle engagement to free weights.
How do you loop resistance band exercises for arms?
There are many ways to integrate a resistance band into any workout routine. Check out the 8 top-notch resistance band exercises for well-toned arms.
- Banded Pushups
- Alternating Lat Pulldown
- Kneeling Concentration Bicep Curls
- Plank and Alternating Row
- Tricep Pulldown
- Kneeling Shoulder Press
- Runner’s Lunge Row
- Resistance Band Pull Apart
Banded Pushups
Step-by-step instructions:
- Loop the mini band around your upper arms or wrists.
- Get in a high plank position with your shoulders stacked over your wrists.
- Hold in this position, creating a straight line with your body, and glance slightly in front of you.
- Slowly lower your chest down towards the ground maintaining a straight line with your body — head, chest, and legs in one straight line.
- Push back up into a high plank position.
- Maintain tension on the band during each rep.
Alternating Lat Pulldown
Step-by-step instructions:
- Loop your bands around your wrist and firmly grasp it in your palm..
- With a firm grip of the band, stand with feet hip-width apart, arms overhead, hands at shoulder-width apart.
- Pull the left elbow down and keep the right arm extended overhead, then extend the arm back overhead. Repeat with the right arm. That’s one rep. Continue alternating.
Kneeling Concentration Bicep Curls
Step-by-step instructions:
- Get in a half-kneeling position. Have your right knee on the mat with the toes of your right foot tucked under and your left foot on the mat.
- Bring your left foot out towards your left side and loop the resistance band around the arch of your left foot and your left hand.
- Hinge forward slightly and press your left elbow into the inside of your left thigh.
- Curl your left palm up towards your left shoulder performing a single-arm concentration curl.
- Control the band’s tension as you lower your left hand back down to the original position.
- Stay on the left arm for the timed interval. Switch sides for the second set.
Plank and Alternating Row
Step-by-step instructions:
- Loop your resistance band around your wrist and grasp it in your palm with a closed fist then get in a high plank position. You can always modify your plank by placing your knees on the ground.
- Pull the band and your left hand back towards your left hip. Pull your left elbow up to meet your left rib cage, while maintaining both hips square to the ground.
- Lower your left hand back to the mat with control, and repeat the row on the right hand.
Tricep Pulldown
Step-by-step instructions:
- Put your feet shoulder-width apart and knees slightly bent.
- Hold the top of the band on your right shoulder with your left hand. Loop your right hand/palm through the bottom of the resistance band.
- Hinge forward at the hips and try to perform a ‘tricep kickback’ on the right arm; extend the right arm behind you while you’re pulling the band back towards your right hips/butt.
- Slowly return your right hand to the starting position.
- Stay on the right arm for the timed interval.
- Switch sides for the second set.
Read more: 10 Wall Pilates Arms Exercises, and Everything Else You Need for Toned Arms
Kneeling Shoulder Press
Step-by-step instructions:
- Get in a kneeling position. Before that, loop the resistance band around your wrists.
- Bend your elbows to 90 degrees, palms facing in towards each other.
- Spread your hands apart to create tension in the band.
- Straighten your arms maintaining this tension and press them overhead while keeping your shoulder blades pulled down. Fully extend your arms overhead.
- Lower your arms with control bringing the bands back down to the starting position.
Runner’s Lunge Row
Step-by-step instructions:
- Get in a runner’s lunge position placing your right foot forward, and left foot back.
- Place one part of the band under the right foot, and the other part in the left hand.
- Pull the band with a left hand to the left hip, then extend the arm to start.
- That’s one rep. Do 30-45 seconds on one side, then switch.
Resistance Band Pull Apart
Step-by-step instructions:
- Start by placing your feet shoulder-width apart and holding the resistance band in front of you at chest level with your arms extended.
- Bring your hands to the sides pulling the band apart and squeezing your shoulder blades back and together.
- Pause for a moment, then return to the starting position with control.
BetterMe app will kick you out of the mental funk, shake off your extra weight, rid you off your energy-zapping habits, and help you sculpt the body of your dreams. Intrigued? Hurry up and change your life for the better!
How long do loop bands last?
In general, latex resistance bands can last for several years before replacing them. Of course, you need to properly maintain them which includes proper cleaning and storage. The average lifespan also depends on how often you use them and if they’re used by multiple people.
| Type of Resistance Bands | Home Use | Gym Use |
|---|---|---|
| Tubes | 5+ years | 3+ years |
| Flat Loop Bands | 3 to 5 years | 2 to 3 years |
| Therapy Flat Bands | 2 years | 6 months to 2 years |
| Xfit Power Bands | 5+ years | 5+ years |
How to use resistance bands for legs?
The benefits of resistance bands for legs are as impressive as the benefits for arms. That’s why people implement them in their home or gym workouts. Loop bands are especially useful for lower body workouts, including the legs and glutes.
They can add additional resistance to your muscles and guide you to move with better form. If you suffer from knee pain, loop bands are particularly handy for strengthening the muscles around the joint.
Resistance bands distribute tension equally throughout the muscle contraction which can help reduces the chance of strain or injury. You have consistent control over the movement and improved efficiency.
In addition, resistance bands are adaptable, portable, and affordable (2).
Reap the benefits of using resistance bands for glutes and legs via efficient exercises.
Clamshells
How to perform:
- Lie on your side, placing your leg on top of the other with your knees slightly bent.
- Loop a resistance band around both thighs.
- Lift your top knee keeping your feet together.
- Switch sides after each set.
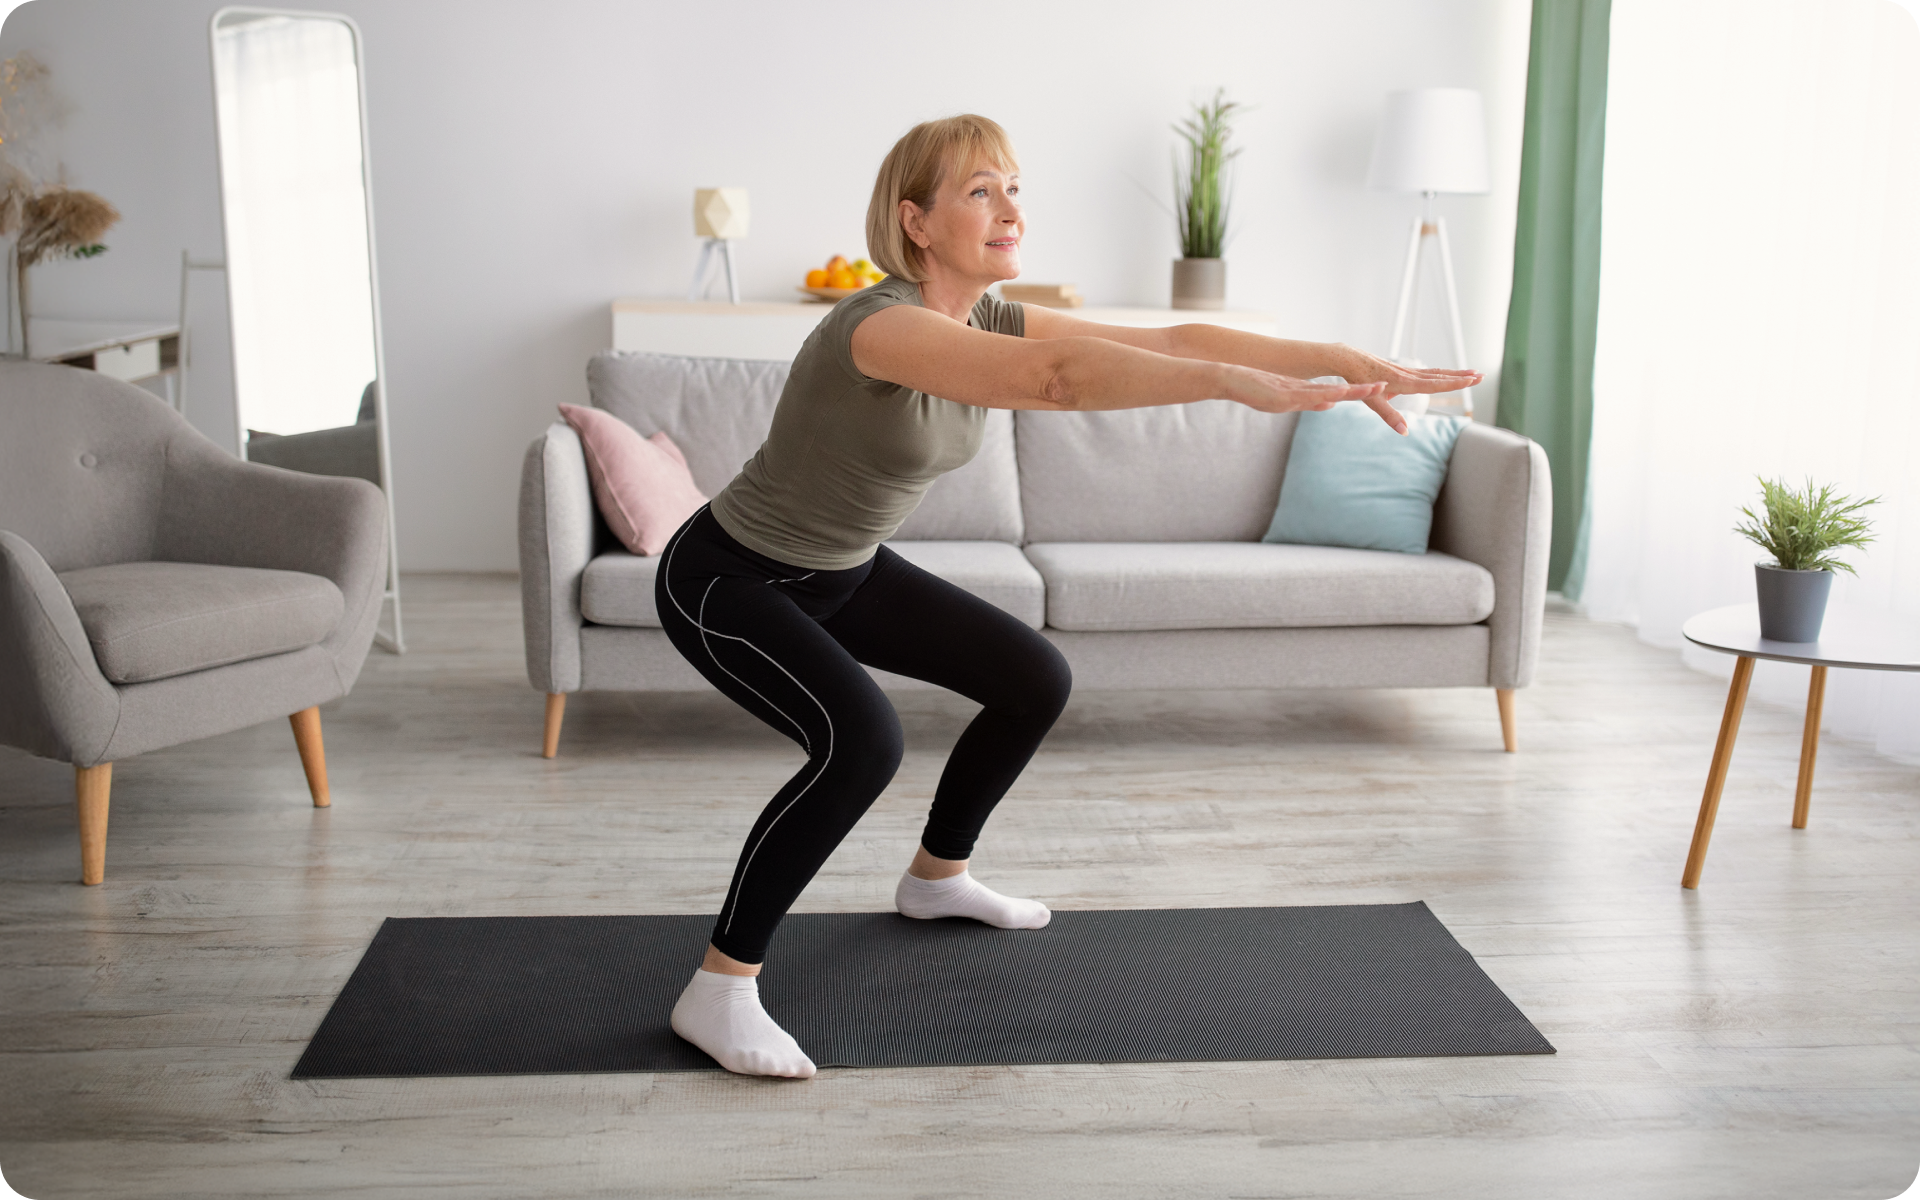
Squats
How to perform:
- Loop a band around your legs, just above your knees.
- Set yourself In a squatted position with your feet shoulder width apart, drive your hips back and your knees forward over your midfoot.
- Squat to a depth you can comfortably control, while keeping the tension on the band.
- Stand back up and repeat.
Glute Bridges
How to perform:
- Place a loop band on your thighs, just above your knees.
- Lie on a yoga mat, bend your knees keeping your feet flat on the floor, and arms by your sides.
- Tightening your glutes lift your hips toward the ceiling by driving your heels into the floor.
- Pause for a second at the top, then lower back down to the ground with control..
- Continue for 15 to 20 reps.
- Make it more challenging by doing a single-leg glute bridge by lifting one leg off the ground.
Read more: Calisthenics Arm Workouts: Build Massive Arms Without The Gym
Resistance bands leg lifts
How to perform:
- Stand with your feet hip-distance apart, having your resistance band around your ankles.
- Tighten your glutes and balance your weight on the left leg.
- Lift your right leg out to the side, tightening the band as much as you can without shifting your hips.
- Moving with control, bring your right foot back to the starting position without letting your foot hit the ground.
- Continue for 10 reps before switching sides.
A well-structured Resistance Bands Leg Workout will shape up your legs making them stronger and able to hit more challenging exercises.
FAQs
Why use loop resistance bands?
Loop bands can be pushed and pulled in any way you like. You can implement them in various upper and lower-body exercises. Resistance bands are beneficial for muscle strength, weight loss, and flexibility. They help you practice the workout in proper form and reduce the risks of strain and injury. Plus, loop bands are affordable and portable which makes them ideal for travelers, or those who prefer working out from home.
What are resistance loop bands for?
Resistance bands are an easy and affordable way to challenge your strength without heavy weights. They effectively promote muscle strength, flexibility, and stability. Versatile bands are ideal for hip and glute activation, as well as upper body strength.
Which type of resistance band is best?
Loop bands are the most popular style of resistance bands. Yet, if you’re aiming to tone up your arms, tube bands will be a better choice for you. They are the simplest to grip and anchor.
Do resistance loop bands tone arms?
Yes, using resistance bands in your arm exercises can shape up your arms making them stronger and toned. Resistance bands are a simple way to work against tension and challenge your stability. By doing this, you engage your arm muscles more broadly which positively affects your arms.
The Bottom Line
Getting toned and strong arms now does not necessarily require heavy loads. Resistance bands have proven to manifest positive outcomes, especially for those who prefer home workouts. Resistance bands are used for adding resistance to your movements, which ultimately aids in weight loss, flexibility, and muscular strength.
Today you’ve reviewed 8 easily effective arm exercises with loop bands. On top of that, you’ve unveiled the key leg exercises with resistance bands. Bands are affordable, portable, and adaptable. It’s recommended to buy various bands that suit different fitness levels and specific exercises. Grab your band and get ready for your arm-shaping workout routine.
DISCLAIMER:
This article is intended for general informational purposes only and does not serve to address individual circumstances. It is not a substitute for professional advice or help and should not be relied on for making any kind of decision-making. Any action taken as a direct or indirect result of the information in this article is entirely at your own risk and is your sole responsibility.
BetterMe, its content staff, and its medical advisors accept no responsibility for inaccuracies, errors, misstatements, inconsistencies, or omissions and specifically disclaim any liability, loss or risk, personal, professional or otherwise, which may be incurred as a consequence, directly or indirectly, of the use and/or application of any content.
You should always seek the advice of your physician or other qualified health provider with any questions you may have regarding a medical condition or your specific situation. Never disregard professional medical advice or delay seeking it because of BetterMe content. If you suspect or think you may have a medical emergency, call your doctor.
SOURCES:
- Effects of Different Resistance Exercise Forms on Body Composition and Muscle Strength in Overweight and/or Obese Individuals: A Systematic Review and Meta-Analysis (2021, frontiersin.org)
- How Effective Are Resistance Bands for Strength Training? (2022, clevelandclinic.org)
- Muscle Activity in Upper-Body Single-Joint Resistance Exercises with Elastic Resistance Bands vs. Free Weights (2018, ncbi.nlm.nih.gov)
- No Time to Lift? Designing Time-Efficient Training Programs for Strength and Hypertrophy: A Narrative Review (2021, ncbi.nlm.nih.gov)


