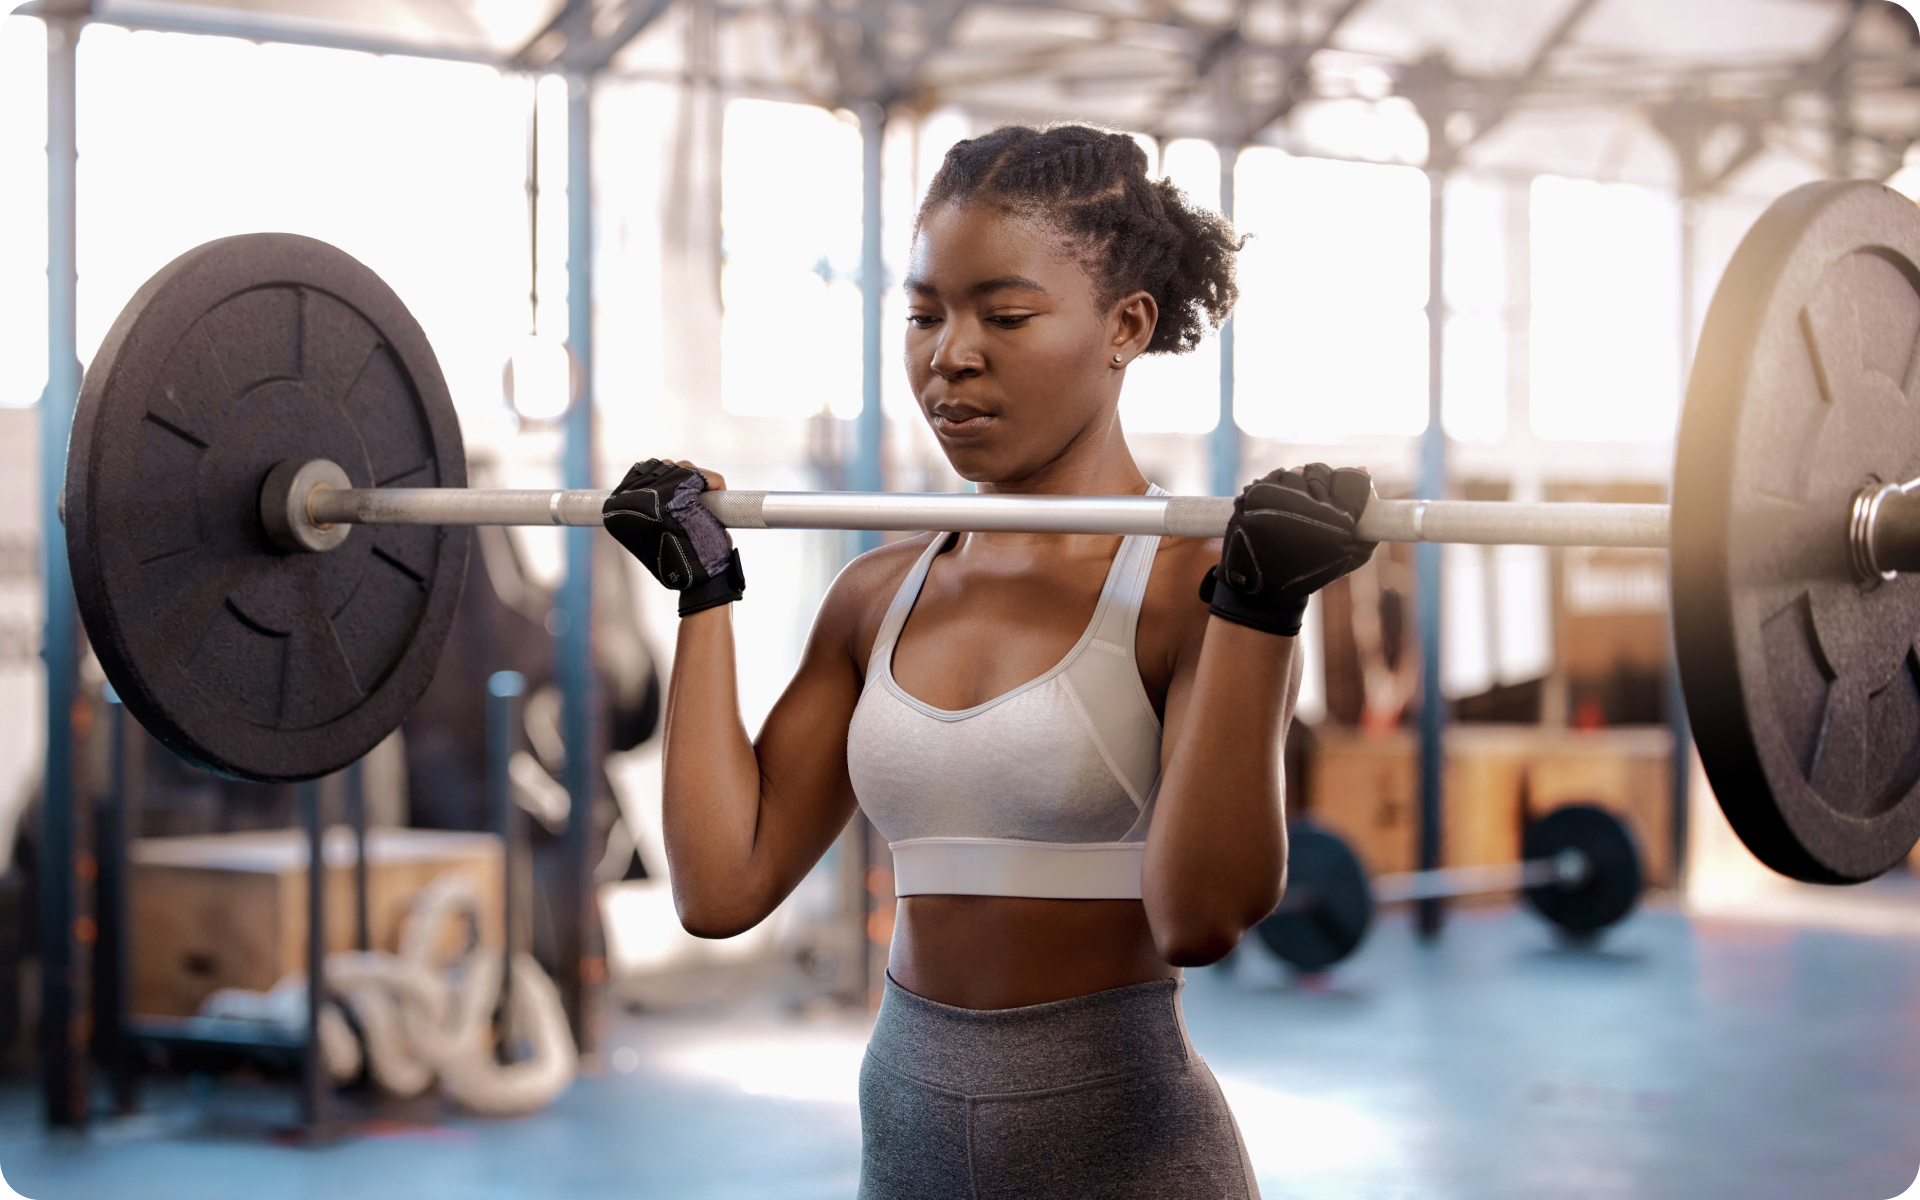
Perhaps you think that the only way to build biceps is by hitting the gym. But endless hours in the gym are not the only way you can get toned arms. You do not have to lift weights to get big biceps, as research shows your bodyweight can be just as effective. If you are looking for a bodyweight bicep exercise or two to perform at home, you are in the right place. Take a page from our fitness experts and try this at home.
Bicep Muscles
The biceps muscles are at the front part of your upper arm. According to WebMD, the bicep muscle has a short and long head which work simultaneously as one muscle (5). These muscles are attached to the arm bones by connective tissues known as tendons (5).
If you want to build biceps, you will be pleased to know that you can easily do that through exercise. Before jumping into biceps training, you must realize that you do not necessarily have to go to the gym.
Yes, you heard it right. Although some think that they can only build biceps in the gym, evidence shows that is not the case. Instead, you can build your biceps at home by doing bicep bodyweight exercises.
The Best Bodyweight Bicep Exercises
If you have tried searching online for bodyweight bicep exercises with no equipment, you will have found that the results are limited. That is because there are not a ton of such exercises out there. But there are a few, and practical ones, to help with biceps training. They include:
Inverted Row
Muscles Targeted: The inverted or bodyweight row is an exercise that targets most of your upper body muscles. For example, it activates your trapezius, rhomboids, biceps, pecs, and latissimus dorsi (3).
Benefits: The inverted row exercise is one of the best exercises to build upper body strength. Additionally, it is an excellent addition to your workout plan when targeting your arms but tired of doing a traditional pull-up (3).
How to (3):
- Start by setting up the barbell on the squat rack, which should be positioned around your waist height.
- Lie facing the ceiling and underneath the barbell.
- Grab the barbell with an overhand grip and slightly outside your shoulder width.
- Rotate your shoulders outward to engage your lats.
- Tighten your abdominal muscles, then push your hips up by squeezing your glutes. At this point, your body should be straight from head to toe. Additionally, your chin should be tucked. This is the position that marks the beginning of all your repetitions.
- Engage your lats to initiate an upward movement as you pull the middle of your chest towards the barbell. Remember to bend your elbows at a 45-degree angle as you do this. Similarly, remember to breathe normally and to keep your wrists in a neutral position.
- Your shoulder blades will retract as you pull your body upwards towards the barbell. Let them be but remember to keep your upper arms aligned with your body.
- Once you are at the top, your body should form a straight line. Hold for a few seconds or breaths.
- While maintaining this rowing alignment, slowly straighten your elbows to allow you to lower to the starting stance. Once in this stance, your shoulder blades will protract.
- Repeat and perform 2–3 sets, each with 8–12 repetitions.
Read More: Music And Exercise: Is Your Gym Playlist A Good Or Bad Distraction?
Chin-Up
Muscles Targeted: This compound exercise works most of your upper body muscles. By doing it you activate muscles such as your trapezius, teres major, latissimus dorsi, and biceps.
Benefits: Chin-ups are among the best arm exercises to build arm strength. This is because they target the muscles in your arms, including the biceps, elbow flexors, and brachialis (2). They are also nice exercises to perform to increase grip strength, which you may need when performing other compound movements like parallel bar push-ups (2).
How to (2):
- Grab the chin-up bar with an underhand grip and palms facing toward you. Let the grip be firm, and at least at shoulder-width distance. Stand on a sturdy bench or plyometric box if you cannot grab the chin-up bar.
- If stepping on the bench or plyometric box, step off, so your legs hang. Keep your elbows slightly bent and arms and legs long.
- Engage your abs and clench your glutes and quads. Similarly, engage your lats by rotating your shoulders outward. Be sure to position your shoulder blades rotated upwardly and away from your spine. Likewise, keep your chin tucked. This marks the starting point of all your chin-up reps.
- Slowly and simultaneously pull your shoulder blades down and elbows towards your body to initiate the upward movement. As you do this, pull your shoulder blades toward your spine and squeeze your lats and upper back until your collarbone reaches the chin-up bar.
- Pause for some seconds at the top of the movement.
- Slowly lower into the starting position by straightening your arms and rotating your shoulder blades downward and away from your spine. Keep your arms long but with a slight bend in your elbows.
- Repeat to perform 2–3 sets of 3–8 repetitions.
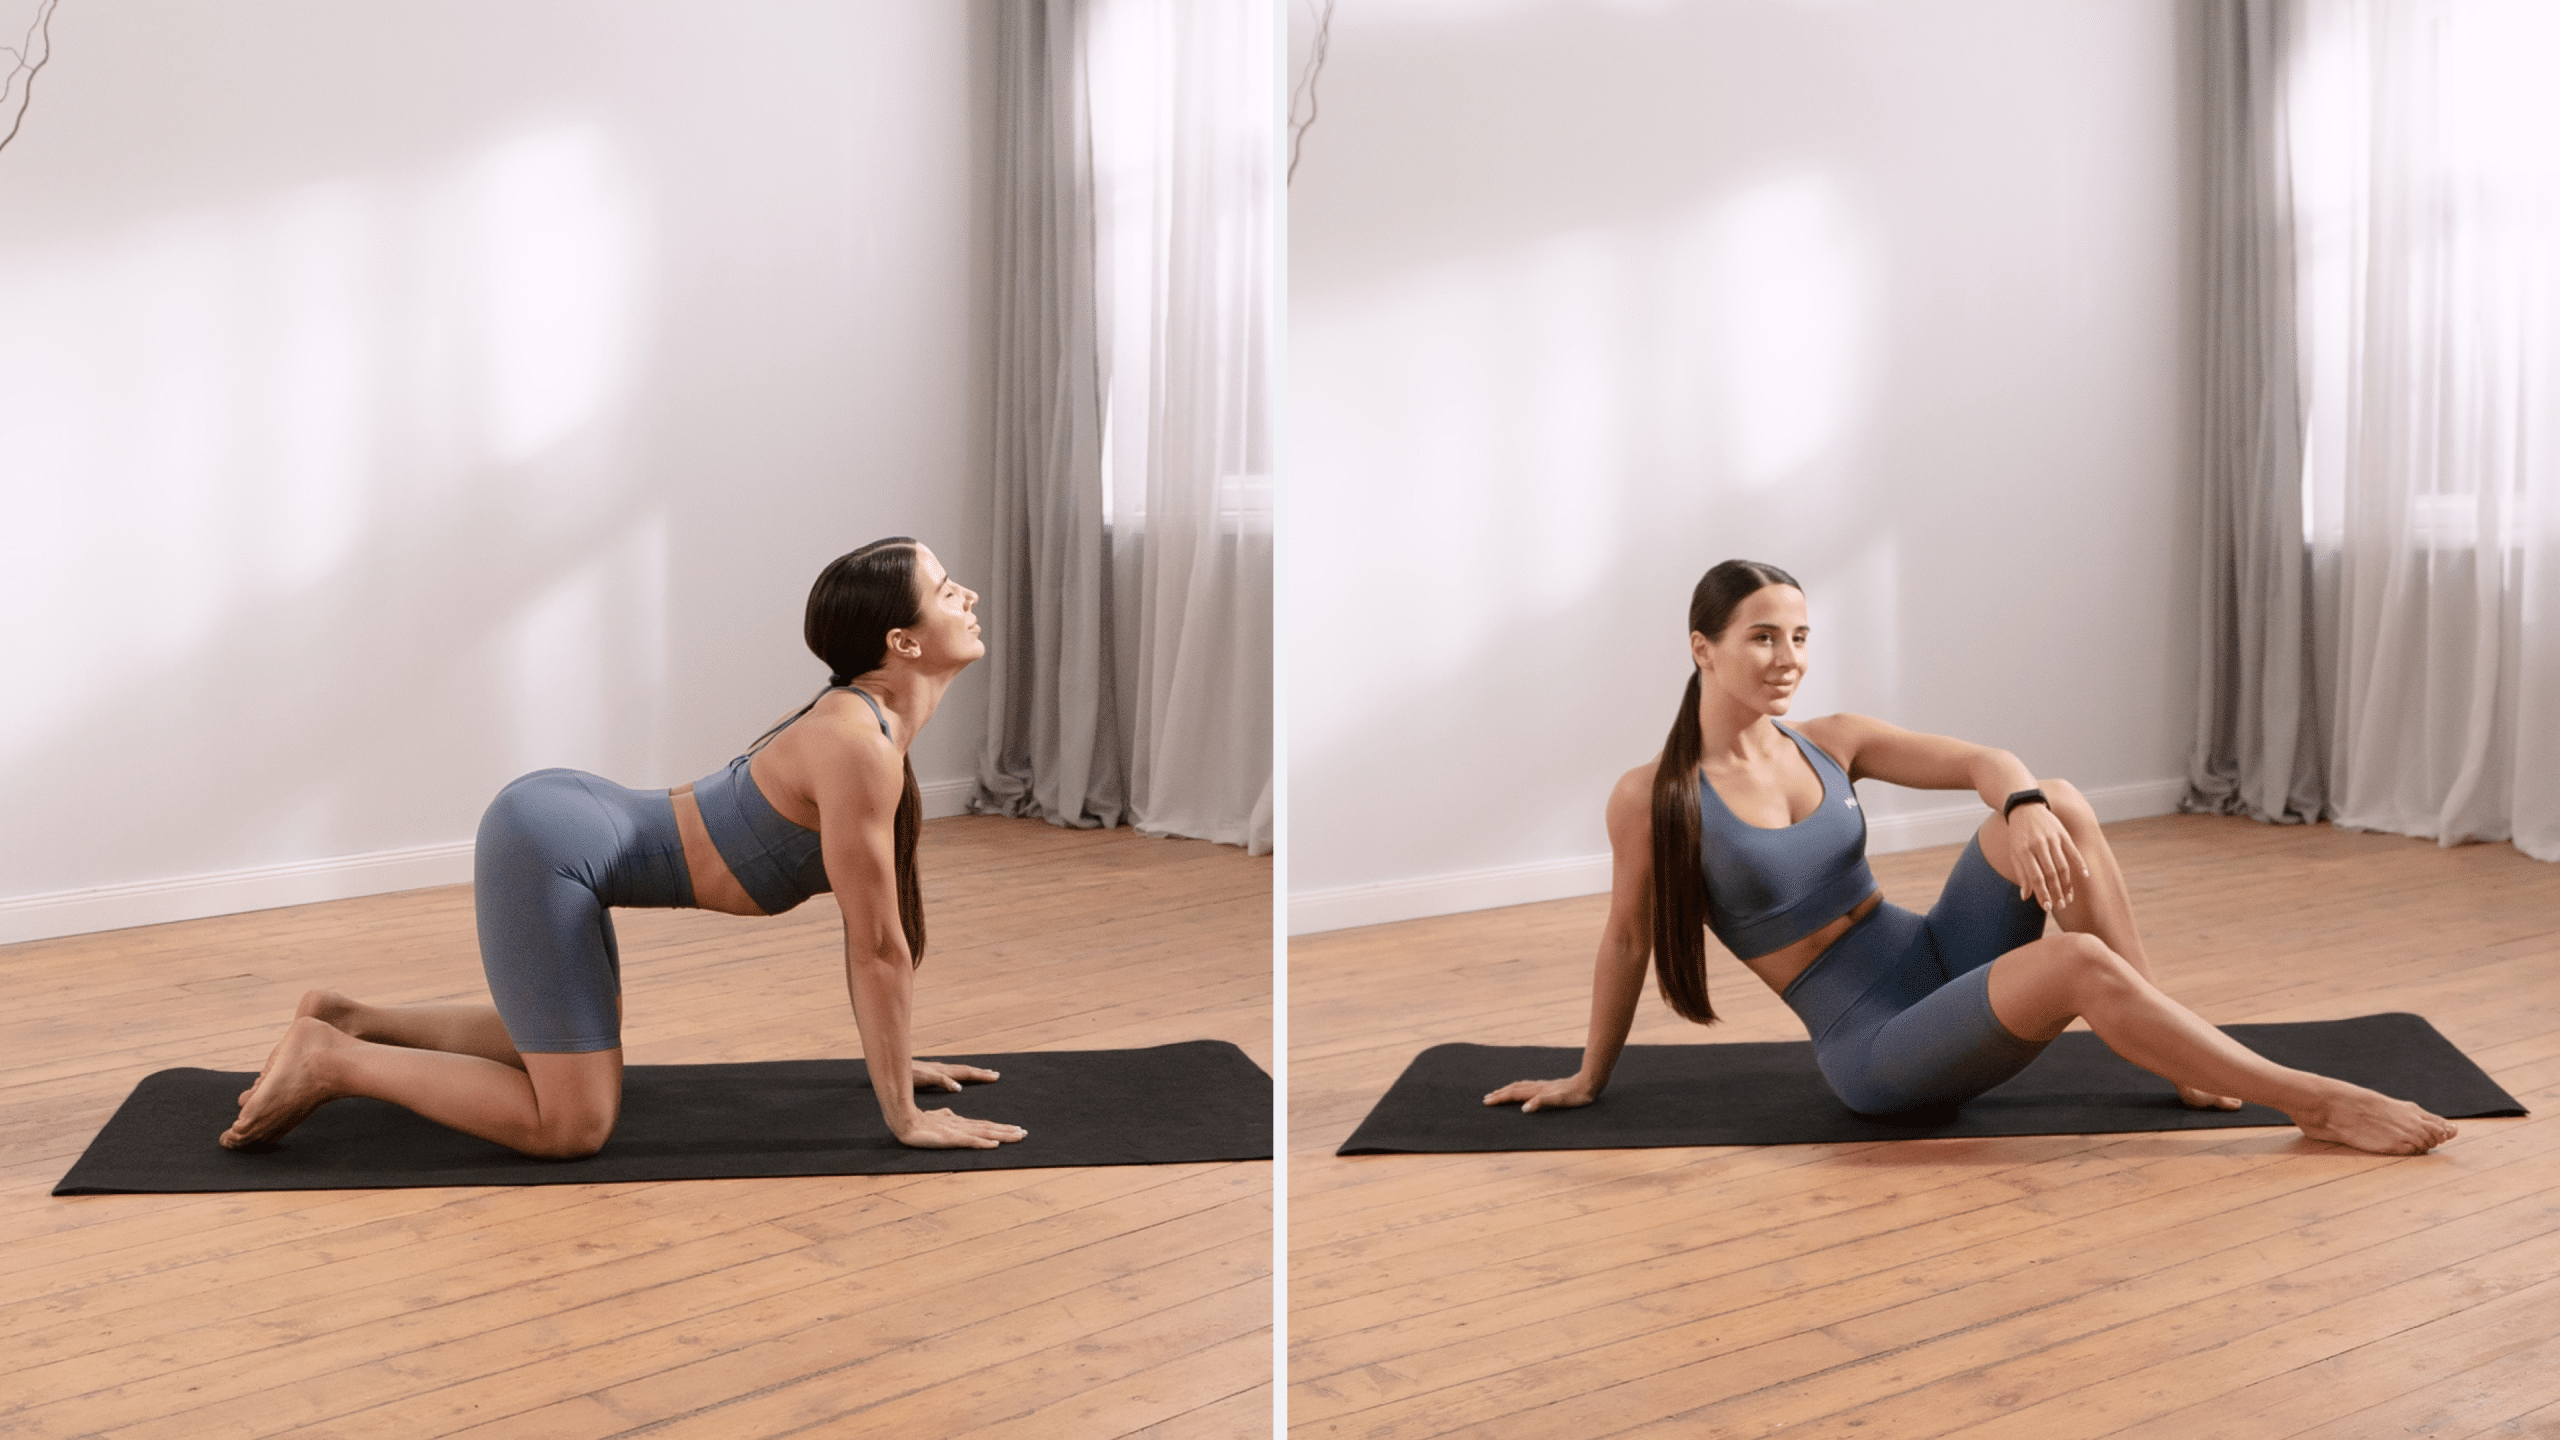
Plank Push-Ups
Muscles Targeted: As the name implies, the plank push-up or the plank-to-push-up is an exercise that combines a forearm plank and a push-up. Because of the incorporation of two exercises, this targets most of your muscles.
In the push-up phase, it works your biceps, triceps, and anterior deltoids (4). However, in the planking phase, you target your core muscles, hamstrings, and glutes (4).
Benefits: This exercise targets your entire body muscles and helps build overall strength. Additionally, it helps you burn calories and forms a foundation for performing challenging variations for both the plank and push-up exercises (4).
How to (4):
- You will start by getting into a plank position. That involves placing your forearms on the floor and raising your hips. Keep your elbows under your shoulders, your toes pressed into the ground, and your body straight from head to toe.
- Engage your lats by rotating your shoulders outward and then pull your forearms toward your midsection to create tension. Next, clench your glutes and also squeeze your quads.
- While still in this position, activate your core by engaging your abdominal muscles. Similarly, keep your ribs down, pelvis slightly tucked, and chin tucked.
- Slowly stretch your legs to lift your knees off the ground to initiate an upward movement and get into a full plank position. Take deep breaths and keep your legs at hip-width distance. This marks the starting point of this exercise.
- Next, place your forearms back on the floor by slowly bending each arm one at a time. This marks one rep.
- Continue alternating between the plank and push-up until you complete 2–3 sets of 5–10 repetitions on each side.
BetterMe app will kick you out of the mental funk, shake off your extra weight, rid you off your energy-zapping habits, and help you sculpt the body of your dreams. Intrigued? Hurry up and change your life for the better!

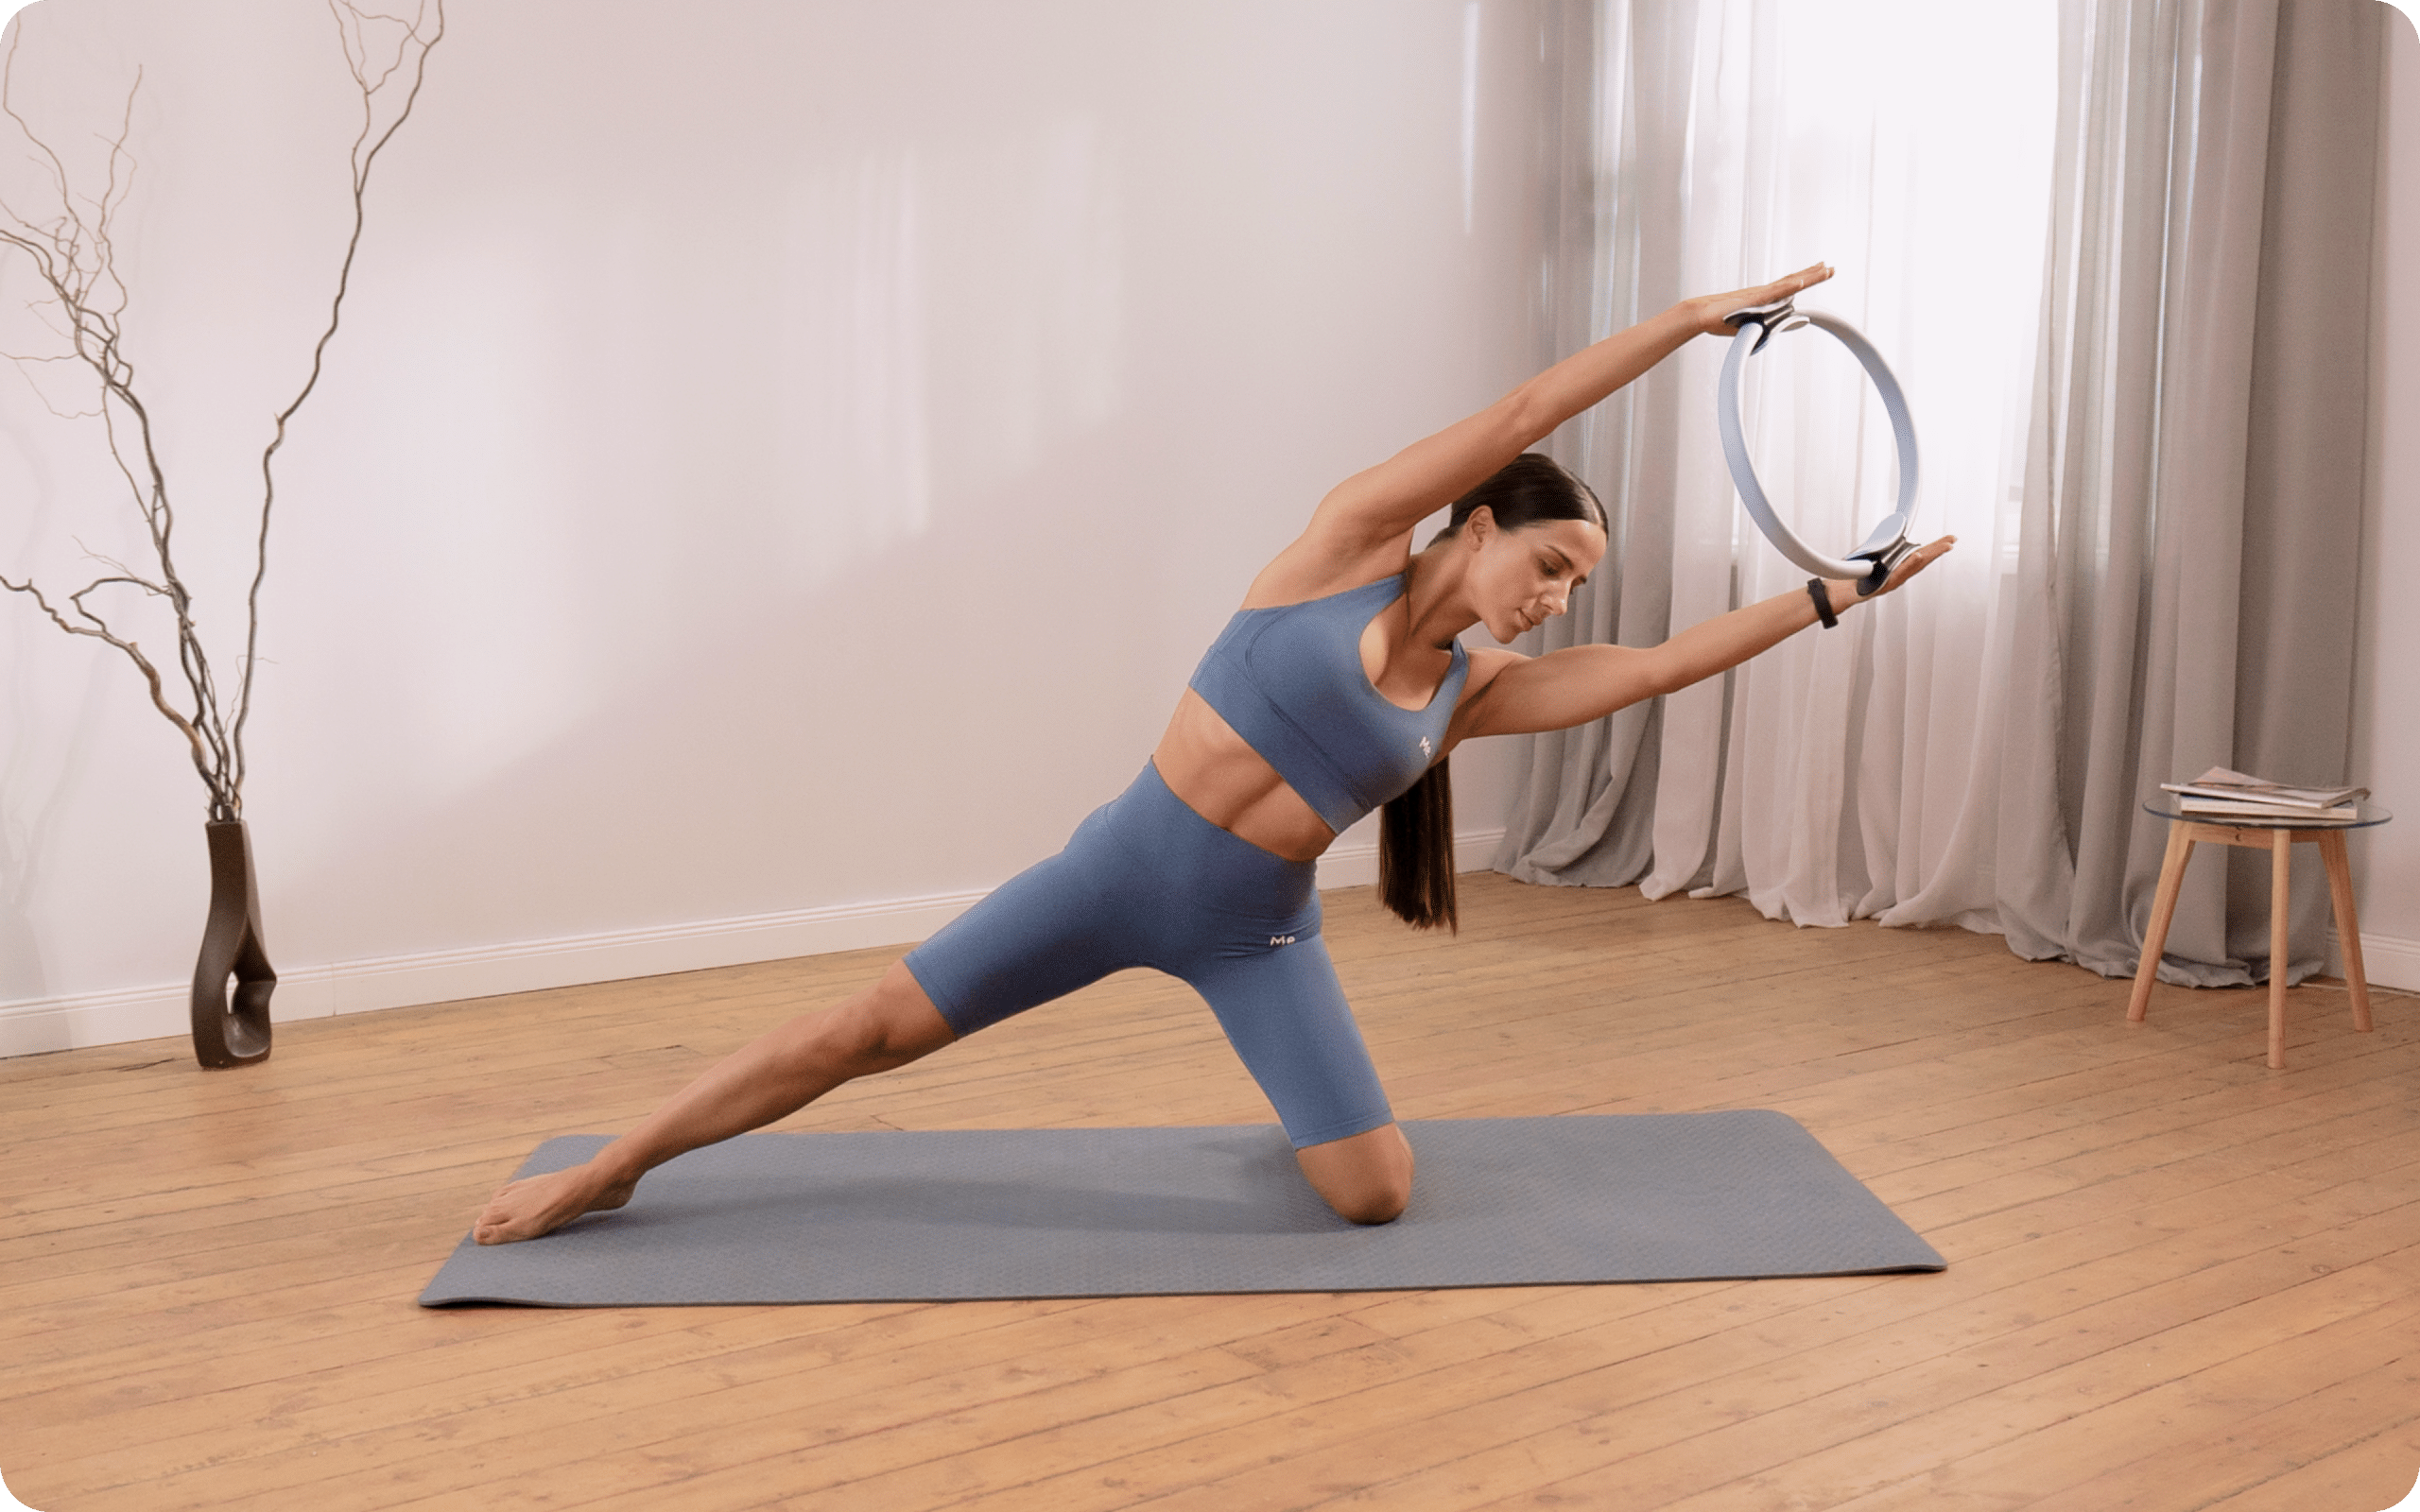
Wall Handstand
Muscles Targeted: The wall handstand exercise is a foundational exercise for a freestanding handstand. It engages major muscles throughout your body, including the biceps, triceps, hamstrings, deltoids, and trapezius muscles (7).
Benefits: Doing handstands can improve blood circulation because of the upside-down positioning that increases blood flow to the brain (7). Additionally, it is an excellent way of building core, upper, and lower body (7).
How to (7):
- Start in a standing stance while facing away from the wall. Next, get on your fours with your knees and toes flexed and pressed into the floor. Keep your hips directly over your knees and the soles of your feet pressed against the wall. Similarly, keep your hands directly under your shoulders.
- Grip the floor with your hands and engage your lats by rotating your shoulders outward. Next, engage your core and pre-tension your shoulders and hips.
- Slowly push your hips into the air and walk your feet up the wall. Maintain a slow and controlled pace to avoid tripping or experiencing balance issues.
- As you walk your feet up the wall, also walk your hands toward it. Continue walking until your legs are straight, your feet facing the ceiling, and your hands are directly under your shoulders. Remember that in the handstand position, your legs should be fully stretched, shoulders over your wrist and hips over your shoulders.
- Push your hands through the ground, then elevate your shoulder blades to increase the stability of your upper body position. Engage your upper back by rotating your shoulders outward. Likewise, keep your chin tucked and ears aligned with your upper arms.
- Squeeze your legs together, then clench your glutes and quads. Remember to engage your core and keep your ribs down and pelvis slightly tucked.
- Maintain a strong core and tension throughout your body while maintaining alignment in this wall handstand position. Breathe normally and hold in this stance for 15 to 60 seconds, or the desired length of time.
- Now, to get out of this stance, slowly walk your hands forward while simultaneously walking your feet down the wall to return to the starting position.
- Repeat as desired to accomplish 2–3 sets of 15–60 second holds.
Read More: Overweight Running: A Beginner’s Guide On Fitness And Nutrition
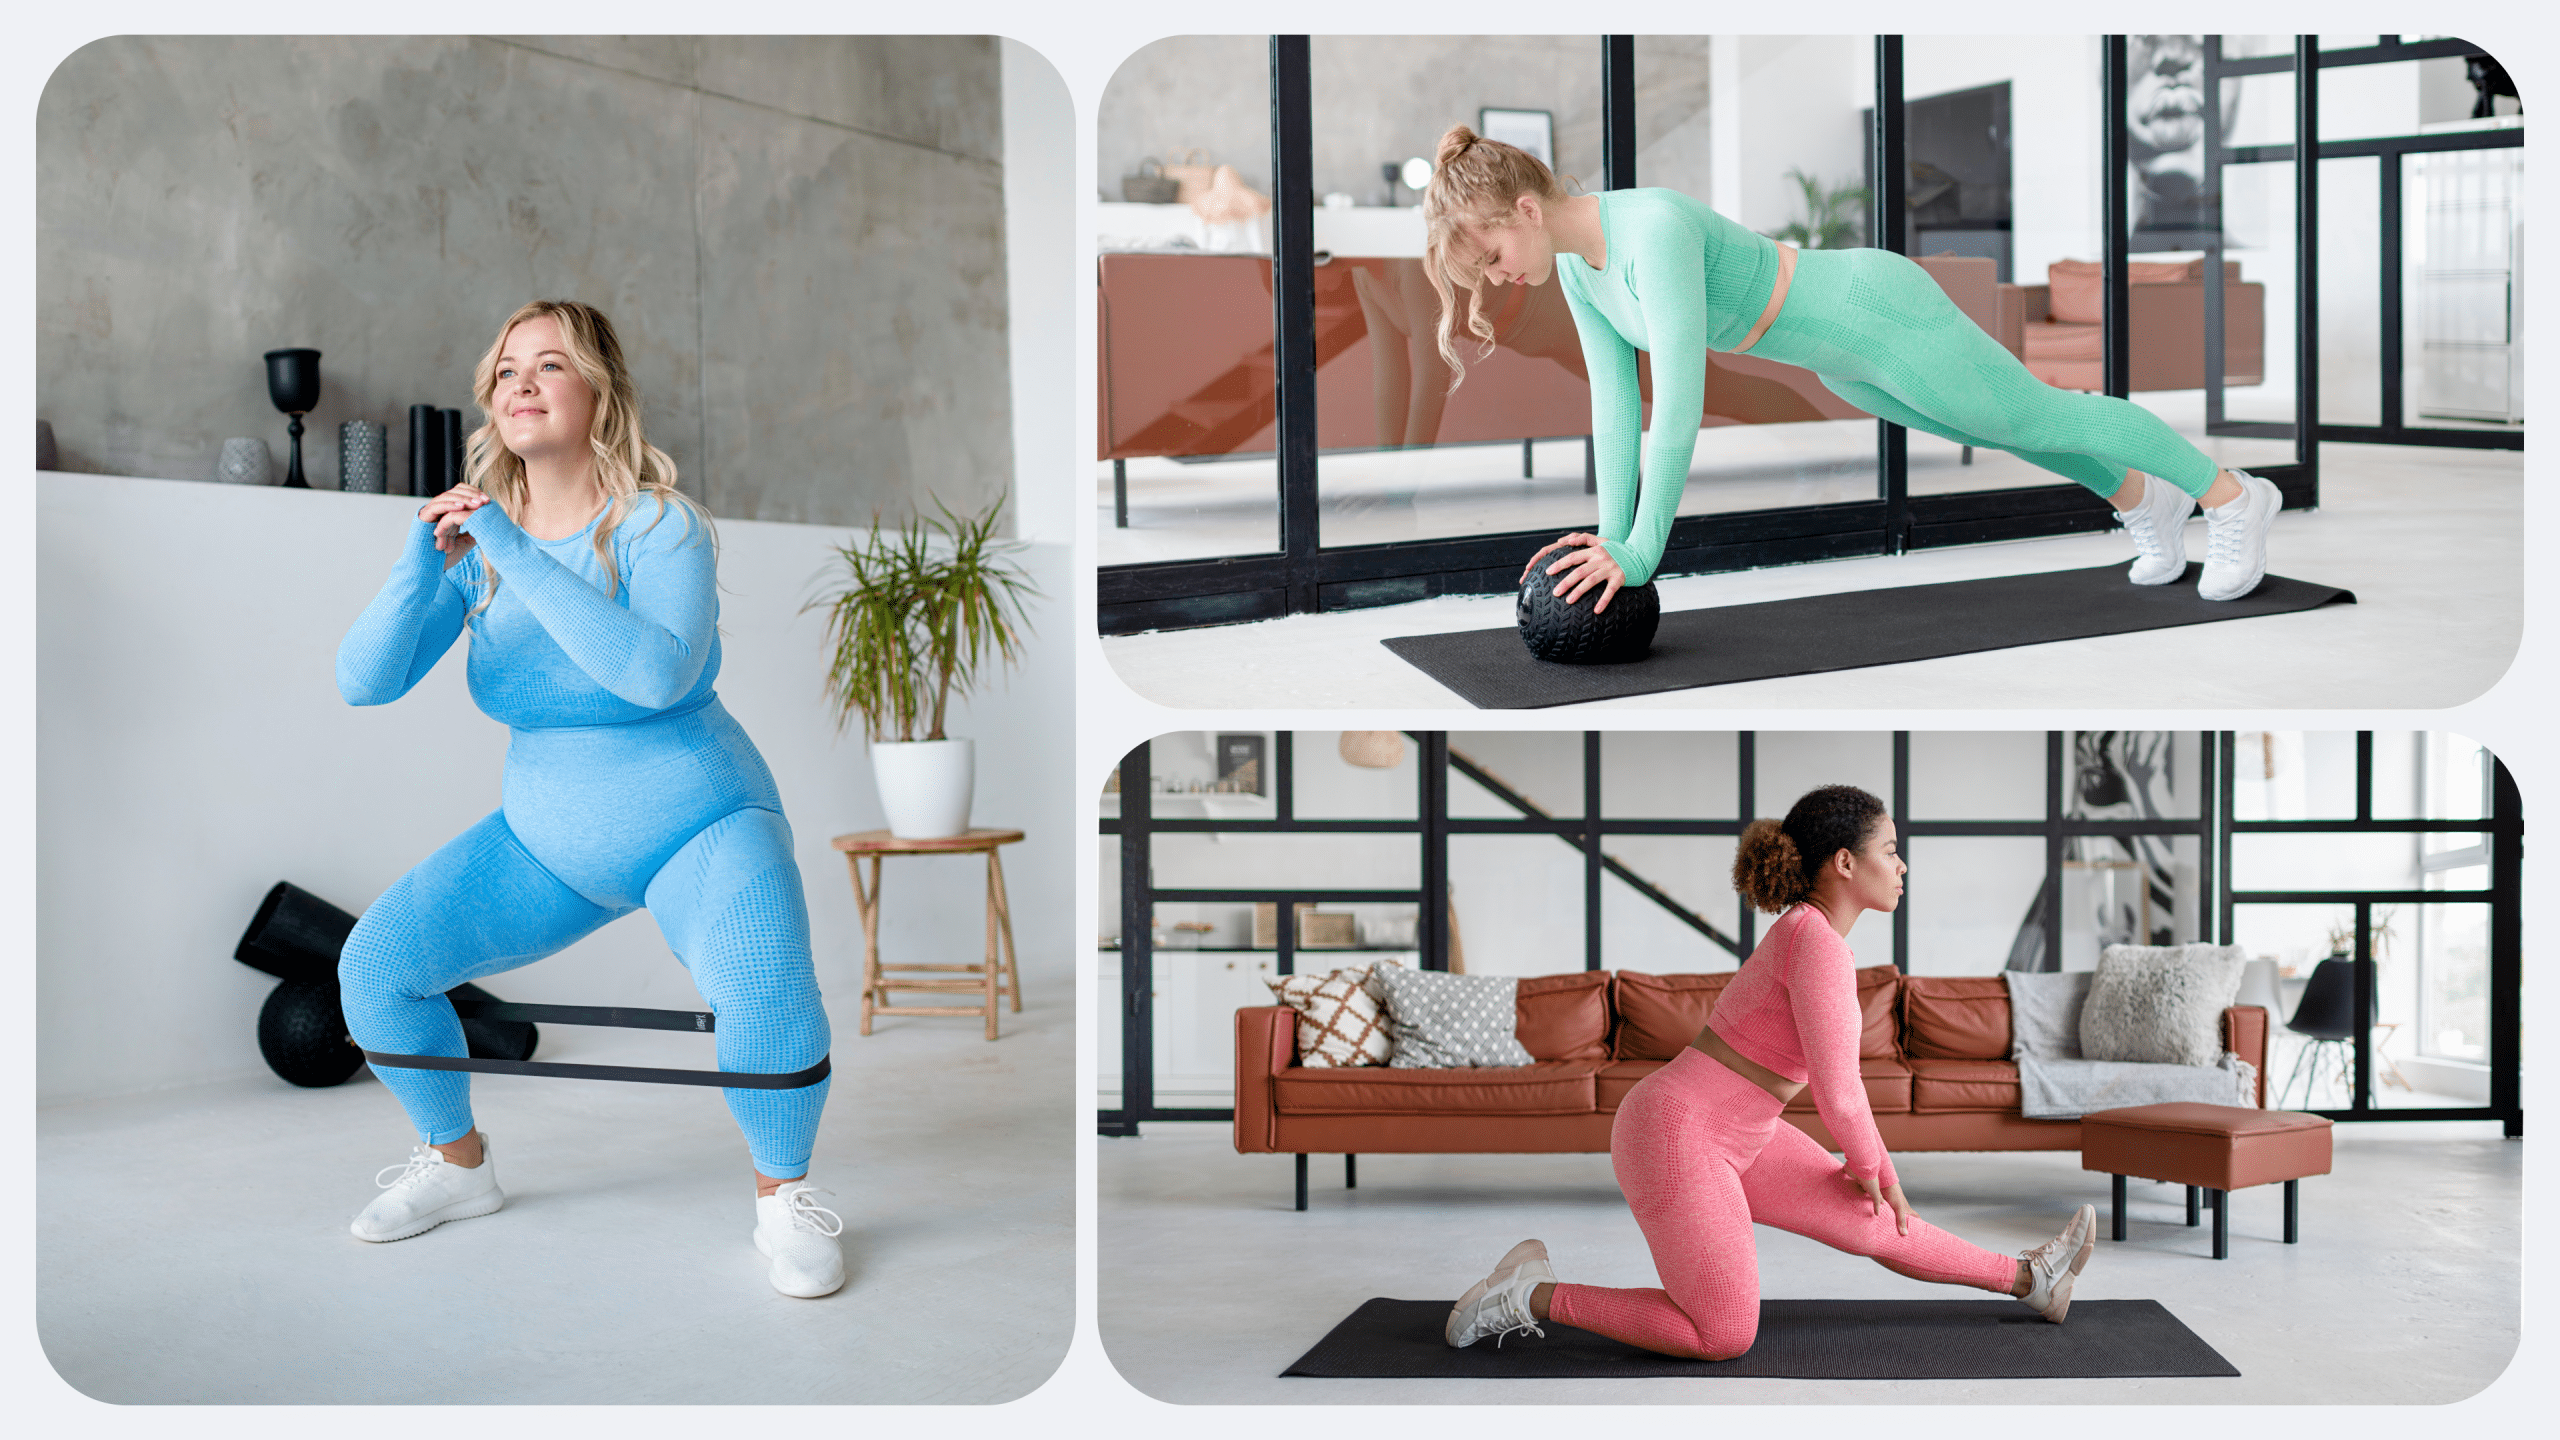
How To Get The Most From Bodyweight Back And Bicep Exercises
Of course, you want to work with a back and biceps training program that bears results. But most people do not realize that some aspects influence the reasons you see the desired results and the timeline. You should pay attention to these key factors when training your biceps. They include:
-
Form
Maintaining the correct form of each bodyweight bicep exercise is paramount to minimizing injury risk. Your focus should not be on getting everything done but on getting something or everything done with the correct technique. So, prioritize form instead of finishing the reps or sets.
-
Diet
To build bicep muscle, you must consider nutrition alongside bicep training. Medical News Today recommends consuming more muscle-building foods with high protein content to help build muscle (1). These foods include eggs, turkey, salmon, milk, tuna, quinoa, tofu, whey protein powder, cheese, seeds, peanuts, and high-protein cereals (1).
-
Rest
You will not build biceps overnight. Take it easy and establish a healthy training routine. Such a plan should encourage rest days to give your muscles enough time to heal, recover, and grow.
Additionally, rest days prevent biceps conditions such as biceps strains, contracture, proximal biceps tendon rupture, and biceps tendinitis (5). All these conditions occur due to overtraining and repeated use of the biceps without giving them rest (5).
-
Practice
You will not get the hang of some of these exercises in a day. For example, some people may take longer to master a wall handstand exercise. The key is to keep practicing while paying attention to the correct form (6). Feel free to seek the help of your trainer if you need extra support or guidance in mastering such moves.
Lean and toned up body isn’t just a far-fetched fantasy. Check out the BetterMe app and watch it propel your weight loss journey into high gear!
-
Routine
You cannot grow biceps by exercising using a bodyweight biceps exercise in a week. Instead, you must make biceps training a routine to continuously challenge the muscles to grow. Design a realistic workout plan to keep you rooted in this biceps training program.
The Bottom Line
Contrary to what people think, you do not need to hit the gym to build your biceps. Instead, you can perform bodyweight biceps exercises at home, grow them bigger, and get toned arms. Although there are not a ton of such exercises out there, some of them include chin-ups, plank push-ups, inverted rows, and wall handstands. Also, remember to pay attention to your diet as you exercise for maximum results. Similarly, plan for rest days, make this training a routine, and maintain the correct form of each exercise.
DISCLAIMER:
This article is intended for general informational purposes only and does not serve to address individual circumstances. It is not a substitute for professional advice or help and should not be relied on for making any kind of decision-making. Any action taken as a direct or indirect result of the information in this article is entirely at your own risk and is your sole responsibility.
BetterMe, its content staff, and its medical advisors accept no responsibility for inaccuracies, errors, misstatements, inconsistencies, or omissions and specifically disclaim any liability, loss or risk, personal, professional or otherwise, which may be incurred as a consequence, directly or indirectly, of the use and/or application of any content.
You should always seek the advice of your physician or other qualified health provider with any questions you may have regarding a medical condition or your specific situation. Never disregard professional medical advice or delay seeking it because of BetterMe content. If you suspect or think you may have a medical emergency, call your doctor.
SOURCES:
- 30 muscle-building foods to fuel your goals (2021, medicalnewstoday.com)
- Chin-up Guide: How to Do Chin-ups With Perfect Form (2021, masterclass.com)
- How to Do Inverted Rows With Perfect Form (2021, masterclass.com)
- How to Master the Plank Push-Up Exercise (2021, masterclass.com)
- Picture of the Biceps (2021, webmd.com)
- The 16 Best Biceps Exercises For Greater Growth (2021 barbend.com)
- Wall Handstand Exercise Guide: How to Master Wall Handstands (2021, masterclass.com)