In the 70s, Bikram Choudhury created the 26-pose Bikram sequence, which is now practiced in studios around the world. The set of postures is designed to systematically work every part of the body, allowing students to develop strength, flexibility, and focus (4).
The Bikram yoga sequence is meant to be performed in a room heated to approximately 105 degrees Fahrenheit and 40 percent humidity. This hot environment allows deep stretching and prevents injuries, while the heat also helps detoxify the body by promoting sweating.
Here is a breakdown of the 26 Bikram yoga poses, including benefits and modifications.
Is Sweat Yoga All It’s Cracked Up To Be?
Some people enjoy the challenge of practicing yoga in a hot room, others find it to be unbearable — and even dangerous.
While there aren’t specific studies on the risks of hot yoga, looking at the basis of this practice reveals that it may be beneficial when performed under the guidance of a qualified instructor.
The order of these hot yoga positions is partly based on a western understanding of anatomy and also the eastern knowledge of asanas (postures), pranayama (breathing), and meditation. The combination of these three elements is said to combat modern-day ailments and improve overall health.
Bikram Yoga’s 26 Poses
Below are the 26 hot yoga poses:
1. Standing Deep Breathing: Pranayama
Pranayama is a Sanskrit word that means “extension of the prana or breath.” In this pose, you will focus on deep inhalations and exhalations to help stretch the lungs and promote full oxygen exchange. The benefits of this yoga asana include improved circulation, increased lung capacity, and reduced stress and anxiety (2).
To perform Standing Deep Breathing:
- Stand with your feet hip-width apart and your hands on your hips.
- As you inhale deeply through the nose, raise your arms overhead.
- Exhale fully as you lower your arms back to the starting position.
- Repeat this breathwork for six counts.
Read More: Chair Yoga Poses To Help You De-Stress
2. Half Moon Pose: Ardha Chandrasana
This balancing pose requires both strength and flexibility as you move your body laterally into a “crescent moon” shape. The challenge of Ardha Chandrasana helps build focus and concentration, while also toning the legs, abs, and arms. It may also stimulate organs involved in digestion (3).
To perform Half Moon Pose:
- Stand straight and lift your arms above your head, keeping your palms pressed together.
- As you exhale, bend to the right from the hip, keeping your legs straight and your core engaged.
- Repeat on the left side.
3. Awkward Pose: Utkatasana
Utkatasana, also known as Chair Pose, is a stationary asana that requires you to hold your body in a “chair-like” position. The deep squat strengthens the thighs, ankles, and calves, while also providing a stretch for the hips and back. Additionally, this pose helps improve balance and focus (2).
To perform Awkward Pose:
- Stand with your feet hip-width apart and arms raised parallel to the ground.
- As you exhale, bend your knees and lower your hips as if you are sitting back into an invisible chair.
- Keep your spine straight and your core engaged as you hold this position for 5 to 10 breaths
4. Eagle Pose: Garudasana
Eagle Pose is a standing balance that requires you to wrap your arms and legs around one another to create the appearance of an eagle’s wings. This asana helps improve focus and concentration while also strengthening the shoulders, back, and legs (1).
To perform Eagle Pose:
- Stand with your feet close together.
- Raise both arms in front of you and wrap your right arm under the left, then bring your palms together.
- Get into a half-squat position, then slowly bring your right leg up and over the left, hooking your right foot behind your left calf.
- Push your shoulders back and bring your chest forward to maintain balance.
- Hold the pose for as long as you can.
5. Standing Head To Knee Pose: Dandayamana Janushirasana
This asana requires you to bring your head to your knee while standing, hence the name “Standing Head to Knee.” This pose helps to improve flexibility in the hamstrings and spine while also strengthening the legs, back, and core. Additionally, it can help to stimulate the organs and increase circulation (2).
To perform Standing Head To Knee:
- Stand upright with your feet together. Interlock your fingers to form a cup with your palms.
- Exhale as you bend forward from the waist, keeping your back straight and your core engaged.
- Lift your right leg up towards your chest and cup your right foot with both hands.
- Inhale as you bring your head to your right knee.
- Hold the pose for 5 to 10 breaths before repeating it on the left side.
BetterMe app will kick you out of the mental funk, shake off your extra weight, rid you off your energy-zapping habits, and help you sculpt the body of your dreams. Intrigued? Hurry up and change your life for the better!
6. Standing Bow Pose: Dandayamana Dhanurasana
Standing Bow Pose is a deep backbend that requires you to balance on one leg while reaching back with the other leg and grabbing hold of the foot. This asana helps improve flexibility in the back and legs, while also strengthening the arms, shoulders, and core. Additionally, it can help stimulate the organs and increase circulation as well (2).
To perform Standing Bow Pose:
- Stand with your feet hip-width apart and your arms at your sides.
- Exhale as you bend forward from the waist, keeping your back straight.
- As you bend, lift your right leg up and back, grabbing hold of the right ankle with your right hand.
- Stretch your left hand out ahead of you and look forward to balance.
- Inhale as you pull your right foot towards your glutes, deepening the stretch.
- Hold the pose for 5 to 10 breaths before repeating it on the other side.
7. Balancing Stick Pose: Tuladandasana
Balancing Stick is a standing pose that requires you to balance on one leg while raising the other leg and arms parallel to the ground. This stretches your heart muscles while also strengthening the legs, back, and core. Additionally, it can help improve focus and concentration as well (2).
To perform Balancing Stick Pose:
- Stand with your feet hip-width apart and your arms raised to the sky. Clasp your hands together.
- Exhale as you bend forward from the waist, keeping your back straight.
- As you bend, lift your right leg up and back, keeping it straight. Form a “T” shape with your body.
- Hold the pose for 5 to 10 breaths before repeating it on the other side.
8. Standing Separate Leg Stretching Pose: Dandayamana Bibhaktapada Paschimottanasana
Standing Separate Leg Stretching Pose is a standing forward bend that targets the sciatic nerves. It helps improve flexibility in the hamstrings and spine while also strengthening the legs, back, and core. Additionally, it can help to stimulate the organs and increase circulation as well (2).
To perform Standing Separate Leg Stretching Pose:
- Stand with your feet hip-width apart and your arms at your sides.
- Exhale as you bend forward from the waist, keeping your back straight.
- As you bend, bring your hands to the floor on either side of your feet. Use that grip to stabilize yourself as you bend further, eventually bringing your head to rest on the floor between your legs.
- Hold the pose for 30 seconds to a minute.
- To release the pose, exhale as you bring your head up and lift your torso back to an upright position with the help of your hand.
9. Triangle Pose: Trikonasana
This is a great pose for lengthening the spine and opening up the chest. It also helps to improve digestion and relieve back pain (2).
To perform Triangle Pose:
- Stand with your feet hip-width apart and your arms at your sides.
- Step your left foot back, keeping your feet in line with each other.
- Turn your left foot out at a 45-degree angle and ground down through the heel.
- Exhale as you bend forward from the waist, reaching your left hand to the floor on the inside of your left foot.
- As you bend, raise your right arm to the sky, keeping your back and legs straight.
- Look up at your right hand and hold the pose for 5 to 10 breaths.
- To release the pose, exhale as you bring your right hand back to your side and slowly raise your torso back to an upright position.
- Repeat on the other side.
Read More: 5 Chair Yoga Poses For Strength And Flexibility
10. Standing Separate Head To Knee Pose: Dandayamana Bibhaktapada Janu Sirsasana
Standing Separate Head To Knee Pose is a standing forward bend that targets the hamstrings. It helps improve flexibility in the back and legs, while also strengthening the arms, shoulders, and core. Additionally, it is said to have a positive effect on the immune system and thyroid gland as well (2).
To perform Standing Separate Head To Knee Pose:
- Start with your feet together and your hands at your sides.
- Take a big step forward with your right leg, keeping your left leg straight behind you.
- Bend forward from your hips, placing your hands on the ground on either side of your right leg.
- If you can, touch your forehead to your right knee. Otherwise, keep your head up and look straight ahead.
- Hold the pose for 5 to 10 breaths, then repeat on the other side.
11. Tree Pose: Vrksasana
Tree Pose is a standing balance pose that helps improve focus and concentration while also strengthening the legs, ankles, and core. Additionally, it can help open up the hips and chest (2).
To perform Tree Pose:
- Stand tall with your feet hip-width apart and your arms by your sides.
- Shift your weight onto your left foot and bring your right foot off the ground.
- Place the sole of your right foot against your inner left thigh, keeping your heel close to your groin.
- Press down on your left foot and raise your arms overhead, bringing your palms together in a prayer position.
- Hold for 10 to 20 breaths, then repeat on the other side.
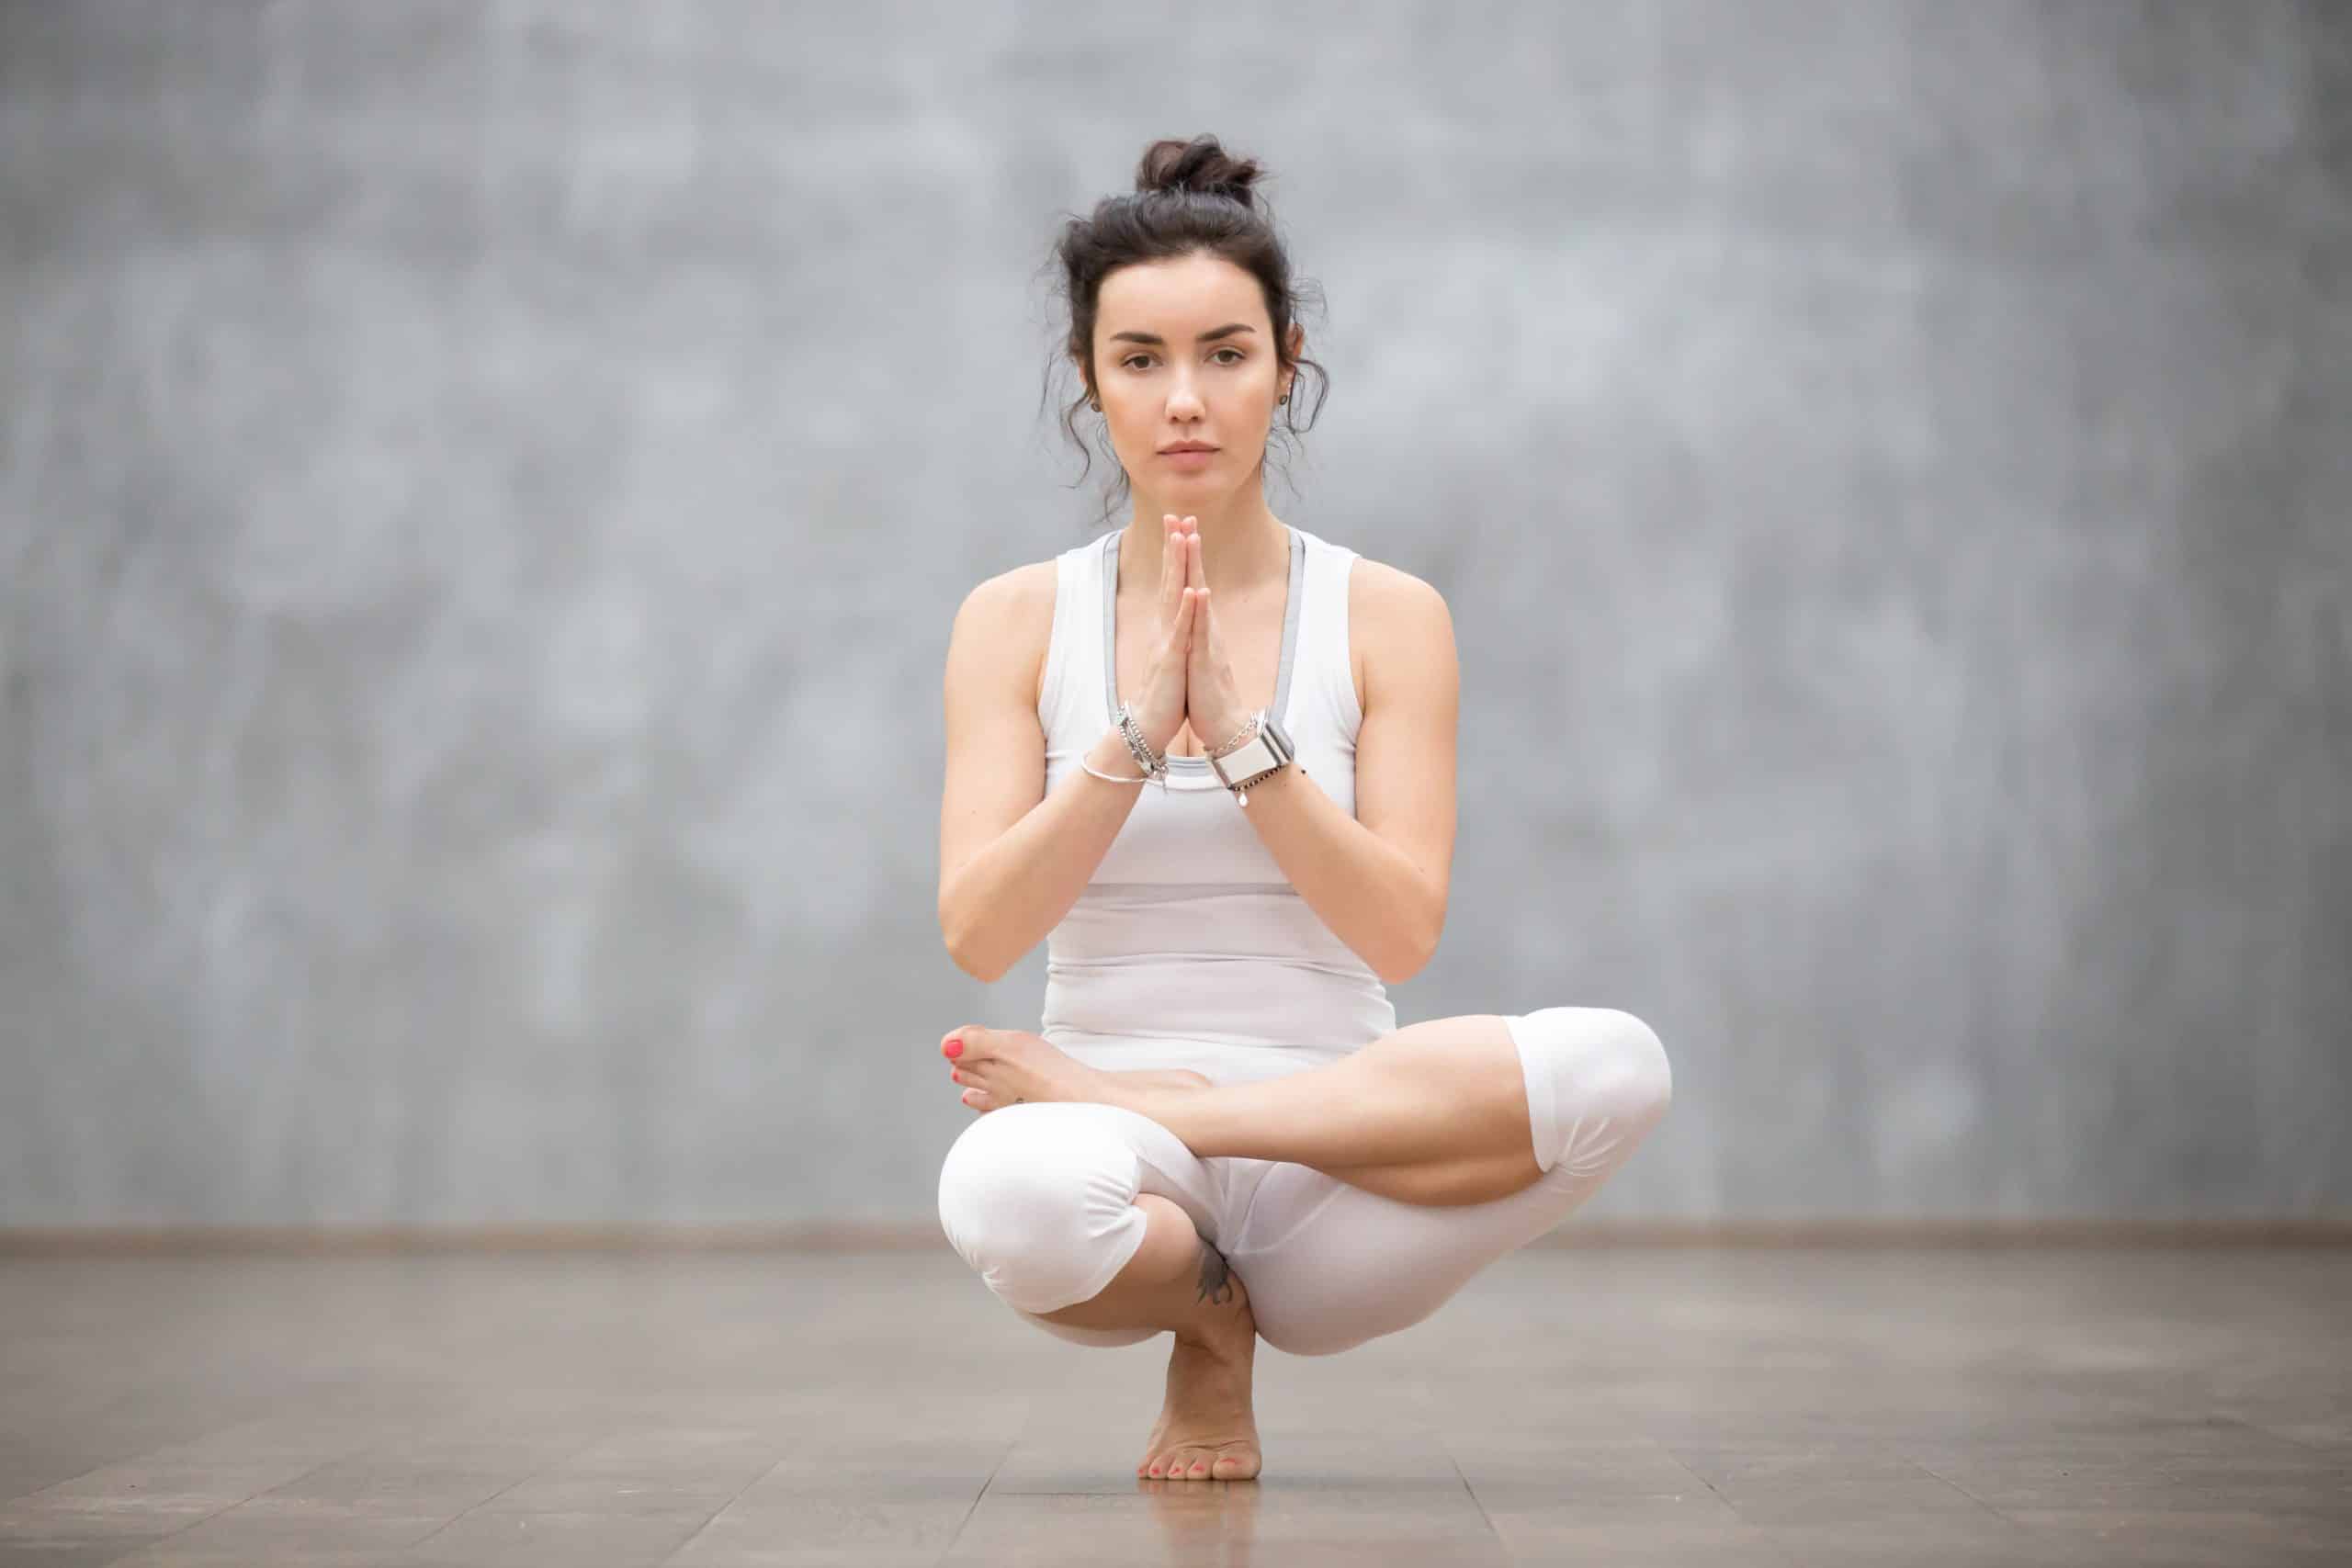
12. Toe Stand Pose: Padangusthasana
Toe Stand Pose is a standing balance pose that helps improve focus and concentration while also strengthening the legs, ankles, and core. Additionally, it can help to open up the hips and chest as well (2).
To perform Toe Stand Pose:
- Stand tall with your feet hip-width apart and your arms by your sides.
- Bring your right foot to rest on your left thigh. Ensure that your right foot is facing upwards.
- Slowly bend your left knee and lower your hips towards the floor. Keep your back straight and your chin parallel to the floor. Your left buttock should rest on your left heel.
- Clasp your hands together in front of your chest. Hold for 5 to 10 breaths, then repeat on the other side.
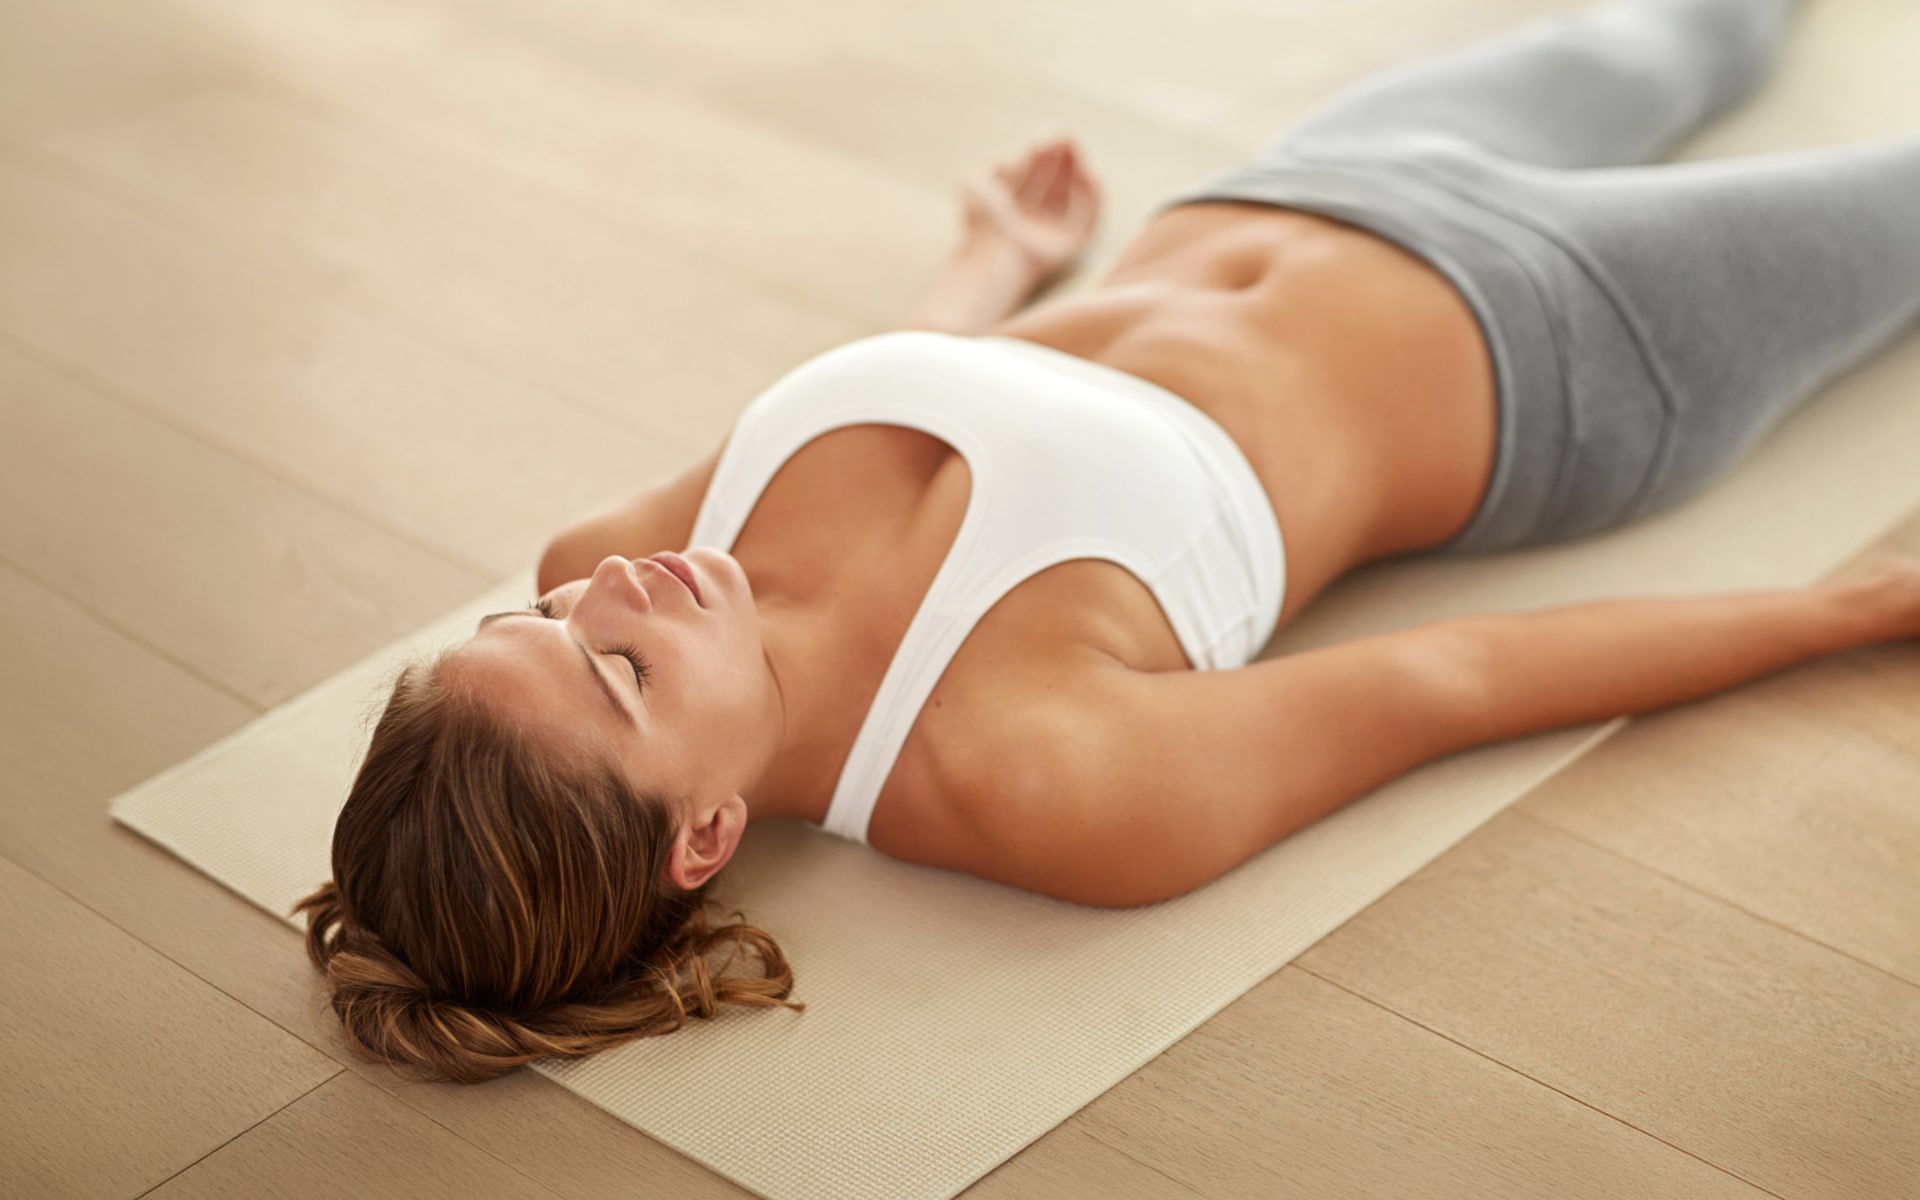
13. Dead Body Pose: Savasana
Dead Body Pose is a restorative pose that allows the body and mind to completely relax. It is often practiced at the end of a yoga class to help students transition from active practice to a state of complete relaxation (2).
To perform Dead Body Pose:
- Lie flat on your back with your feet hip-width apart and your arms by your sides. Your palms should face upwards.
- Allow your whole body to relax, releasing any tension you may be holding in your muscles.
- Close your eyes and simply focus on your breath. Breathe deeply and slowly.
- Stay in this pose for 5 to 10 minutes until you feel completely relaxed.
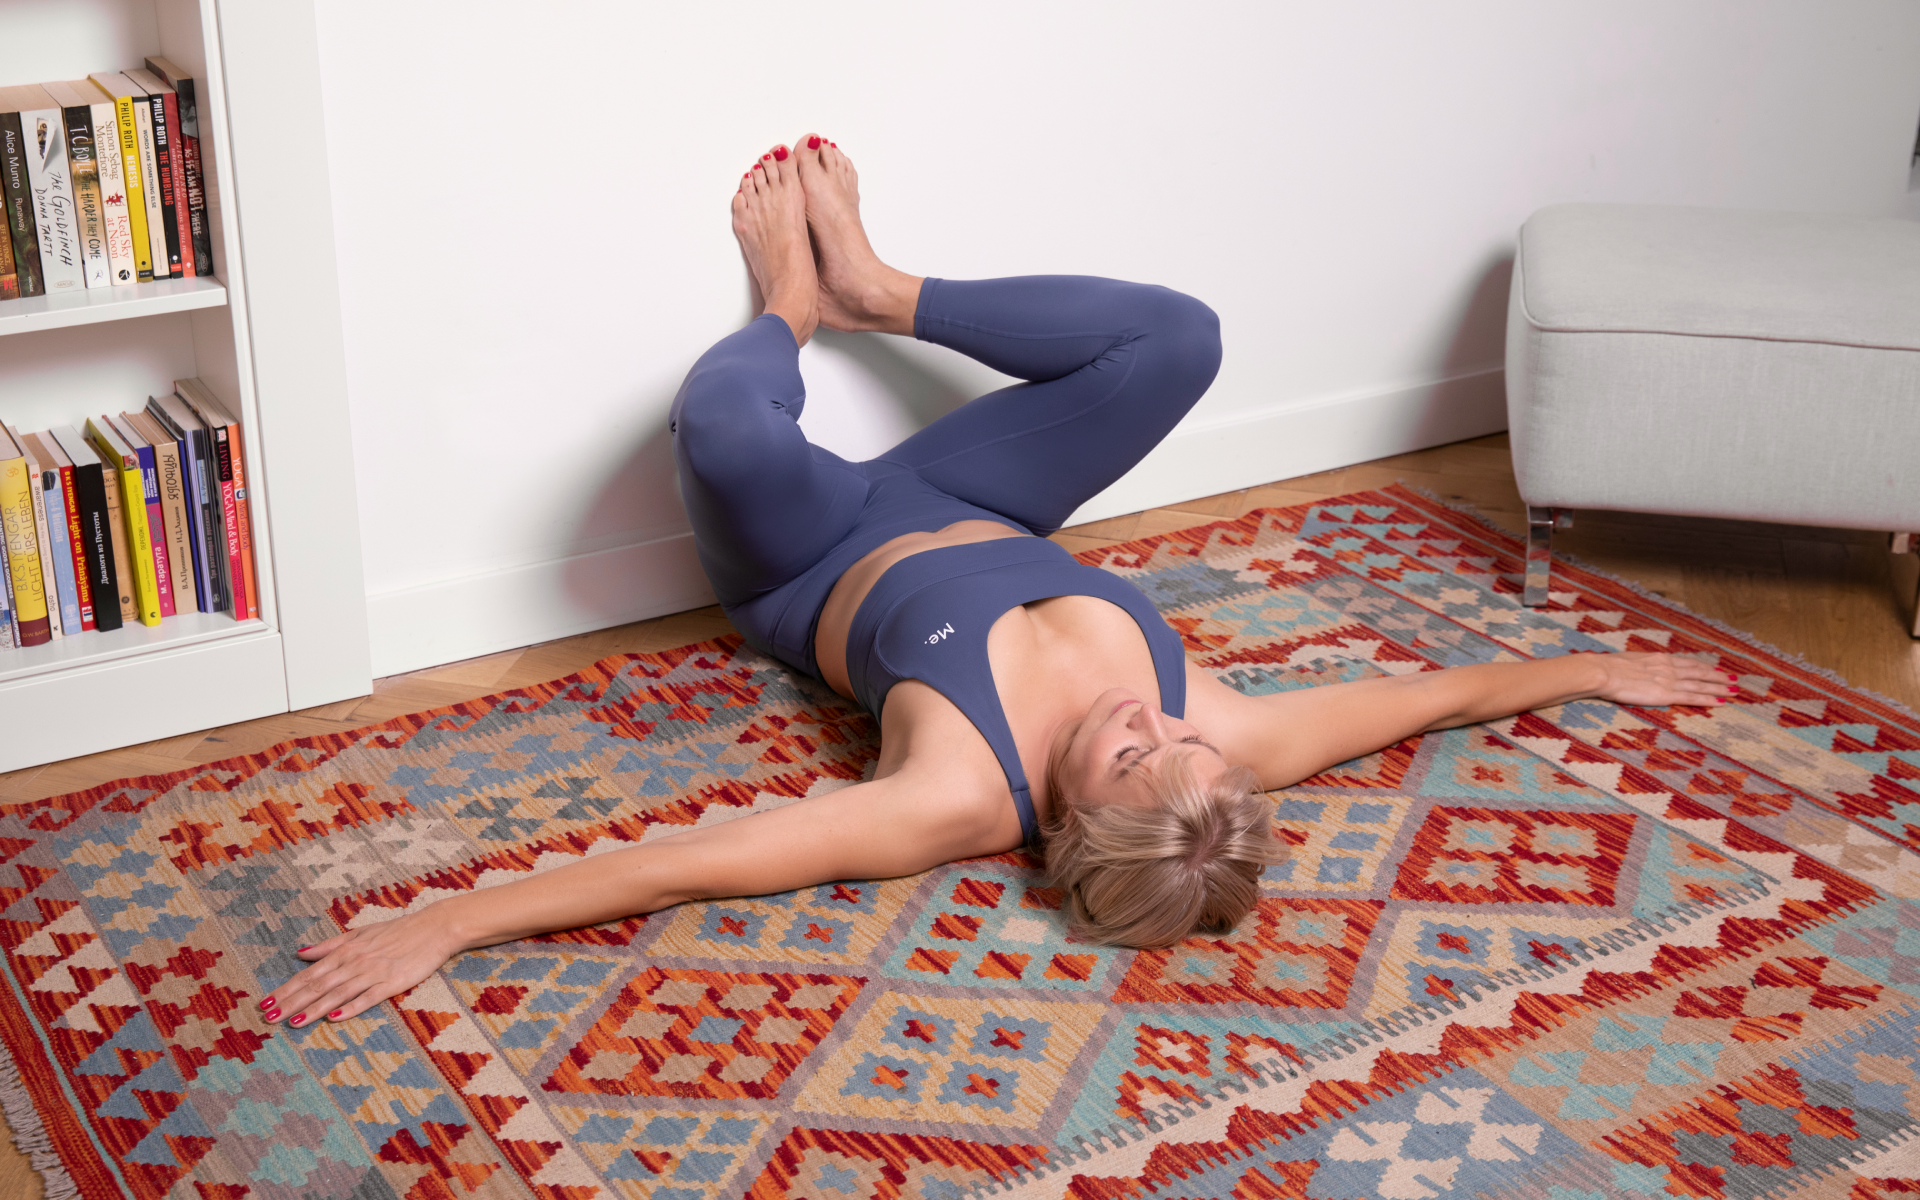
14. Wind-Relieving Pose: Pawanmuktasana
Wind-Relieving Pose is a lying pose that helps massage the internal organs and improve digestion. Additionally, it can help relieve gas, bloating, and constipation (2).
To perform Wind-Relieving Pose:
- Lie flat on your back with your feet hip-width apart and your arms by your sides.
- Bring your right knee to your chest and clasp your hands around your shin.
- Press your right thing on your abdomen, while keeping your left leg straight on the ground.
- Hold for 5 to 10 breaths, then repeat on the other side.
Lean and toned up body isn’t just a far-fetched fantasy. Check out the BetterMe app and watch it propel your weight loss journey into high gear!
15. Sit Up Pose: Padahastasana
This pose is also known as the “seated forward bend.” It’s a great way to stretch your hamstrings, back, and shoulders. Additionally, it can help calm the mind and relieve stress as well (2).
To perform Sit Up Pose:
- Sit on the ground with your legs straight out in front of you.
- Bend forward from your hips, while keeping your back straight. Reach for your toes or as far as you can reach.
- Hold for 5 to 10 breaths, then release and sit back up.
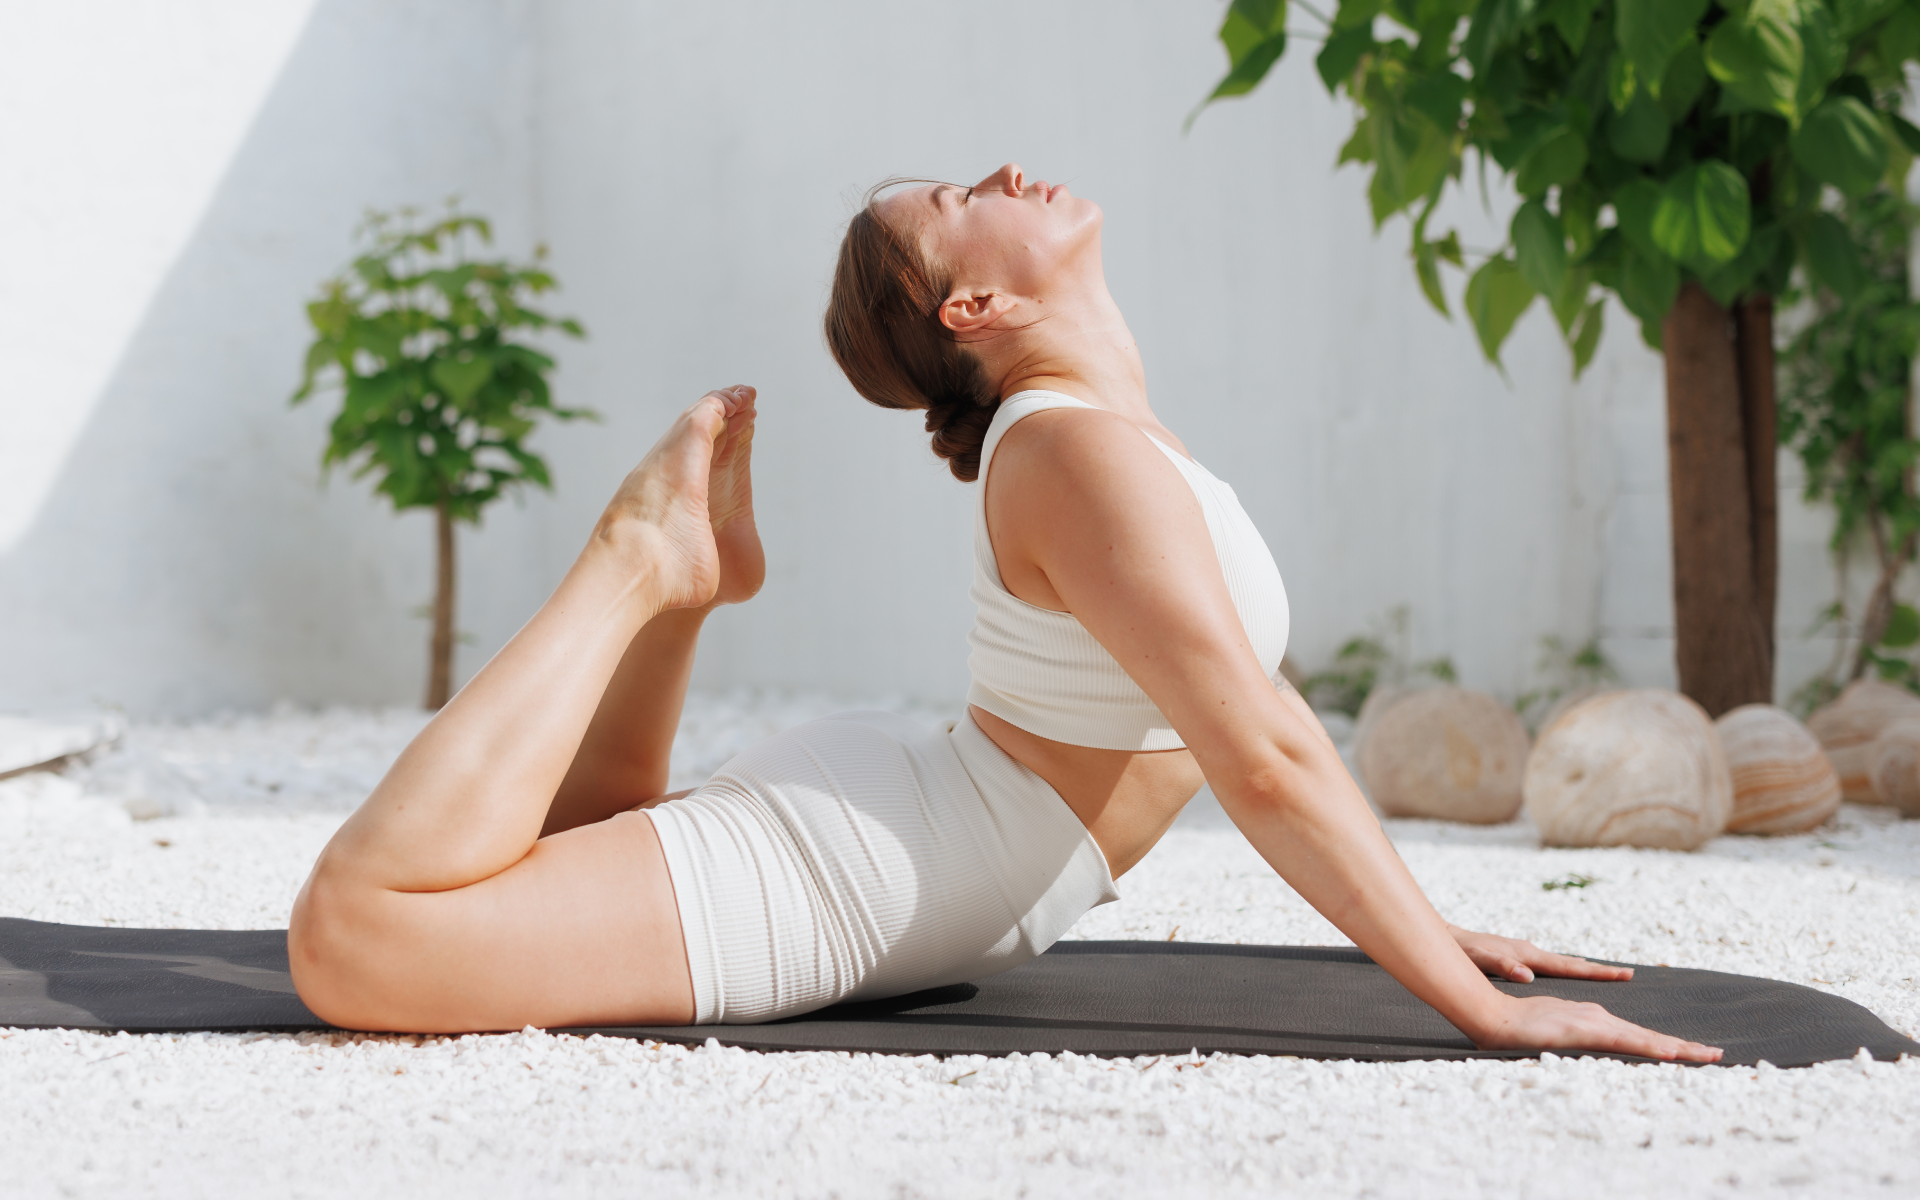
16. Cobra Pose: Bhujangasana
Cobra Pose is a reclining backbend that helps open up the chest and shoulders while also strengthening the back. Additionally, it can help improve digestion and relieve stress as well (2).
To perform Cobra Pose:
- Lie flat on your stomach with your feet hip-width apart and your hands by your sides.
- Place your hands on the ground next to your shoulders and press down, arching your back and lifting your head and chest off the ground.
- Hold for 5 to 10 breaths, then release back down to the floor.
17. Locust Pose: Shalabhasana
Locust Pose is a reclining backbend that helps open up the chest and shoulders while also strengthening the back. Additionally, it can help to improve digestion and relieve stress as well (2).
To perform Locust Pose:
- Start by lying on your stomach with your legs extended behind you and your arms snug under your abdomen. Face palms downward and ensure that your forehead is resting on the ground.
- Inhale, and as you do so, simultaneously lift your legs off the ground. Only your lower abdominal region should remain in contact with the mat.
- Hold this position for 5 to 10 breaths before slowly releasing and returning to the starting position.
18. Full Locust Pose: Poorna Shalabhasana
Full Locust Pose is an advanced variation of Locust Pose. It adds a deeper backbend to the posture, which helps open up the chest and shoulders even more. Additionally, it can help improve digestion and relieve stress as well (2).
To perform Full Locust Pose:
- Start by lying on your stomach with your legs extended behind you and your arms snug under your abdomen. Face palms downward and ensure that your forehead is resting on the ground.
- Inhale, and as you do so, simultaneously lift both legs and arms off the ground. Only your lower abdominal region should remain in contact with the mat.
- Hold this position for 5 to 10 breaths before slowly releasing and returning to the starting position.
19. Bow Pose: Dhanurasana
Bow Pose is a reclining backbend that helps open up the chest and shoulders while also strengthening the back. Additionally, it can help to improve digestion and relieve stress as well (2).
To perform Bow Pose:
- Lie flat on your stomach with your feet hip-width apart and your hands by your sides.
- Bend your knees and reach back to grab your ankles.
- As you inhale, lift your chest and head off the ground, simultaneously pulling your legs up towards your body.
- Hold for 5 to 10 breaths, then release back down to the floor.
20. Fixed Firm Pose: Supta Vajrasana
Fixed Firm Pose is a restorative pose that helps improve Digestion. It is also known as Vajrasana and Thunderbolt Pose (2).
To perform Fixed Firm Pose:
- Sit in Vajrasana, with your buttocks resting on your heels and your palms on your knees.
- Bend backward slowly, keeping your back straight.
- Place your hands on the floor behind you, with your fingers pointing toward your feet.
- Exhale and press your hips downward, so that your body forms an arch.
- Hold this pose for 30 seconds to a minute.

21. Half Tortoise Pose: Ardha Kurmasana
Half Tortoise Pose is an intermediate-level posture that helps to open up the chest and shoulders while also strengthening the back. Additionally, it can release tension in the neck and improve hip flexibility as well (2).
To perform Half Tortoise Pose:
- Sit in Vajrasana, with your buttocks resting on your heels and your palms on your knees.
- Slowly bend forward, keeping your back straight, until your head is in line with your knees.
- Clasp your hands in front of you and rest your forehead on the ground.
- Hold for 5 to 10 breaths, then release back up to Vajrasana.
22. Camel Pose: Ustrasana
This pose is excellent for improving flexibility in the spine and shoulders, as well as strengthening the back muscles. It also helps open up the chest and improve breathing (2).
To perform Camel Pose:
- Kneel on the ground with your knees hip-width apart and your palms resting on your hips.
- Slowly lean back, arching your spine.
- Reach back and grab your ankles, keeping your arms straight.
- Hold for 5 to 10 breaths, then release back up to a kneeling position.
23. Rabbit Pose: Sasangasana
Rabbit Pose is an excellent posture for beginners as it helps improve flexibility in the spine and shoulders, as well as strengthen the back muscles. Additionally, it can help open up the chest and improve breathing (2).
To perform Rabbit Pose:
- Sit in Vajrasana, with your buttocks resting on your heels and your palms on your knees.
- Bend forward, keeping your back straight, until your head is in line with your knees.
- Reach back and grab your ankles, keeping your arms straight.
- Hold for 5 to 10 breaths, then release back up to Vajrasana.
24. Head-to-Knee Pose: Janu Sirsasana Paschimottanasana
The Head-To-Knee pose is classified as a forward-bending asana in hatha yoga and Iyengar yoga. This asana is usually performed after the sitting forward bend. It is also a common component of Sun Salutation sequences (2).
To perform Head-To-Knee Pose:
- From a seated position with both legs extended straight in front of you, bend your right knee and bring your right foot to the inside of your left thigh.
- As you exhale, hinge forward from your hips and fold forward over your extended left leg.
- Place your hands on the floor beside your left leg or wrap them around your left shin or ankle.
- Hold for up to one minute, then slowly release back to a seated position and repeat on the other side.
25. Spinal Twist: Ardha Matsyendrasana
Spinal Twist is an excellent posture for beginners as it helps to improve flexibility in the spine and shoulders, as well as strengthen the back muscles. Additionally, it can help to open up the chest and improve breathing as well (2).
To perform Spinal Twist:
- Sit in Vajrasana, with your buttocks resting on your heels and your palms on your knees.
- Bend your right knee and place your right foot on the floor outside of your left thigh.
- Place your left hand on the floor behind you and your right hand on your right knee.
- Twist your torso to the right, looking over your right shoulder.
- Hold for 5 to 10 breaths, then release back up to Vajrasana.
26. Skull Shining Breathing Technique: Kapalabhati Pranayama
The Skull Shining Breathing Technique is great for stimulating the brain and getting rid of toxins from the body. It is often practiced before beginning a yoga session (2).
To perform Kapalabhati:
- Sit in Sukhasana with your spine straight and your hands resting on your knees.
- Inhale deeply and slowly through your nose.
- Exhale forcefully through your nose, drawing your navel in towards your spine.
- Repeat this breathing pattern for up to one minute.
The Bottom Line
Bikram yoga is a style of yoga that is practiced in a hot room. This type of yoga is designed to help you lose weight, detoxify your body, improve your cardiovascular health, and increase your flexibility. It consists of 26 postures, or asanas, that are performed in a specific order.
The postures are designed to work all areas of the body, including the muscles, bones, joints, and organs. If you are new to yoga, it is important to start with a beginner’s class so that you can learn the proper form and technique for each posture.
DISCLAIMER:
This article is intended for general informational purposes only and does not serve to address individual circumstances. It is not a substitute for professional advice or help and should not be relied on for making any kind of decision-making. Any action taken as a direct or indirect result of the information in this article is entirely at your own risk and is your sole responsibility.
BetterMe, its content staff, and its medical advisors accept no responsibility for inaccuracies, errors, misstatements, inconsistencies, or omissions and specifically disclaim any liability, loss or risk, personal, professional or otherwise, which may be incurred as a consequence, directly or indirectly, of the use and/or application of any content.
You should always seek the advice of your physician or other qualified health provider with any questions you may have regarding a medical condition or your specific situation. Never disregard professional medical advice or delay seeking it because of BetterMe content. If you suspect or think you may have a medical emergency, call your doctor.
SOURCES:
- Garudasana – Eagle pose (2022, artofliving.org)
- Salt and water balance after sweat loss: A study of Bikram yoga (2020, nih.gov)
- Ardha Chandrasana (Half-moon Pose) (2022, rishikulyogshala.org)
- The Effects of Bikram Yoga on Health: Critical Review and Clinical Trial Recommendations (2015, nih.go)