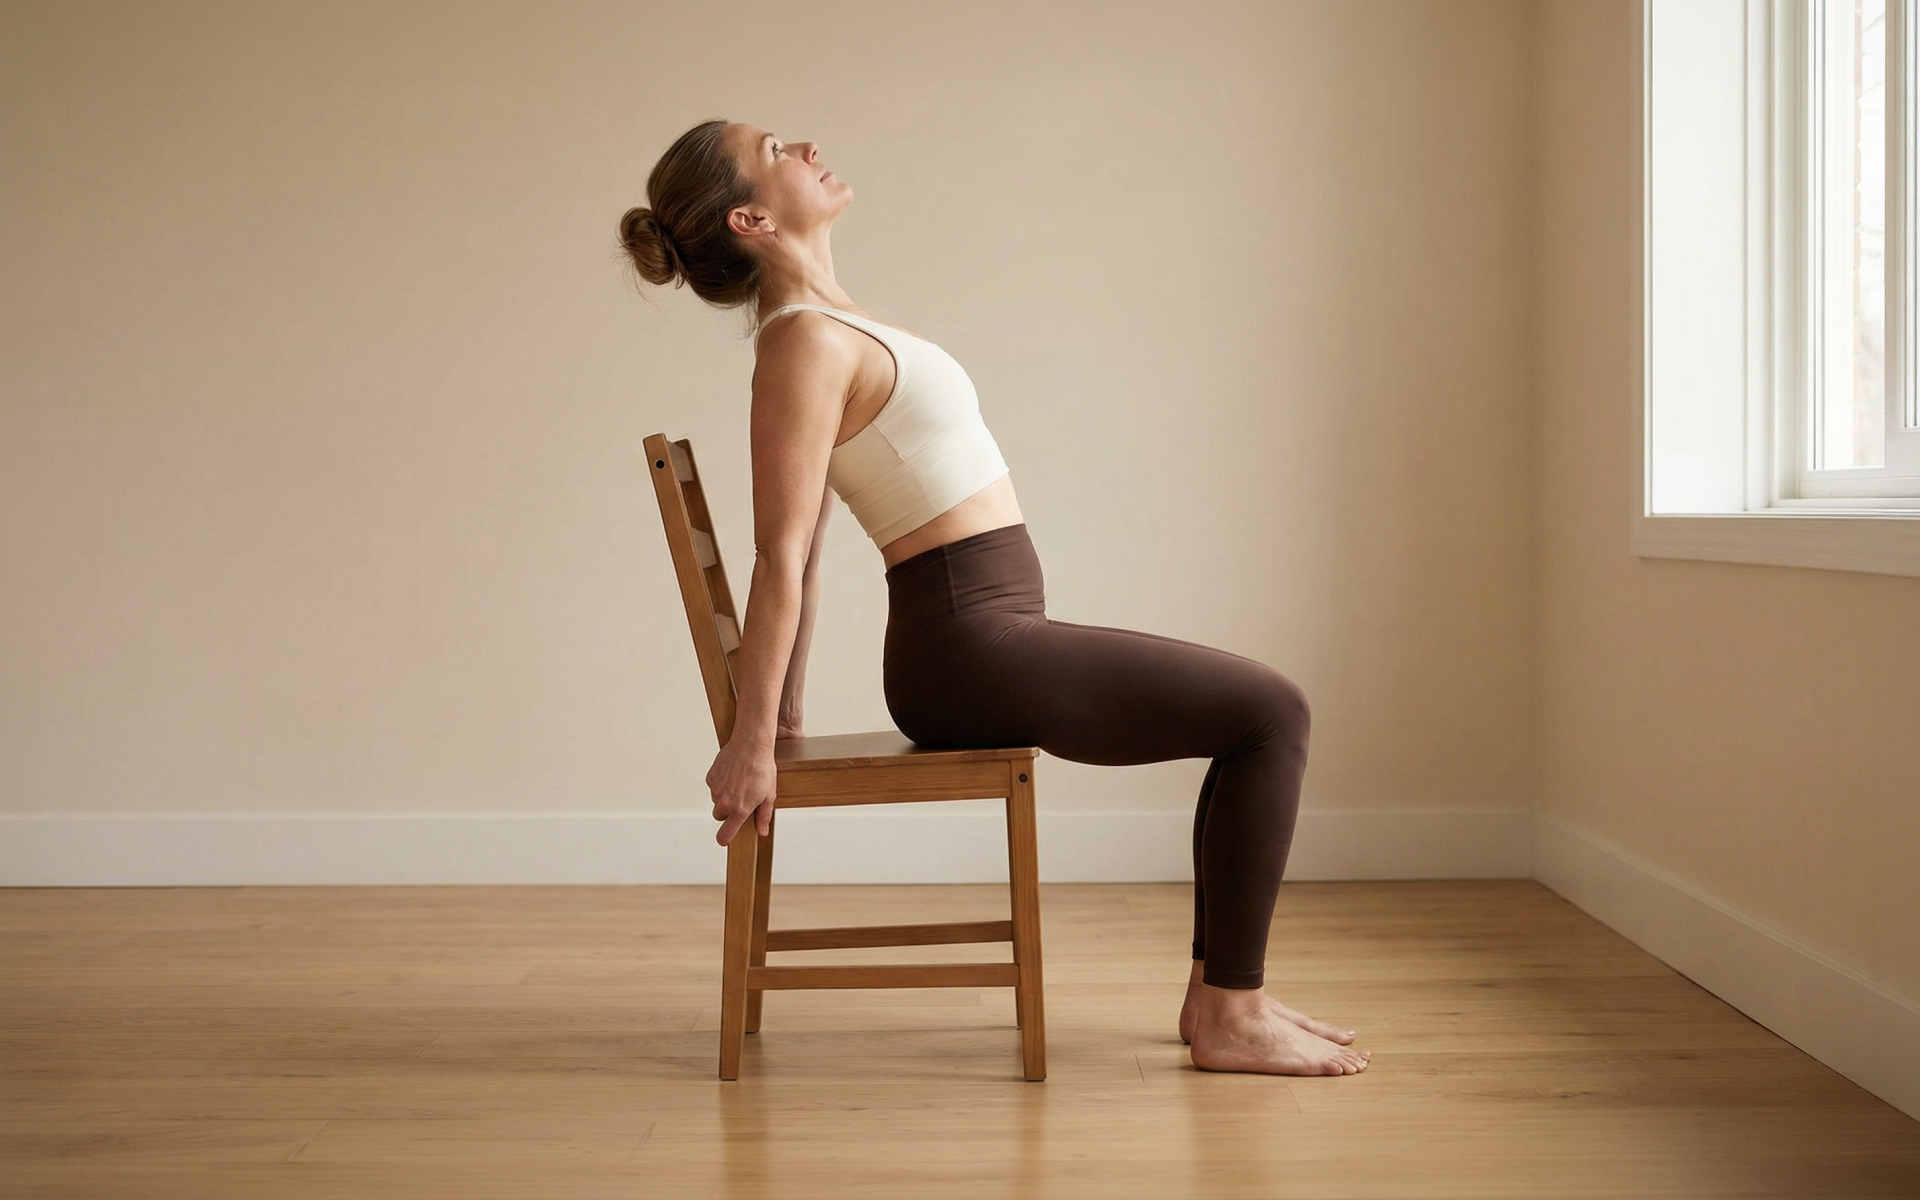
The chair pose, or Utkatasana, is a foundational yoga posture that builds serious strength in the legs, back, and core. While its name sounds simple, anyone who has held it for more than a few breaths knows it’s a powerful and challenging pose. It demands strength, stability, and focus, making it a staple in many yoga sequences.
This guide will walk you through everything you need to know about the Chair Pose. We will cover how to perform the classic Utkatasana with proper form, explore its impact on the knees, and identify common mistakes to avoid. Most importantly, we’ll introduce five yoga chair pose variations for beginners that you can incorporate into your practice today.
How to Properly Do a Chair Pose
Chair pose, which is known as Utkatasana in Sanskrit, is a fundamental standing posture that mimics the action of sitting in an invisible chair. This powerful pose engages multiple muscle groups simultaneously while challenging your balance and mental focus (1).
Step-by-Step Instructions
Starting Position
Begin in mountain pose (Tadasana) with your feet hip-width apart and arms at your sides. Ground through all four corners of your feet and engage your core muscles.
The Movement
- Inhale and raise your arms overhead, keeping them parallel with your palms facing each other.
- Exhale and bend your knees, lowering your hips as if sitting back into a chair.
- Keep your knees aligned with your toes – they should not extend beyond your feet.
- Shift your weight into your heels while maintaining a straight spine.
- Draw your shoulder blades down your back and lift through the crown of your head.
- Hold for 5-8 breaths, breathing steadily throughout.
Whether you’re a workout beast or just a beginner making your first foray into the world of fitness and dieting – BetterMe has a lot to offer to both newbies and experts! Install the app and experience the versatility first-hand!
Proper Alignment Cues
Your thighs should work toward being parallel to the floor, although beginners may not achieve this depth initially. Keep your chest open and avoid rounding your shoulders forward. The back of your knees, ankles, and heels should form a straight line when viewed from the side.
Releasing the Pose
To come out of chair pose, inhale and straighten your legs while keeping your arms raised. Exhale and lower your arms to your sides, returning to mountain pose.
Read more: 9 Chair Yoga Poses For Seniors To Do At Home
Is Chair Pose Good for Your Knees?
The chair pose can be demanding on the knees, and if performed incorrectly, it can certainly cause strain. The key to protecting your knees in Utkatasana is proper alignment and listening to your body.
When you bend your knees in chair pose, you place a significant load on the quadriceps (the muscles at the front of your thighs). These muscles act as primary stabilizers for the knee joint (2). By strengthening your quadriceps, chair pose can actually improve knee stability over time. However, the pressure on the knees and hips is greater as the back is held straight.
The most important alignment cue is to keep your knees from extending past your toes. When your knees push forward, you shift your body weight onto the knee joint itself, rather than engaging the large muscles of your legs to support you. This can lead to pain and potential injury.
For individuals who are just starting to build strength in their quadriceps, the full expression of chair pose may be too intense. This is where modifications become invaluable.
A gentler variation, such as the chair pose deep bend, can be a great starting point. In this version, the back is angled more forward (around 45 degrees), which can feel more natural and less strenuous as you build strength.
Seniors and those with limited mobility should avoid this pose, as they may not have sufficient core and knee strength for it.
Ultimately, whether chair pose is good for your knees will be dependent on your individual body and how you practice. If you have a pre-existing knee injury or chronic pain, it’s best to consult a doctor before you get started on this form of exercise. However, once you get clearance from a doctor, a yoga instructor or physical therapist can help you find modifications if you do suffer from preexisting injuries. One example would be using a wall for support or reducing the depth of your squat to practice safely.
Uncover the surprising benefits of chair yoga routine for seniors in our past article.
What Are Common Chair Pose Mistakes?
Understanding and avoiding common mistakes in chair pose will help you practice safely while maximizing the benefits of this powerful posture.
- Knees Extending Beyond Your Toes
This is perhaps the most common and potentially harmful mistake in chair pose. When your knees push forward past your toes, excessive stress is placed on the knee joints and ligaments.
How to Fix It: Focus on sitting back into your heels, rather than dropping straight down. Imagine you’re reaching your hips back to touch a wall behind you.
- Collapsing the Chest
Many practitioners allow their torso to fold forward excessively, which compromises spinal alignment and reduces the effectiveness of the pose.
How to Fix It: Keep your chest open and spine long. Draw your shoulder blades down your back and maintain a slight natural curve in your lower back.
- Weight in the Toes
Shifting too much weight forward onto your toes creates instability and puts unnecessary strain on your knees.
How to Fix It: Ground down through your heels while keeping all toes in contact with the mat. You should be able to wiggle your toes slightly if your weight is properly distributed.
- Shoulders Hunching Toward Your Ears
Tension in the shoulders and neck detracts from the benefits of the pose and can cause discomfort.
How to Fix It: Actively draw your shoulders away from your ears and soften your neck muscles. Keep your arms strong but your shoulders relaxed.
- Holding the Breath
Breath retention often occurs when the pose becomes challenging, but this limits the pose’s benefits and can create tension.
How to Fix It: Maintain steady, even breathing throughout the hold. Use your exhales to deepen the pose slightly and your inhales to find length in your spine. If you’re curious about chair pose yoga benefits, check out our earlier article.
Read more: 10 Chair Yoga Poses For Beginners
What Muscles Does a Yoga Chair Pose Work?
Chair pose is a full-body exercise that engages multiple muscle groups simultaneously, which makes it an efficient strength-building posture (1).
Primary Muscle Groups
Quadriceps
The front thigh muscles work intensively to support your body weight in the bent-knee position. This engagement helps build functional strength for daily activities.
Gluteus Muscles
Your glutes activate to stabilize your pelvis and support the hip-hinge movement required in chair pose.
Core and Pelvic Floor
These deep stabilizing muscles engage to maintain proper spinal alignment and prevent your torso from collapsing forward.
Supporting Muscle Groups
Arms and Shoulders
Holding your arms overhead challenges your deltoids, triceps, and upper-back muscles while improving shoulder stability and endurance.
Lower Back
The erector spinae muscles work to maintain your spine’s natural curves and prevent rounding.
Hips and Hip Flexors
These muscles help control the depth of the pose while maintaining proper alignment between your pelvis and thighs.
Knees and Calves
While not the primary movers, these areas provide stability and support throughout the pose.
The multi-muscle engagement in chair pose makes it an excellent functional exercise that translates to improved strength for everyday movements such as getting up from chairs, climbing stairs, and lifting objects.
How to Make a Chair Pose Harder
Once you’ve mastered the basic chair pose, several progressions can increase the challenge and continue building strength and stability.
- Duration Progressions
Start by gradually increasing your hold time from 30 seconds to 60 seconds or longer. This endurance challenge builds both physical and mental stamina.
- Depth Variations
Work toward lowering your hips closer to the height of your knees while maintaining proper alignment. The deeper the pose, the greater the demand on your leg muscles.
- Single-Leg Challenges
Lift one foot slightly off the ground while maintaining the chair pose position. This variation dramatically increases the balance challenge and unilateral strength demands.
- Dynamic Movements
Add small pulses up and down within your chair pose range, or transition between chair pose and standing to create a dynamic flow sequence.
- Arm Variations
Experiment with different arm positions such as extending them forward, out to the sides, or adding gentle twists to engage your core more intensively.
- Balance Challenges
Practice chair pose on an unstable surface such as a balance pad, or close your eyes to remove visual cues and challenge your proprioception.
These progressions should be approached gradually, ensuring you can maintain proper form before advancing to more challenging variations.
What Are Some Yoga Chair Pose Variations?
These five chair pose variations are specifically designed for beginners, starting with the most accessible option and gradually increasing in complexity.
1. Chair Pose Deep Bend (Utkatasana Deep Bend)
This beginner-friendly variation serves as the perfect introduction to chair pose mechanics.
How to Practice:
- Start in mountain pose with your feet hip-width apart.
- Bend your knees and lean your torso forward to approximately 45 degrees.
- Extend your arms forward, parallel to the floor.
- Keep your weight in your heels and your knees tracking over your toes.
- Hold for 5-8 breaths.
Why Start Here: The forward lean reduces the intensity on your quadriceps and makes it easier to maintain balance while learning proper alignment principles.
2. Chair Pose Arms Forward (Utkatasana Arms Forward)
This variation maintains the traditional chair pose leg position while modifying arm placement for better stability.
How to Practice:
- Begin in mountain pose.
- Bend your knees and lower your hips while keeping your torso upright.
- Extend your arms straight forward at shoulder height.
- Ensure your knees don’t extend beyond your toes.
- Engage your core and hold for 5-8 breaths.
Benefits: The forward arm position helps counterbalance your body weight and makes it easier to maintain proper spinal alignment.
BetterMe: Health Coaching app helps you achieve your body goals with ease and efficiency by helping to choose proper meal plans and effective workouts. Start using our app and you will see good results in a short time.
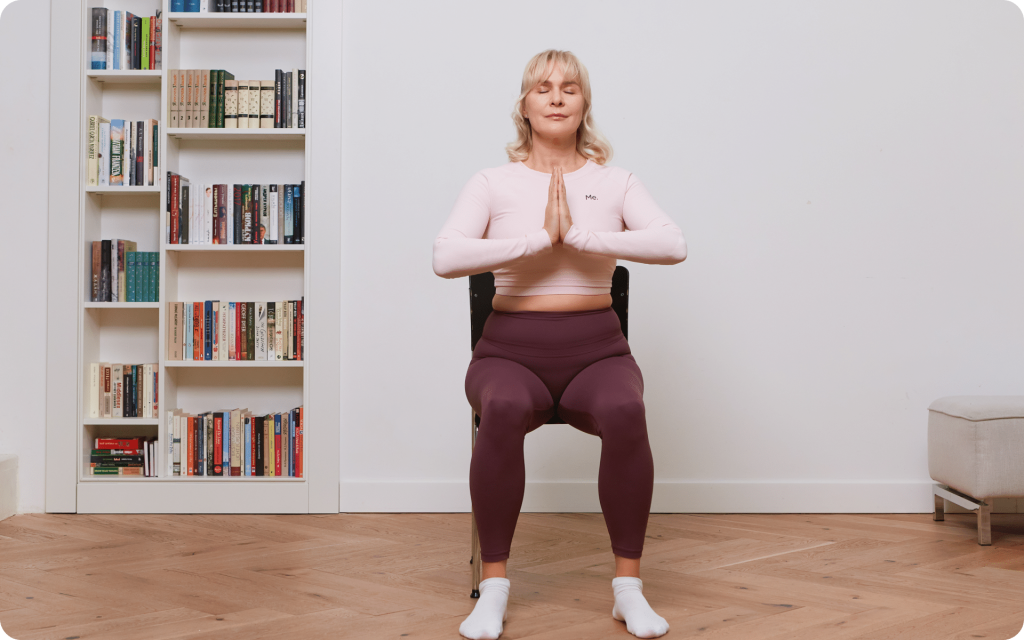
3. Half Chair Pose (Ardha Utkatasana)
This variation offers a middle ground between the deep bend and full chair pose expressions.
How to Practice:
- Start in mountain pose.
- Bend your knees slightly, creating a subtle sitting-back motion.
- Raise your arms overhead or keep them at your heart center.
- Focus on proper alignment rather than depth.
- Build up your hold time gradually.
Progression Tip: Use this variation to build confidence and strength before advancing to deeper expressions of chair pose.
4. Chair Pose Airplane Arms (Utkatasana Airplane Arms)
This dynamic variation challenges your balance while opening your chest and shoulders.
How to Practice:
- Establish your chair pose foundation with bent knees and an engaged core.
- Extend your arms straight back behind you, parallel to the floor.
- Lean your torso slightly forward while maintaining spine length.
- Engage your shoulder blades and open your chest.
- Hold for 5 breaths, feeling the stretch across your chest and shoulders.
Unique Benefits: This variation particularly targets your posterior deltoids and rhomboids while providing an excellent counter-stretch to forward head posture.
5. Revolved Chair Pose (Parivrtta Utkatasana)
This advanced variation adds a spinal twist to the chair pose foundation, creating a more complex challenge.
How to Practice:
- Begin in chair pose with your hands at your heart center.
- Maintaining your bent-knee position, twist your torso to the right.
- Place your left elbow on the outside of your right knee.
- Press your palms together and use the leverage to deepen the twist.
- Keep your knees parallel and your weight evenly distributed.
- Hold for 5 breaths, then repeat on the opposite side.
Advanced Tip: Focus on initiating the twist from your core, rather than forcing the movement with your arms.
If you’re interested in exploring more gentle options, you may want to learn about seated chair yoga poses for additional accessibility.
How to Do a Twisted Chair Pose Correctly
The twisted chair pose, or Parivrtta Utkatasana, is a powerful addition to any chair pose sequence. The combination of strengthening and twisting offers immense benefits, from toning the core to stimulating digestive organs (3). However, proper alignment is essential for practicing it safely.
Here’s a more detailed breakdown:
- Establish a Solid Foundation: Start in a strong chair pose. Your feet should be firmly planted, weight in the heels, and hips sinking low. Bring your hands to prayer at your heart.
- Lengthen Before You Twist: Take a deep inhale and focus on creating length in your spine, from your tailbone to the crown of your head.
- Twist from the Navel: As you exhale, initiate the twist from your core, not your neck or shoulders. Turn your torso to the right.
- Hook the Elbow: Place your left elbow on the outside of your right knee or thigh. Use this connection as leverage. Press your elbow into your thigh and your thigh back into your elbow.
- Keep Knees and Hips Square: This is the most challenging part. Look down at your knees. Most likely, your left knee will have shifted forward. Actively pull your left hip back until your knees are side-by-side. Squeeze your inner thighs together.
- Open the Chest: Press your palms together to broaden your collarbones and lift your chest toward your thumbs. Avoid collapsing into the twist.
- Gaze Upward: If your neck allows, turn your gaze up past your right shoulder. If this causes you to strain, keep your gaze neutral or down.
- Breathe: Hold for several deep, even breaths. With each inhale, try to lengthen your spine a little more. With each exhale, see if you can deepen the twist.
- Release with Control: Inhale to return to the center (chair pose with prayer hands), then exhale to release the twist. Repeat on the other side.
For more guidance on seated variations, you can explore these seated chair yoga poses.
Individuals with chronic knee pain, ankle injuries, or hip injuries should approach chair pose with caution and seek modifications. People with frequent headaches, migraines, or low blood pressure should also be mindful. Pregnant women who are in their third trimester are typically advised to avoid the deep squat of the traditional pose. Seniors who lack sufficient core and knee strength should also avoid chair pose. Ultimately, it’s best to contact a doctor before you get started on any new form of exercise. For beginners, holding the pose for 3-5 deep breaths (approximately 30 seconds) is a great start. As you build strength and endurance, you can gradually increase the duration to 10 breaths or longer (up to a minute). There are hundreds of yoga poses that can be adapted for a chair, which makes yoga accessible to nearly everyone. The term “chair yoga” often refers to a practice that is done entirely while seated or using a chair for support (4). However, the variations discussed here are standing poses that mimic the action of sitting in a chair. To modify a pose for chair yoga, you can either perform it while seated or use the chair as a prop for balance and support. For example, a standing pose such as warrior II can be done while seated, or you can hold onto the back of a chair for stability while practicing it while standing.Frequently Asked Questions
Who should not do chair pose?
How long should you hold a chair pose?
How many chair yoga poses are there?
How do I modify poses for chair yoga?
The Bottom Line
Chair pose and its variations are more than just a leg workout, they’re a full-body experience that builds strength, improves balance, and cultivates focus. By starting with the basics and progressively exploring different modifications, you can tailor the practice to your unique needs and goals. Remember that the journey of yoga is about listening to your body and celebrating what it can do each day.
DISCLAIMER:
This article is intended for general informational purposes only and does not serve to address individual circumstances. It is not a substitute for professional advice or help and should not be relied on for making any kind of decision-making. Any action taken as a direct or indirect result of the information in this article is entirely at your own risk and is your sole responsibility.
BetterMe, its content staff, and its medical advisors accept no responsibility for inaccuracies, errors, misstatements, inconsistencies, or omissions and specifically disclaim any liability, loss or risk, personal, professional or otherwise, which may be incurred as a consequence, directly or indirectly, of the use and/or application of any content.
You should always seek the advice of your physician or other qualified health provider with any questions you may have regarding a medical condition or your specific situation. Never disregard professional medical advice or delay seeking it because of BetterMe content. If you suspect or think you may have a medical emergency, call your doctor.
SOURCES:
- Chair Pose: How to Practice Utkatasana (2025, yogajournal.com)
- Knee Pain: Safely Strengthening Your Thigh Muscles (2014, jospt.org)
- Chair Yoga (2021, journals.lww.com)
- How to Do Chair Yoga (2024, webmd.com)