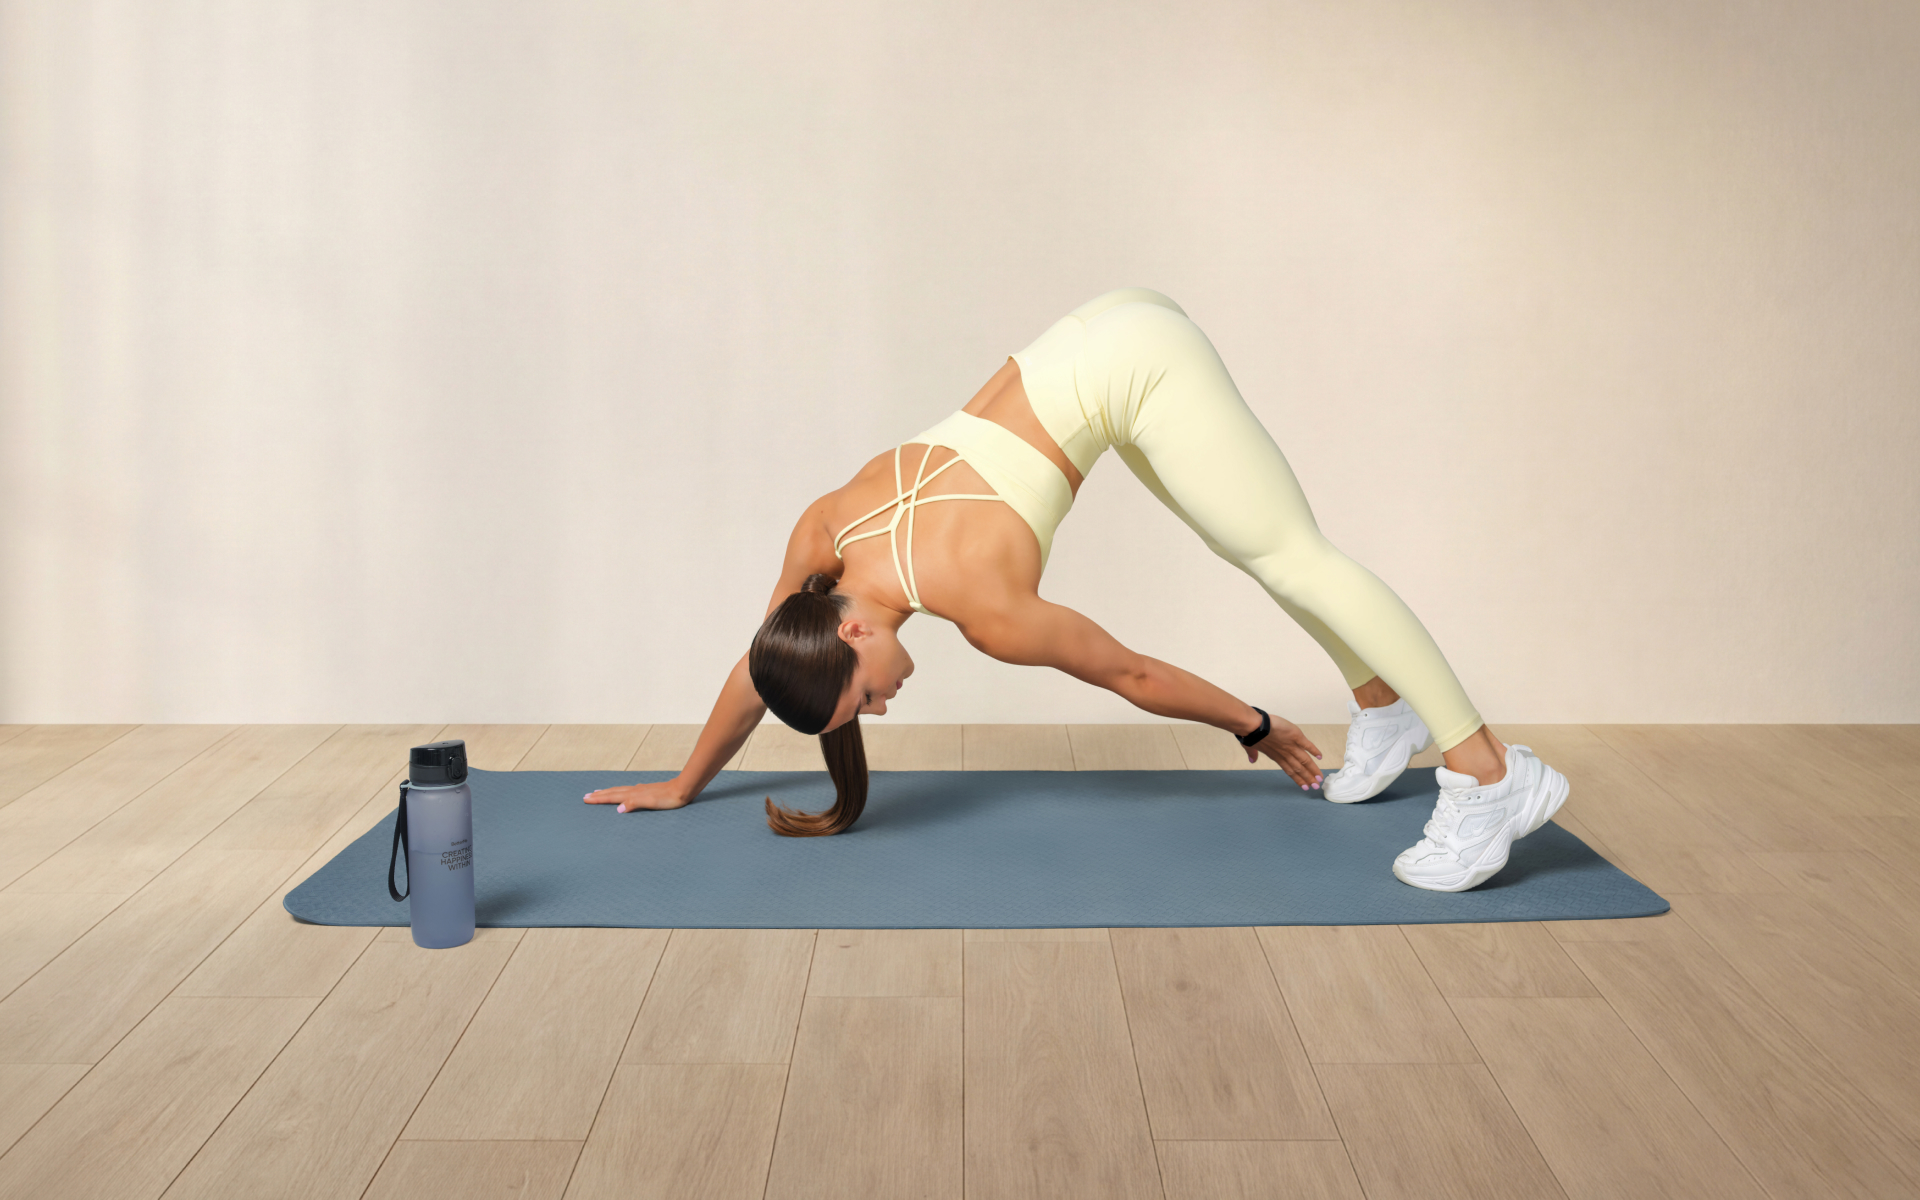
Shoulder strength, mobility, and stability are essential for any physical activity, from playing sports to simply carrying groceries. However, many people neglect the muscles in the back of their shoulders, which are known as the rear delts. These muscles play a crucial role in shoulder health and also contribute to an aesthetically-sculpted upper body.
The good news is that you don’t need fancy equipment or heavy weights to target your rear delts. In fact, you can effectively work these muscles using just your body weight. If you’re looking to strengthen and shape your shoulders without needing any equipment, here are five calisthenics exercises for strong and sculpted rear delts.
But first, we’ll quickly go over some basic information about the rear delt muscles and why it’s important to include them in your workout routine.
Anatomy and Function of the Rear Delt Muscles
The rear delts, also known as posterior deltoids, are one of three heads that make up the shoulder muscle (deltoid). They’re located on the back of your shoulders and are responsible for various actions such as pulling your arm backward and rotating it outward (1).
These muscles often get overlooked as they’re not as visible or easily targeted with traditional exercises such as push-ups or overhead presses. However, neglecting them can lead to imbalances and potential injuries to the shoulders.
Training your rear delts can improve your overall shoulder strength and stability, which is essential for any upper-body movement. In addition, having well-developed rear delts can create a more defined and aesthetic look to your back and shoulders.
Can You Train the Rear Delts with Calisthenics?
The rear delts are arguably best trained using equipment (such as dumbbells or resistance bands) that allow for specific isolation exercises that target these muscles. However, this doesn’t mean you can’t effectively train them using just your body weight.
With calisthenics, you can use creative variations and modifications of classic body weight exercises to target your rear delts. The upside of training this muscle with calisthenics is that such exercise challenges your stability and coordination, enhancing overall muscle activation and control (4).
What Exercise Hits the Rear Deltoids?
Exercise that involves pulling and rotating your arms backward will target the rear delt muscles. Here are five body weight rear delt exercises you should try:
Ring Face Pulls
This exercise involves the use of gymnastic rings, which introduce an element of instability that significantly enhances muscle engagement and overall shoulder health. The primary focus of the ring face pull is on the posterior deltoids, but it also activates other muscles such as the rhomboids, trapezius, and rotator cuff muscles.
What sets the ring face pull apart as a rear delt exercise is its ability to isolate and target the smaller stabilizer muscles in the shoulder. As you perform this exercise, the instability of the rings forces your muscles to work harder to maintain control and balance. This results in increased muscle activation and a more effective workout for the rear delts.
Furthermore, the ring face pull promotes proper shoulder blade retraction and external rotation, which are essential for maintaining shoulder health and preventing potential injuries. By consistently performing ring face pulls, you can enhance your shoulder stability and mobility, which leads to better posture and improved performance in various physical activities.
Here are 8 steps to perform ring face pulls:
- Adjust the rings to a height slightly above your head.
- Hold onto each ring with an overhand grip, keeping your arms straight and your palms facing downward.
- Walk your feet back until you are at a comfortable angle with your body fully extended and slightly leaning forward.
- Squeeze your shoulder blades together and pull the rings toward your face while maintaining an upright posture. Remember to engage your core here to further help stabilize your body.
- Pause for a second when the rings are close to your face, then slowly return to the starting position by extending your arms.
- Repeat for the desired number of reps.
- Keep your core engaged throughout the exercise to maintain stability.
- As you get stronger, you can increase the difficulty by walking your feet further back and increasing the angle of your body.
BetterMe will keep you laser-focused on your weight loss journey! Nutrient-packed meal plans, fat-blasting workouts, galvanizing challenges and much more. Try using the app and see for yourself!
Ring Rows
This exercise primarily engages the posterior deltoids, rhomboids, trapezius, latissimus dorsi, and biceps. The motion involved in ring rows requires pulling your body upward using rings, which introduces instability and challenges your muscles to maintain control and balance.
During the execution of ring rows, the posterior deltoids are engaged as you pull your arms back, emphasizing the retraction of the shoulder blades.
The rhomboids and trapezius muscles work synergistically to retract and stabilize the shoulder blades, ensuring proper posture and alignment throughout the movement.
The latissimus dorsi contributes to the pulling motion, particularly as you approach the top of the row.
As the rings introduce an unstable surface, your stabilizer muscles, including the rotator cuff and core muscles, must work harder to maintain proper form and control. This enhanced muscle activation strengthens the primary target muscles and improves overall shoulder stability and function, which reduces the risk of injury.
Lowering your body angle increases the resistance and challenge, while a more upright position makes the exercise easier.
Here are 7 steps to perform ring rows:
- Adjust the rings to a height slightly above your waist.
- Hold onto each ring with an overhand grip, keeping your arms straight and your palms facing downward.
- Walk your feet forward until your body is at an angle with your arms fully extended and elbows locked out.
- Squeeze your shoulder blades together and pull yourself up toward the rings by bending your elbows.
- Keep pulling until your chest reaches the level of the rings or slightly above them.
- Pause for a second at the top, then slowly lower yourself back down to the starting position by extending your arms.
- Repeat for the desired number of reps.

Ring Reverse Flyes
The ring reverse fly is an excellent exercise that specifically targets the rear deltoids and upper back muscles, including the rhomboids and trapezius.
This movement involves a horizontal abduction of the arms and is executed while maintaining stability on gymnastic rings. The unique challenge posed by the unstable surface of the rings can enhance muscle engagement and coordination, which makes it a highly effective exercise for building strength and stability in the shoulder girdle.
When performing ring reverse flyes, the primary focus is on the posterior deltoids, as they’re the main muscles responsible for the horizontal abduction of the arms.
The rhomboids and trapezius play a vital role in retracting and stabilizing the shoulder blades during the movement. This retraction is essential for maintaining proper shoulder mechanics and posture, which helps prevent injuries related to poor shoulder alignment.
Ring reverse flyes also engage the smaller stabilizer muscles around the shoulder joint, which enhances overall shoulder health and functionality.
Here are 8 steps to perform ring reverse flyes:
- Adjust the rings to a height slightly below your waist.
- Hold onto each ring with an overhand grip, keeping your arms straight and your palms facing downward.
- Walk your feet forward until you’re at an angle with your body fully extended and slightly leaning forward.
- Keep your elbows slightly bent and raise both arms up and outwards, squeezing your shoulder blades together as if trying to touch them behind you.
- Your hands should remain in line with your shoulders throughout the movement.
- Pause for a second when your arms are parallel to the ground, then slowly lower them back down to the starting position.
- Keep your core engaged throughout the exercise to maintain stability.
- Repeat for the desired number of reps.
Read more: The Simplest Lower Back Calisthenics Guide for Beginners
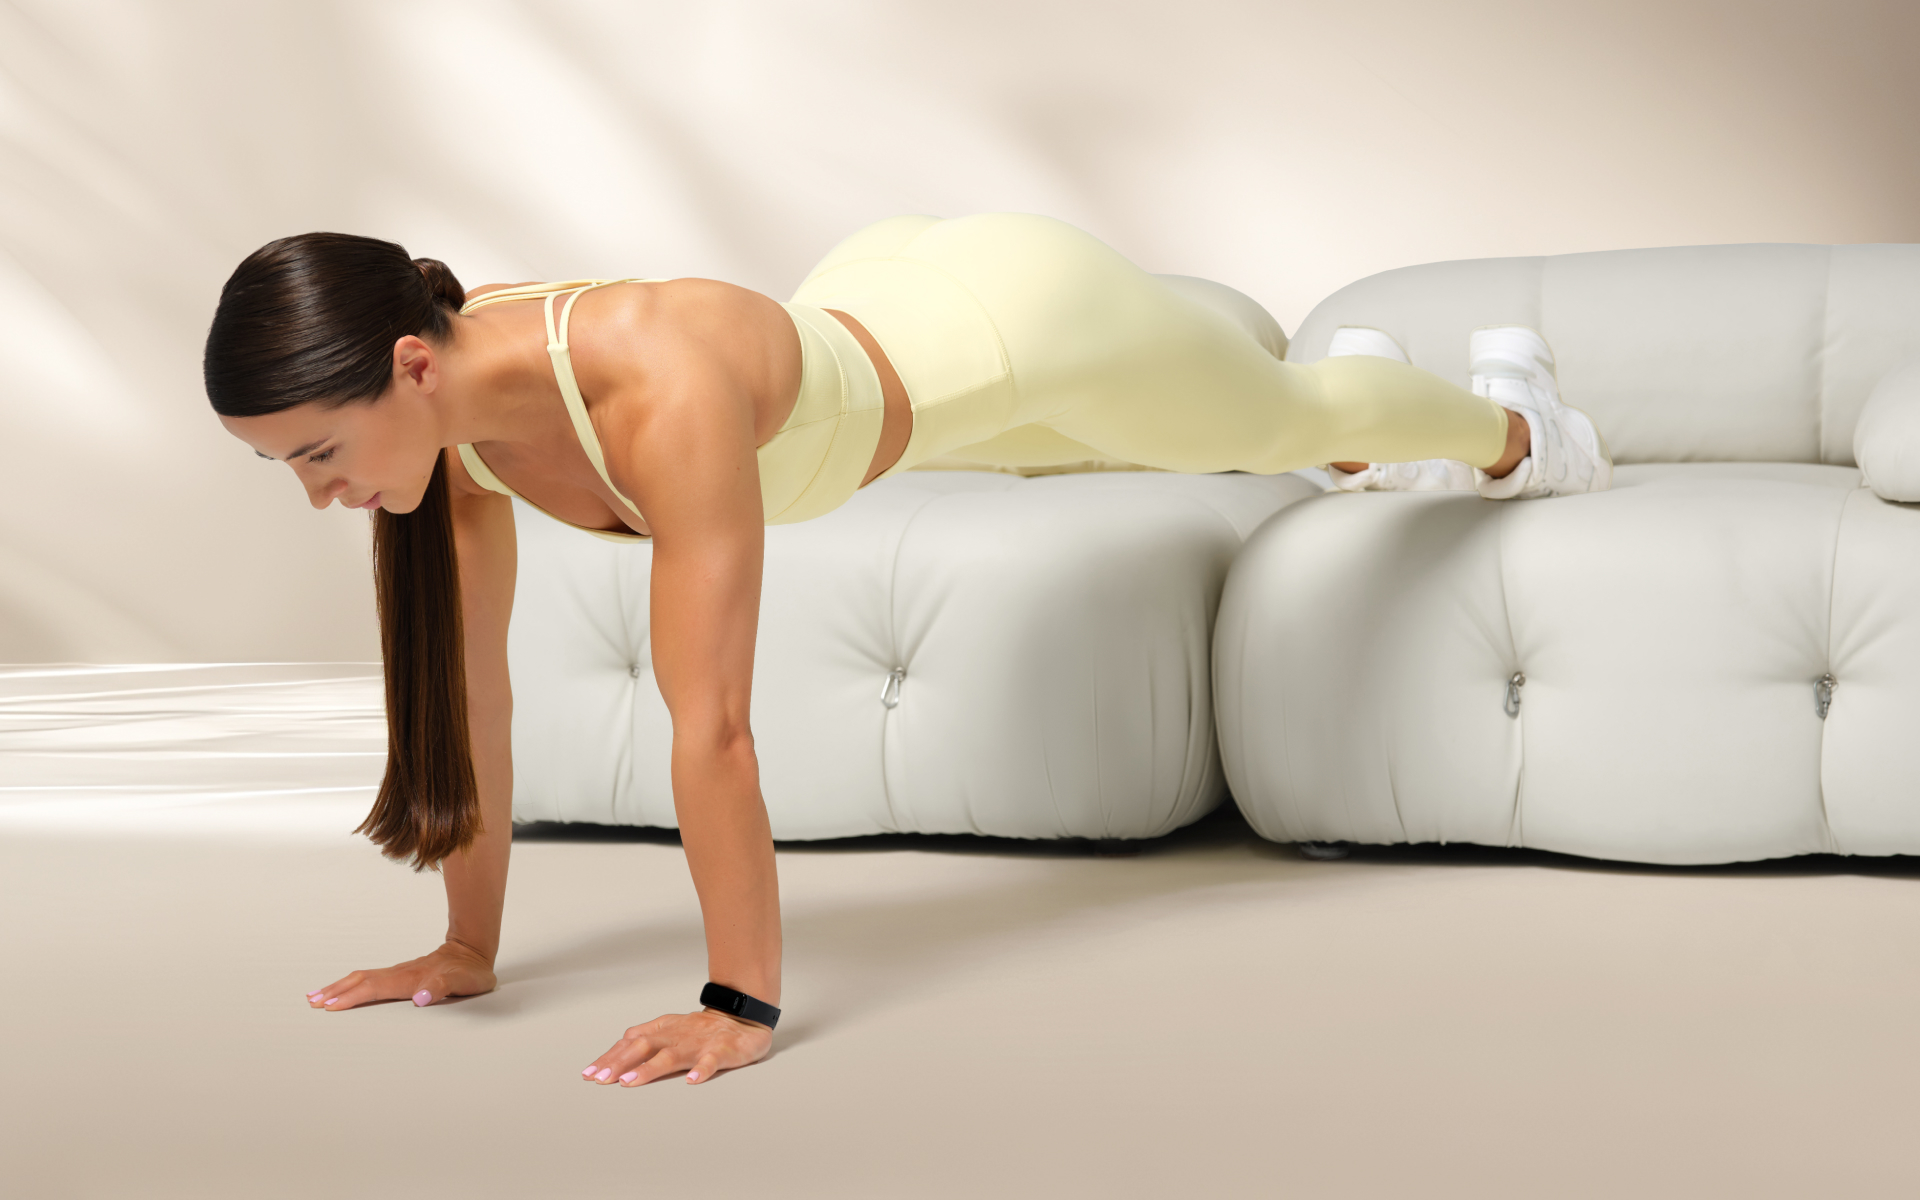
Back Plank
Planks are known for being an effective core exercise, and this back version takes things up a notch. The back plank is an advanced exercise that challenges your core, back, and shoulder muscles to work together to maintain a stable position.
You’ll need to flip over the plank position to perform this exercise, which means your arms will be behind you instead of in front. This change in hand placement places more emphasis on your upper back muscles and shoulders.
Performing the back plank requires a great deal of strength and stability, so it’s essential to have a solid foundation with regular plank variations before you attempt this exercise.
Here are 6 steps to perform a back plank:
- Start by sitting down with your legs extended in front of you.
- Place your hands on the ground slightly wider than shoulder-width apart and almost behind you. You’ll want your fingers pointing toward your feet for this movement too.
- Lift your hips off the ground, keeping your legs straight and toes pointed.
- Keep your core engaged and squeeze your shoulder blades together as you push your chest up toward the ceiling.
- Hold this position for a few seconds, then slowly lower yourself back down to the starting position.
- Repeat for the desired number of reps or hold for a certain amount of time.
To further target the lower back to enhance core stability and prevent injury take a look at our previous blog post: Best Lower Back Weight Exercises.
T-Prone Raises
T-prone raises are a challenging exercise that targets the entire posterior chain, including the traps, rhomboids, and rear delts. The movement mimics the ring rear delt fly, but you’ll perform it while lying down.
This exercise is often called the Superman exercise due to its resemblance to the superhero’s flying pose. The T-prone raise strengthens your back and shoulders. improves posture, and helps prevent injuries related to poor shoulder mechanics.
Here are 7 steps to perform T-prone raises:
- Lie face down on the floor with your arms extended straight out to your sides, forming a T-shape.
- Engage your core and squeeze your glutes.
- Lift your chest, arms, and legs off the ground simultaneously while keeping them straight.
- Pause for a second at the top, then slowly lower yourself back down to the starting position.
- Make sure to keep your neck in a neutral position throughout the movement.
- If you find this exercise too challenging, you can bend your elbows and touch your fingertips to the ground instead of lifting them off entirely.
- Repeat for the desired number of reps or hold the top position for a certain amount of time.
Explore more exercises that work the posterior deltoid helping improve strength and posture in our comprehensive guide: Best Rear Delt Exercises.
Do Push Ups Hit the Rear Delts?
Push-ups primarily target your chest (pectoralis major), triceps, and the front of your shoulders (anterior deltoids) (3). While they engage various stabilizing muscles, including parts of the shoulders, they don’t significantly work the rear deltoids (posterior deltoids).
For more effective targeting of the rear delts, consider incorporating the following exercises into your workout routine:
- Reverse Flyes: Using dumbbells or resistance bands.
- Face Pulls: Utilizing a cable machine or resistance bands.
- Bent-Over Rows, inverted rows: With a focus on upper-back engagement.
- Rear Delt Raises: Specifically isolating the rear delts.
These exercises will better address the posterior deltoid muscles and contribute to balanced shoulder development.
BetterMe app will kick you out of the mental funk, shake off your extra weight, rid you off your energy-zapping habits, and help you sculpt the body of your dreams. Intrigued? Hurry up and change your life for the better!
FAQs
Do dips work the rear delts?
Dips primarily target the chest, triceps, and front delts (anterior deltoids). They don’t significantly engage the rear delts (posterior deltoids). To target the rear delts, exercises such as reverse flyes, face pulls, and rear delt raises are more effective.
For more anterior deltoid exercises to incorporate into your strength training sessions check out our previous post: Front Delts Workout.
Do push-ups work the side delts?
Push-ups mainly work the chest, triceps, and front delts (3). While they engage the shoulders for stabilization, they don’t significantly work the side delts (lateral deltoids). To effectively target the side delts, shoulder-specific exercises such as lateral raises and upright rows are recommended.
Can you hit every muscle with calisthenics?
Yes, you can target every muscle group using calisthenics. Here’s how you can hit each major muscle group:
- Chest: Push-ups, dips
- Back: Pull-ups, chin-ups, inverted rows
- Shoulders: Pike push-ups, handstand push-ups
- Arms: Tricep dips, body weight bicep curls
- Core: Planks, leg raises, mountain climbers
- Legs: Squats, lunges, step-ups
Calisthenics can provide a comprehensive full-body workout with the right combination of exercises, thereby building strength and improving body composition (5).
Do push-ups work the shoulders?
Yes, push-ups work the shoulders, particularly the front delts (anterior deltoids). They serve as a stabilizing muscle and help with the pushing motion. However, push-ups aren’t the most effective exercise for isolating the side or rear delts. For a more rounded shoulder workout, incorporating exercises such as lateral raises, rear delt presses, reverse flyes, and shoulder presses can help (2).
The Bottom Line
Incorporating these rear delt calisthenics exercises into your workout routine can significantly benefit your overall shoulder strength and stability. By targeting different muscle groups and challenging stability, these exercises can help prevent injuries and improve posture. Remember to always maintain proper form and listen to your body’s limits when performing these exercises.
DISCLAIMER:
This article is intended for general informational purposes only and does not serve to address individual circumstances. It is not a substitute for professional advice or help and should not be relied on for making any kind of decision-making. Any action taken as a direct or indirect result of the information in this article is entirely at your own risk and is your sole responsibility.
BetterMe, its content staff, and its medical advisors accept no responsibility for inaccuracies, errors, misstatements, inconsistencies, or omissions and specifically disclaim any liability, loss or risk, personal, professional or otherwise, which may be incurred as a consequence, directly or indirectly, of the use and/or application of any content.
You should always seek the advice of your physician or other qualified health provider with any questions you may have regarding a medical condition or your specific situation. Never disregard professional medical advice or delay seeking it because of BetterMe content. If you suspect or think you may have a medical emergency, call your doctor.
SOURCES
- Anatomy, Shoulder and Upper Limb, Deltoid Muscle (2024, ncbi.nlm.nih.gov)
- Different Shoulder Exercises Affect the Activation of Deltoid Portions in Resistance-Trained Individuals (2020, ncbi.nlm.nih.gov)
- Pushups – Physiopedia (n.d., physio-pedia.com)
- The advantages of body-weight exercise (2022, health.harvard.edu)
- The effects of a calisthenics training intervention on posture, strength and body composition (2017, researchgate.net)