Do you experience frequent pain in your lower back? Does it feel like you have a shorter stride that prevents you from hitting that 5K goal? If you answered yes, you probably have tight hips. This simple test will help you check: Get up and look at your feet. If your toes point outwards instead of facing straight ahead, your hip muscles are strained and need some stretching. Healthy hips should have a balance between hip extension and hip flexion. These days, sedentary people may face this problem as they sit for longer hours. Besides, stiff hips are a problem for active people like bikers and runners too. Given that they constantly push the pedal or draw the knee towards the chest, they may face the tight hips issue if they don’t stretch after a weight training workout routine. Thus, hip-opening yoga poses should be a part of everyone’s exercise routine. They guarantee long-term flexibility and improved overall health.
Which Asana Is Used For Hip Opening?
Hips are crucial to maintaining balance, stability, and movement for the entire body. A tight psoas (the muscle from the lumbar spine through the pelvis and femur) makes the lower back feel tight (1). This tension makes the psoas feel shorter, and a subtle swayback becomes visible, making daily activities like sitting, standing and walking more tiring.
Hip opening poses in yoga relieve hip and back pain. Plus, they prevent you from injuring yourself in different types of movements. The following Asana will help open and lubricate your hips, removing discomfort and improving your mobility range:
Child’s Pose (Balasana)
Child’s pose is a pretty straightforward pose that can easily become a part of your daily workout session. It is a great way to warm yourself up for the routine ahead.
To make the child’s pose:
- Open the knees and let big toes touch each other
- Extend your arms forward and move down until your forehead touches the mat
- Stretch your fingertips towards the front and move your energy back towards your tailbone. This will let your hips move down towards your heels.
The focus in this pose shouldn’t be on touching your forehead on the mat. Instead, it would be best if you were more concerned about stretching your spine in opposite directions and hips backwards.
Read More: Sofa Yoga: The Lazy Girls And Guys’ Guide To Stretching
Downward Facing Dog (Adho Mukha Svanasana)
This pose is quite essential in contemporary practice. It works as a transitional pose and is a resting position. The body position goes opposite of the usual spinal forces, bringing more blood flow towards the brain.
To make the downward facing dog position:
- Keep your heels pressed on the floor and your back flat
- Place your palms in front of you at a shoulder-distance
- Firm your outer arms and press through the index fingers
- Start to raise one leg towards the ceiling as you inhale while keeping one heel on the floor
- Ensure your back and lifted leg is in a straight line from the top of your shoulder towards the heel
This pose may be hazardous if you suffer from a wrist injury or carpal tunnel syndrome. Also, this pose, like other advanced hip-opening yoga poses, should be avoided if a person is suffering from chronic conditions like cardiological problems, high blood pressure, or vertigo.
Standing Figure-4 Stretch (Eka Pada Utkatasana)
The figure-4 stretch helps to provide relief from hip pain. It opens the body and relieves it of the stress it may endure throughout the day.
To do the standing figure-4 stretch:
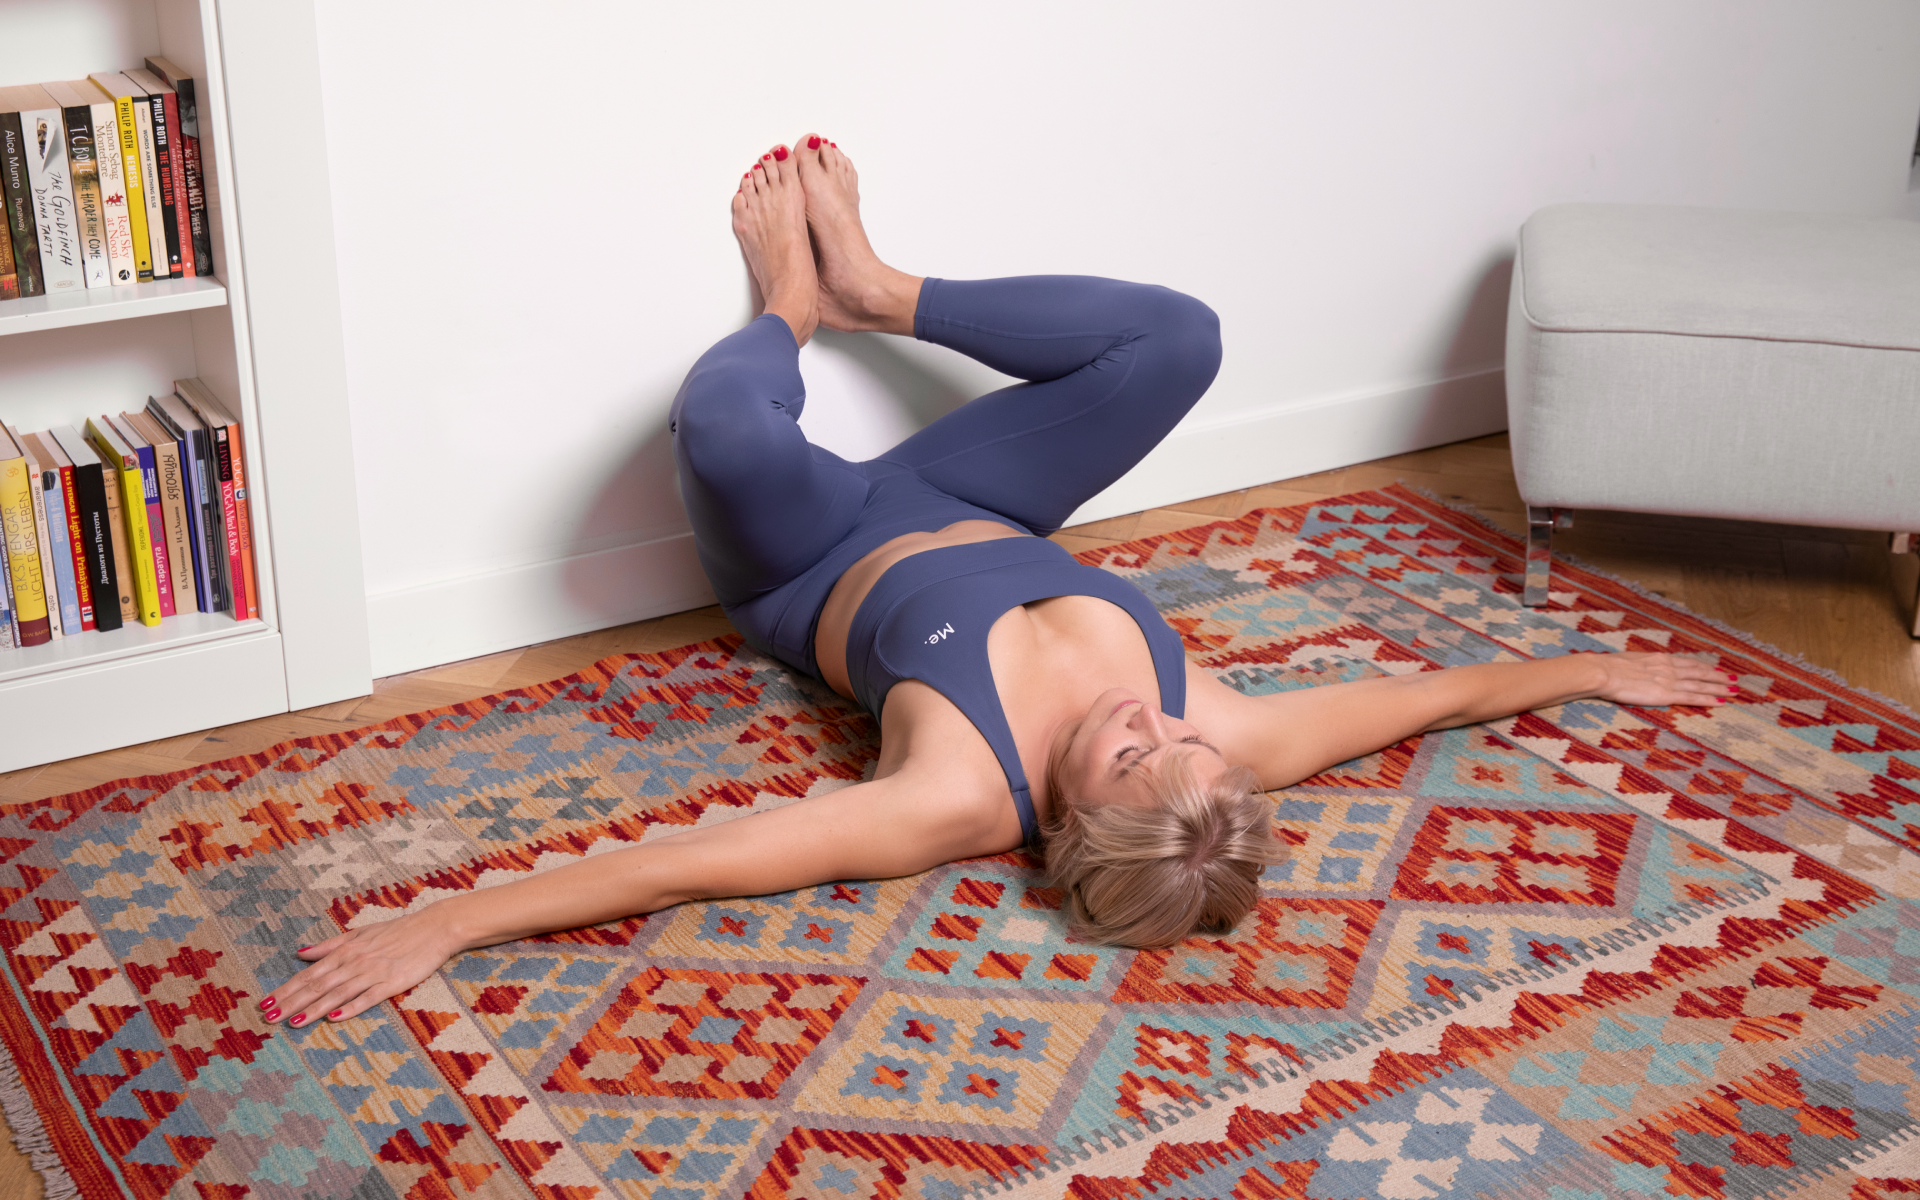
- Lie on the mat with bent knees and keep your soles down
- Cross your right ankle on the left knee
- Interlace your hands behind the left thigh
- Hug the knee towards your chest
- Then, gently press your right elbow into the inner thigh as you flex your left foot. This will make you feel more stretched in the glute and sides of the hip.
- Stay in this position for 7 – 10 minutes and notice physical sensations around you
- Before you flip this position to the opposite side, lie down with extended legs to see if you can stay with the release that happens in the hips
You can practice this position on the yoga mat in the center of the room. Or you can position yourself near the wall to get support if you feel unstable.
Yogi Squat Malasana
Garland Pose or Malasana is the deep squat in yoga. It opens the hips and groin to counter the tightness you get from too much sitting in chairs.
To do the yogi squat malasana:
- Stand with your feet about a man’s width apart
- Bend your knees and move your butt to the floor so your body is in a squatting position
- Turn out your toes while keeping your feet parallel
- Bring upper arms inside the knees and turn the elbows to bring palms together to create a praying position
- Allow your thumbs to touch the sternum as if you are trying to keep your chest lifted
- Continue to press the upper arms into the thighs and vice versa to stay engaged
- Keep your spine straight, your butt moving towards the floor, and your shoulders relaxed away from the ears
- Stay in this position for five breaths, then keep your legs straight to come out
- Repeat this position three times to get a full advantage
Avoid Malasana if you are suffering from a knee or low back injury. Also, keep yourself from jerky movement or coming down into a forceful squat. If you feel any pain, back out from this position.
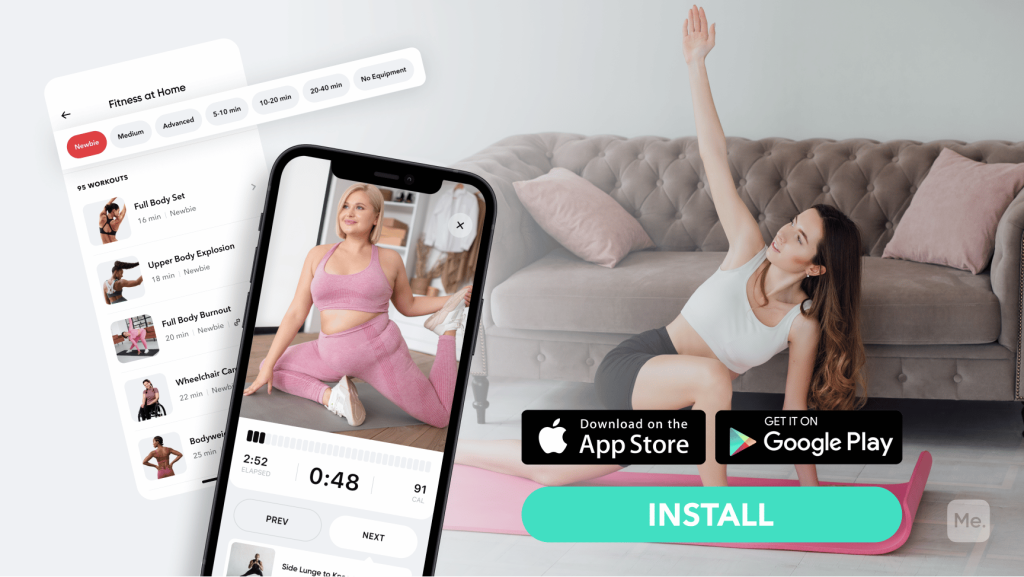
BetterMe is your fast-track ticket to a long-lasting weight loss! Tailor your fitness journey and maximize your results with just a couple of swipes!
Seated Twist (Pavritta Sukhasana)
Pavritta Sukhasana stretches knees, hips, and ankles. It reduces stress and anxiety and improves flexibility through the spine and shoulders. Twisting also stimulates the abdominal organs like kidneys. This improves detoxification which creates a good impact on your overall health.
To do the seated twist:
- Sit on the edge of a firm blanket. Extend your legs in front of your body and sit straight.
- Cross your legs in front at the shins
- If your hips are tight, you can sit on a block
- Keep your knees broad and place one foot under the opposite knee
- Fold your legs inwards towards the torso
- Balance your weight evenly across the sitting position
- Keep head, neck, and spine in a straight line
- Lengthen your spine but soften the neck and relax your feet
- Place the right hand on the floor behind you
- Keep the left hand towards the external side of the right knee and exhale as you twist to the right
- Inhale as you lengthen the spine and exhale as you twist more
- Gaze over the right shoulder, and don’t push harder against the knee to force a deeper twist
- Keep your collarbones broad. Don’t round the shoulders, and sit up straight.
- Keep your head aligned directly over the tailbone
- Hold for up to 10 breaths
- Exhale as you come towards the center
- Change the crossing of your legs and repeat the twist on the opposite side for the same length
- Repeat the pose to come back to the center
Parivrtta Sukhasana is an easy way to reduce tension in the body and relieve stress. Whenever you need to release stiffness and get an energy boost, sit and twist yourself in this way.
Humble Warrior
The humble warrior yoga pose does wonders to improve strength and flexibility. It activates and challenges some muscle groups in new and dynamic ways.
To make the humble warrior position:
- Start by standing halfway between the center and top of the mat while your spine is long and your back kept straight with arms loosely hanging at the sides
- Inhale when you raise your arms to the sides and towards the sky. Keep the shoulders down and reach those fingers upwards. Ensure that you sit the bones down to elongate the spine.
- Exhale when you slowly bend forward while hinging at the hips. Move your chest closer to the thighs and keep your hands on the floor. Make sure your back is straight when you bend.
- Inhale and move your heart towards the top of the mat and keep your chest away from the thighs. There should be around a 45-degree angle between your legs and torso.
- Exhale as you push your hands into the mat to move both legs in a downward-facing dog position
- Sit bones towards the sky and keep shoulders back. Stay in this position for 2 – 3 breaths.
- Inhale while lifting your right leg upwards and keep it straight while moving your gaze straight ahead
- Exhale and bring the right leg down to step the right foot between your hands at the top of the mat
- Keep your right foot straight and turn the left one outwards, so the outer side of the foot makes a 45-degree angle with the back side of the mat
- Keep your feet on the ground and find a most comfortable position
- Press down with your feet to lift the torso while your arms rise and move towards the sky with palms facing each other. Your right knee should stay above the right ankle while seat bones are tucked under, rolling in your lower abdomen.
- Exhale and bring your arms behind your back while interlacing your fingers. Inhale as you push your shoulder blades together and gaze up at the sky.
- Exhale as you fold forward and bring your torso towards the inside of your right thigh. Pull your arms towards the sky to reduce the rounding in your back.
- Stay in this position for 10 deep breaths
Like the other yoga hip-opening poses, your hips will want to press over to the side in this position. If you want to feel stretch in the outer hip, re-square the hips by rotating your back hip forward and your front hip backwards.
Read More: Yoga For Seniors: Poses, Benefits, And Risks
What Are Hip Openers In Yoga Good For?
Hip openers are a mandatory yoga pose in practically all routines. Excessively tight hips could lead to problems like a misaligned spine, poor mobility, and other injuries. Adding hip opening poses in yoga may help improve blood circulation and flexibility (2). They also improve posture, strengthen balance, and promote mental health (6).
Even when they feel uncomfortable, regular practitioners of hip stretches gradually begin to love them. This is because:
They Support The Lower Back
Tight hips may strain the lower back as the posture may exert too much pressure on the spine. When the hips are opened, there is an extended range of movement, improved circulation, and more support for the muscles at the back of the spine.
They Improve The Body Alignment
Hip openers allow the hips, legs, and back joints to fall in the exact alignment. When the hips are tight or there is a misalignment, this can negatively impact the feet, knees, and back. Advanced hip-opening yoga poses can help to re-align this space to improve flexibility (4).
They Release Stress
Hip stretching is connected to our stress response. Psoas is a muscle that connects the femur bone with the lumbar spine. It gets triggered due to stress, and the brain receives the signal (3). This muscle gets plenty of benefits from hip-opening yoga poses as it gets more relaxed.
They Expand Creativity
Hips are associated with the creative center of human brains. They hold and support the reproductive organs, also aptly called the creative organs in the human body. When yogis focus on this area in their bodies, they unlock this creative center and support its vitality.
They Reduce Injury Risks
Hip-opening yoga poses may also reduce the risk of injuries. They are an excellent complement to other types of physical movement like cycling, running, and aerobics. A reasonable amount of flexibility is required to perform advanced hip-opening yoga poses, so tight hips can limit your progression in your routine.
What Is Hip Opening In Yoga?
Hips are often the areas of tightness in our bodies. Yoga can be a great practice to release tension in this area. Although most yoga poses involve the muscles around the pelvis and hip bone, the hip openers are a specific group of practices with the primary anatomical function of maintaining and developing a healthy motion range in the hips.
In terms of yoga, the hip can be divided into four major muscle groups. Hip opening poses in yoga will maintain one or two of these muscle groups as their target areas:
- Hamstring Group (3 major and 1 minor muscle) – found at the back of the leg
- Quadriceps and Hip Flexors Group (4 of each) – found at the front of the legs and hip
- Gluteal Group (3 external rotators, 3 glutes, and the IT band which is also the large tendon) – found on the external side of the hip and back of the buttocks
- Groin, Adductors Group, and Internal Rotators (7 muscles) – found towards the inner side of the leg
If you’ve mustered up the courage to crush your weight loss goal, let Betterme take the sting out of this demanding process. Our app will help you restructure your habits, remold your life and crank up your fitness results!
How Open Are The Hips?
There are two factors which may limit your motion range:
Flexibility
Tendons, muscles, and fascia in and around the joints could limit your flexibility. Yoga poses can work on this and enhance the movements.
Skeletal Differences
Human motion range is limited by skeletal factors as bones may not move past the bones, no matter how much they work on it.
The human skeleton widely varies in terms of width and pelvis and femur angles. The way they meet together creates an impact on the skeletal structures. It is also vital to remember that human bodies are asymmetrical, as one side may feel easier to pose than the other. So, a full external rotation for one individual may not be as beneficial for the other.
The skeletal structure differences can impact your posture and hips’ width. Factors like internal or external rotation and the degree to which you can flex or extend your thighs are essential when determining appropriate hip-opening yoga poses. Depending on their skeletal structure, different poses and variations may be more effective for individuals.
For a balanced and healthy practice, you must emphasize your yoga poses on all four muscle groups, not only those you consider stiff or weak points.
What Yoga Poses Are Good For Tight Hips?
Tight hips affect multiple body movements. Whether you want to make a wheel posture or pick something off the floor, a tight hip may increase the load and cause an overuse of the spine. Opening your hips will give you freedom in your body and your unique expressions – sexually, creatively, and physically.
Here are a few hip-opening poses in yoga that are good for tight hips:
Lizard Pose
This position starts with the downward dog position. Drop your hips and take your left foot upwards with your left hand. When your left knee is next to the upper arm, hold yourself in this position. Then, repeat on the opposite side.
Pigeon Pose
This is considered an advanced hip-opening yoga pose. Lower your right knee and shin towards the ground from the downward dog position. Place your knee behind your right wrist and lower your hips while turning the right foot towards its side. Continue to lower your whole body until your torso is directly lying on the right leg beneath you. Now repeat with the left leg.
Crescent Lunge
This pose involves making a lunge position while sliding the left leg slides in a backward direction. The left shin and knee should be resting on the ground. The right leg is kept in front with the right knee bent. You can extend your hands upwards or place them on your thigh as you lean forward to stretch.
Cow Face Pose
In this position, you must remain seated with the right leg crossed over the left. Keep your right thigh rotated outwards at the hip joint. Your right foot should lie on the side, and the ankle bone should touch the ground.
If you have recently started hip stretches, the garland pose, lizard pose, and cow face pose should be your initial practices. The other poses should be added later when you feel your body has gained some flexibility. Also, remember that transitioning from one yoga pose to another should be slow and controlled. This ensures that muscles are stretched without the risks of injuries or pain (5).
The Bottom Line
Now that we know all about hip-opening yoga poses, you may want to consider ways to incorporate them into your workout sessions. Try to familiarize yourself and practice these asanas before you attend a yoga class. Try to perform some of these exercises at home for ten minutes daily, and you will note a substantial difference in your mobility.
DISCLAIMER:
This article is intended for general informational purposes only and does not serve to address individual circumstances. It is not a substitute for professional advice or help and should not be relied on for making any kind of decision-making. Any action taken as a direct or indirect result of the information in this article is entirely at your own risk and is your sole responsibility.
BetterMe, its content staff, and its medical advisors accept no responsibility for inaccuracies, errors, misstatements, inconsistencies, or omissions and specifically disclaim any liability, loss or risk, personal, professional or otherwise, which may be incurred as a consequence, directly or indirectly, of the use and/or application of any content.
You should always seek the advice of your physician or other qualified health provider with any questions you may have regarding a medical condition or your specific situation. Never disregard professional medical advice or delay seeking it because of BetterMe content. If you suspect or think you may have a medical emergency, call your doctor.
SOURCES:
- Psoas Major: a case report and review of its anatomy, biomechanics, and clinical implications (2009, ncbi.gov)
- Yoga for Blood Circulation (2020, healthline.com)
- Anatomy, Bony Pelvis and Lower Limb, Psoas Major (2021, ncbi.gov)
- Impact of 10-weeks of yoga practice on flexibility and balance of college athletes (2016, ncbi.gov)
- Training Benefits and Injury Risks of Standing Yoga Applied in Musculoskeletal Problems: Lower Limb Biomechanical Analysis (2021, ncbi.gov)
- Yoga Poses Increase Subjective Energy and State Self-Esteem in Comparison to ‘Power Poses’ (2017, ncbi.gov)