Calisthenics is no longer an exotic term for avid sport pursuers: people everywhere know that calisthenics applies to traditional bodyweight training.
Done everywhere and modified to any fitness experience, this workout routine is a saving grace for those who aren’t interested in hitting the gym or running around the city lake.
In today’s fast-paced world, finding time for a one-hour workout can be challenging, if not impossible. That’s where calisthenics comes in – a training method that requires no special equipment or lengthy sessions.
We bet you have performed some calisthenics before, without realizing it was calisthenics. Push-ups, squats, and lunges are all stellar calisthenics exercises for building strength and ensuring adequate mobility for functional movement patterns in our everyday lives.
In this article, we will explore basic and advanced calisthenics exercises to enhance your strength, endurance, and mobility. We’ll discuss a variety of movement patterns used in calisthenics that provide excellent functional carryover, all without the need for a gym membership. Let’s get into the exercises you can start practicing today.
What are calisthenics moves?
Calisthenics, suitable for beginners and advanced practitioners alike, primarily utilize bodyweight as the source of resistance, eliminating the need for specialized equipment (1).
While equipment can be incorporated, it is unnecessary for beginners, as many of the basic movement patterns require nothing but your body and a little space. Calisthenics exercises are highly adaptable and can vary in complexity depending on the fitness level of the practitioner. A basic wall pushup is a calisthenics exercise, as is the highly advanced handstand pushup. While these both fall under the pushup umbrella, they are targeted at people with different levels of fitness.
Those who want to know how to start calisthenics need to understand that a realistic classification of your current fitness level is important in determining your starting point. As always, if you are unsure if calisthenics is right for you based on your individual health condition, consult with your doctor.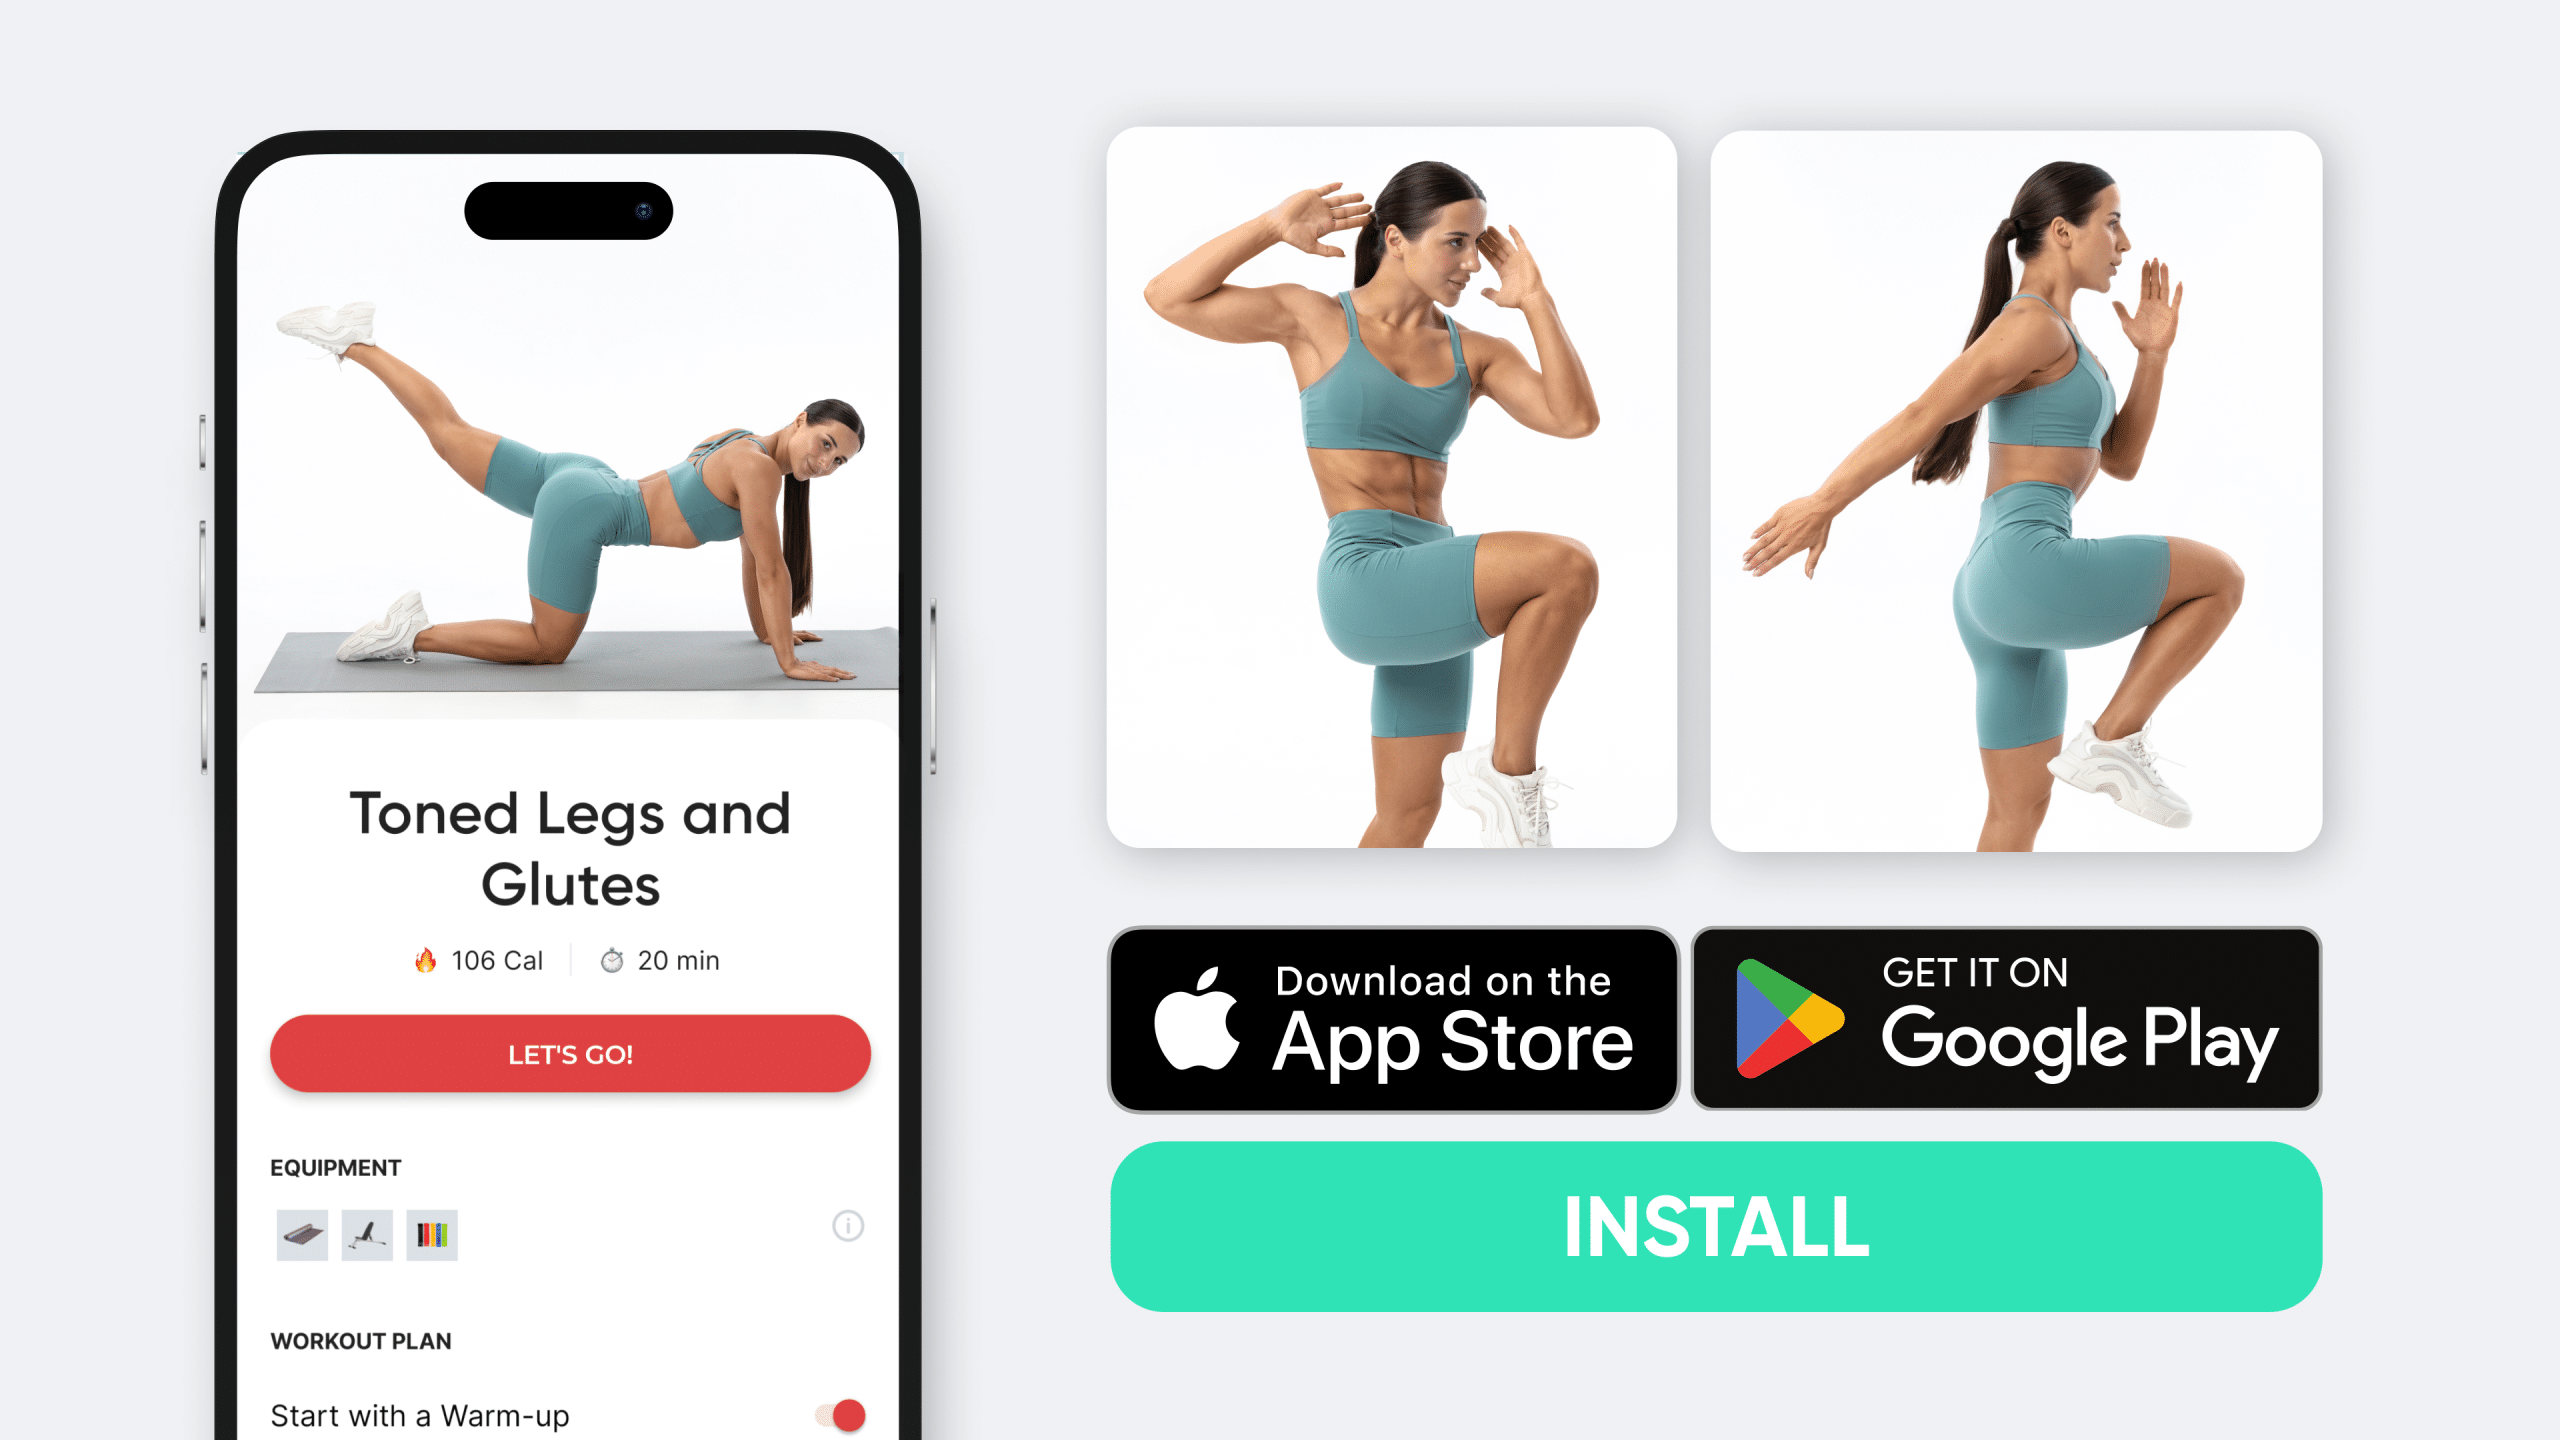
What Is the Easiest Calisthenic Move?
The easiest calisthenic exercises for one person may be the easiest for another. This depends on your own personal strengths and weaknesses. However, beginners should start with movement patterns at their most basic form before progressing into higher level variations of those movement patterns. You should not be progressing any aspect of an exercise until you have the proper technique mastered.
The basic human movement patterns and their associated beginner-level calisthenics exercises are as follows:
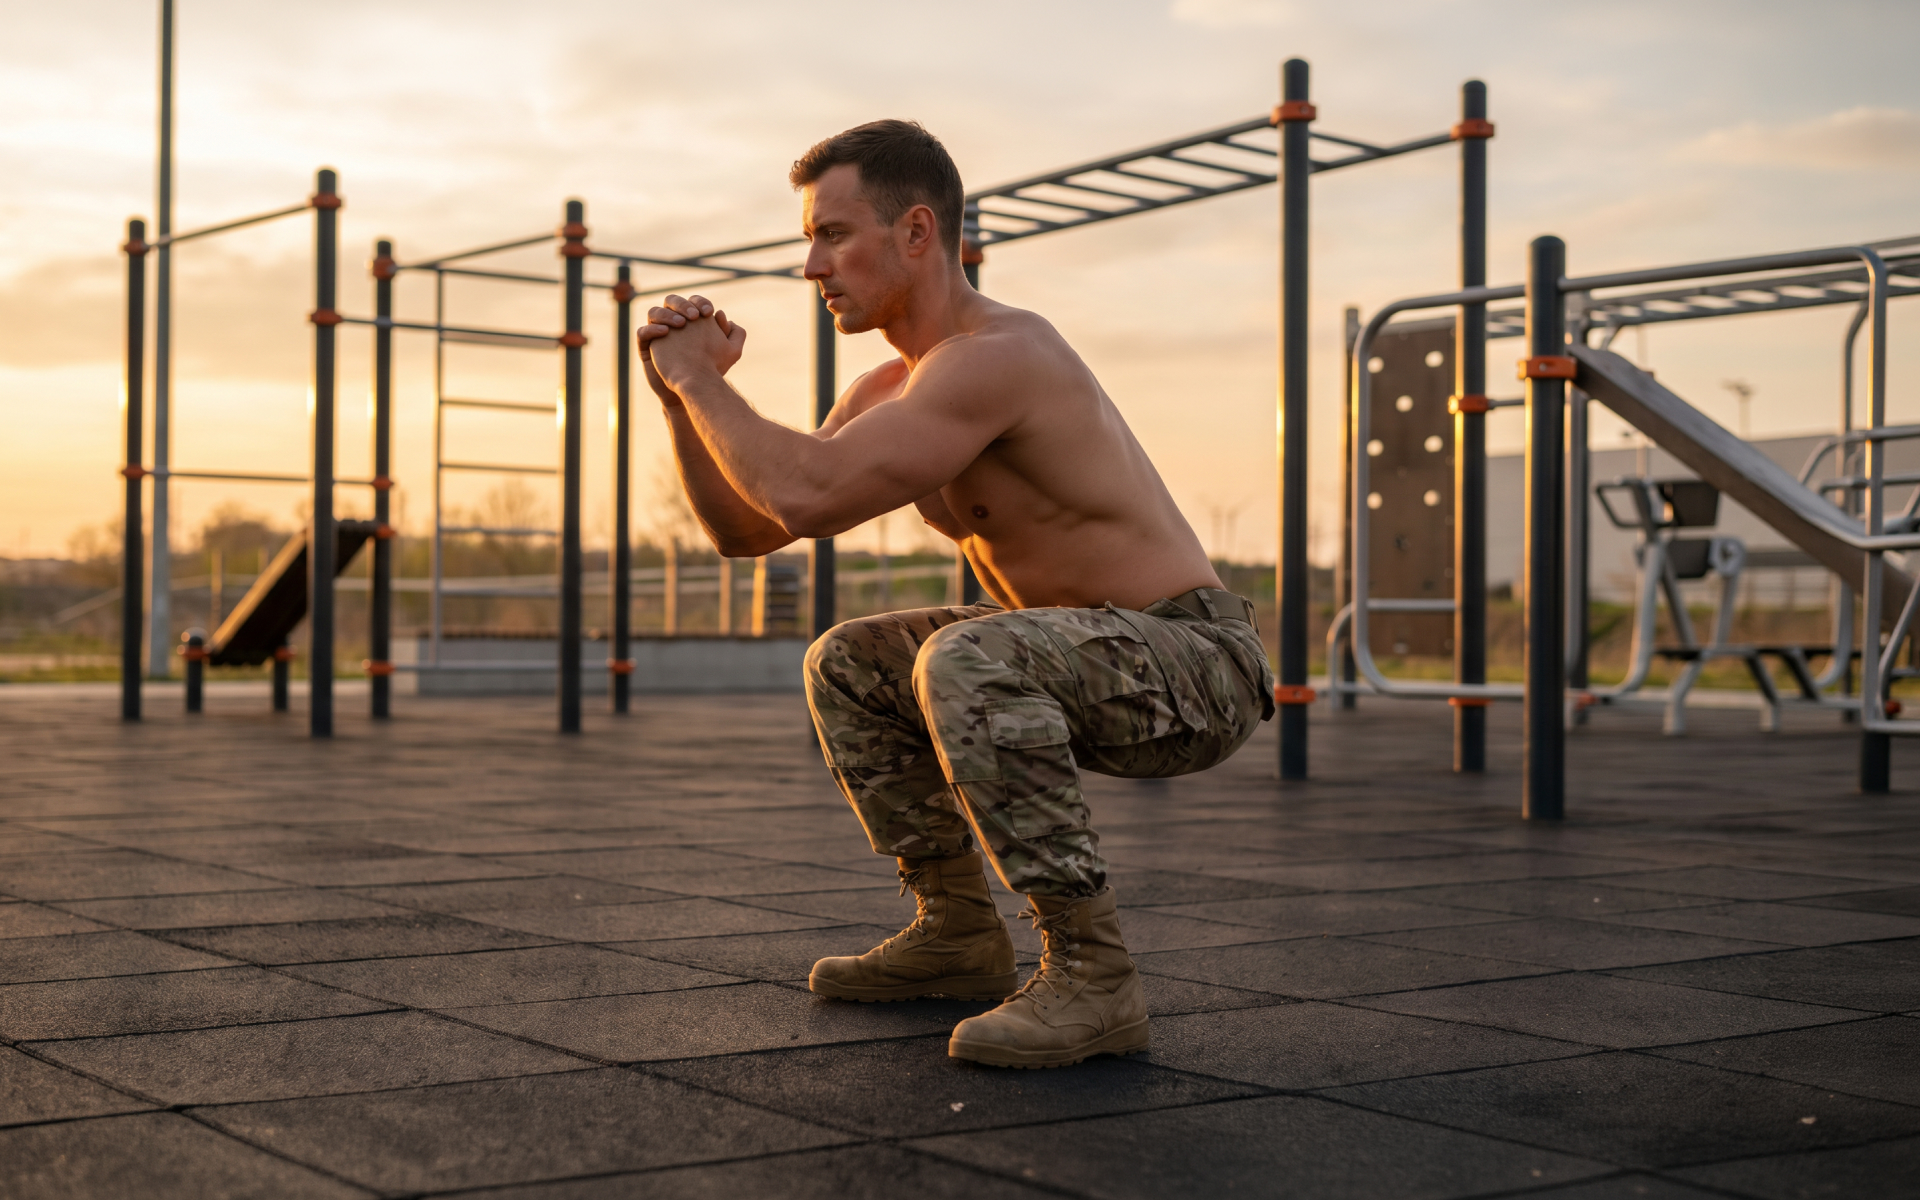
- Squat
- Bodyweight squat
- Sit-to-stands
- Hinge
- Good morning exercise
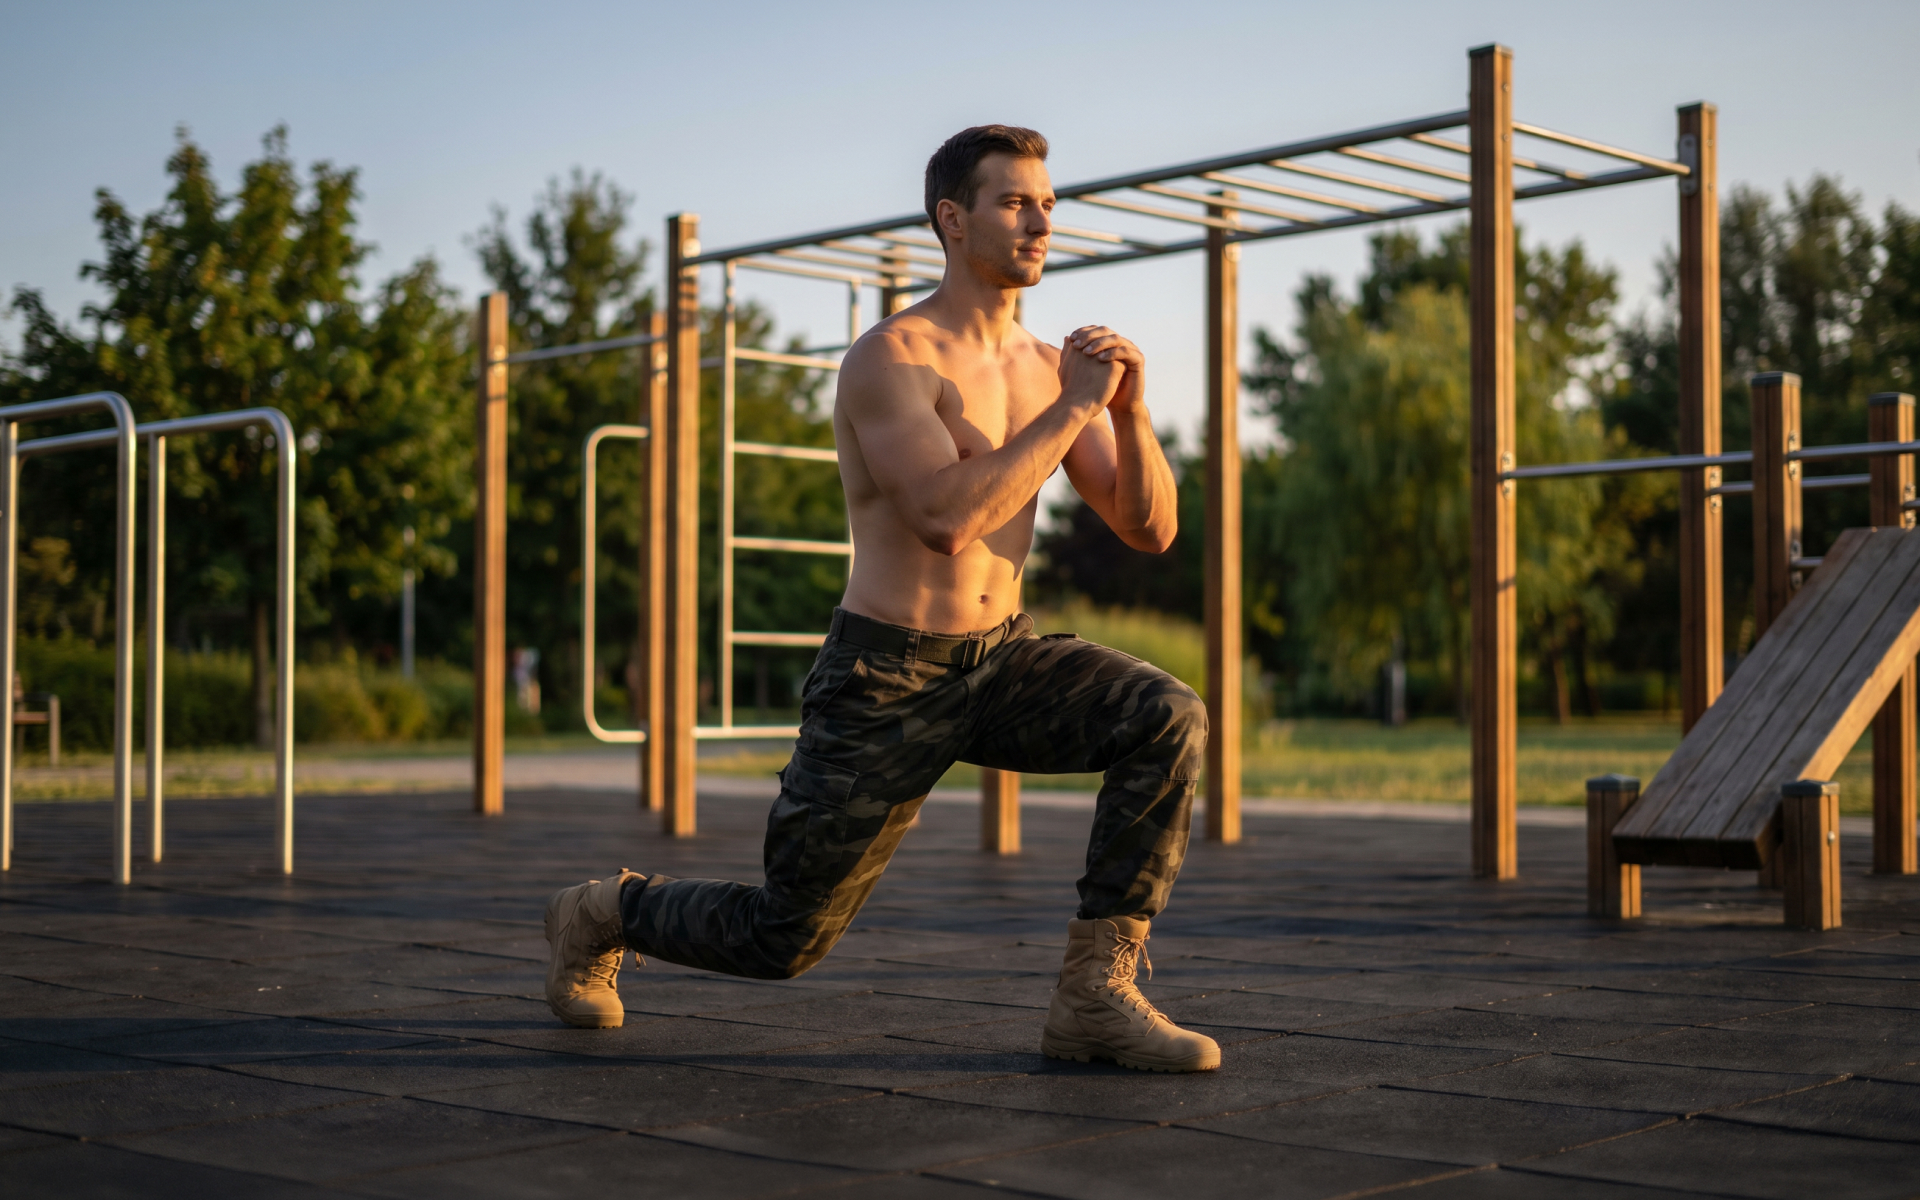
- Lunge
- Forward lunge
- Backward lunge
- Split squat
- Push (horizontal and vertical)
- Kneeling pushup
- Standard pushup
- Pike pushup
- Pull (horizontal and vertical)
- Inverted row
- Pull up
- Chin up
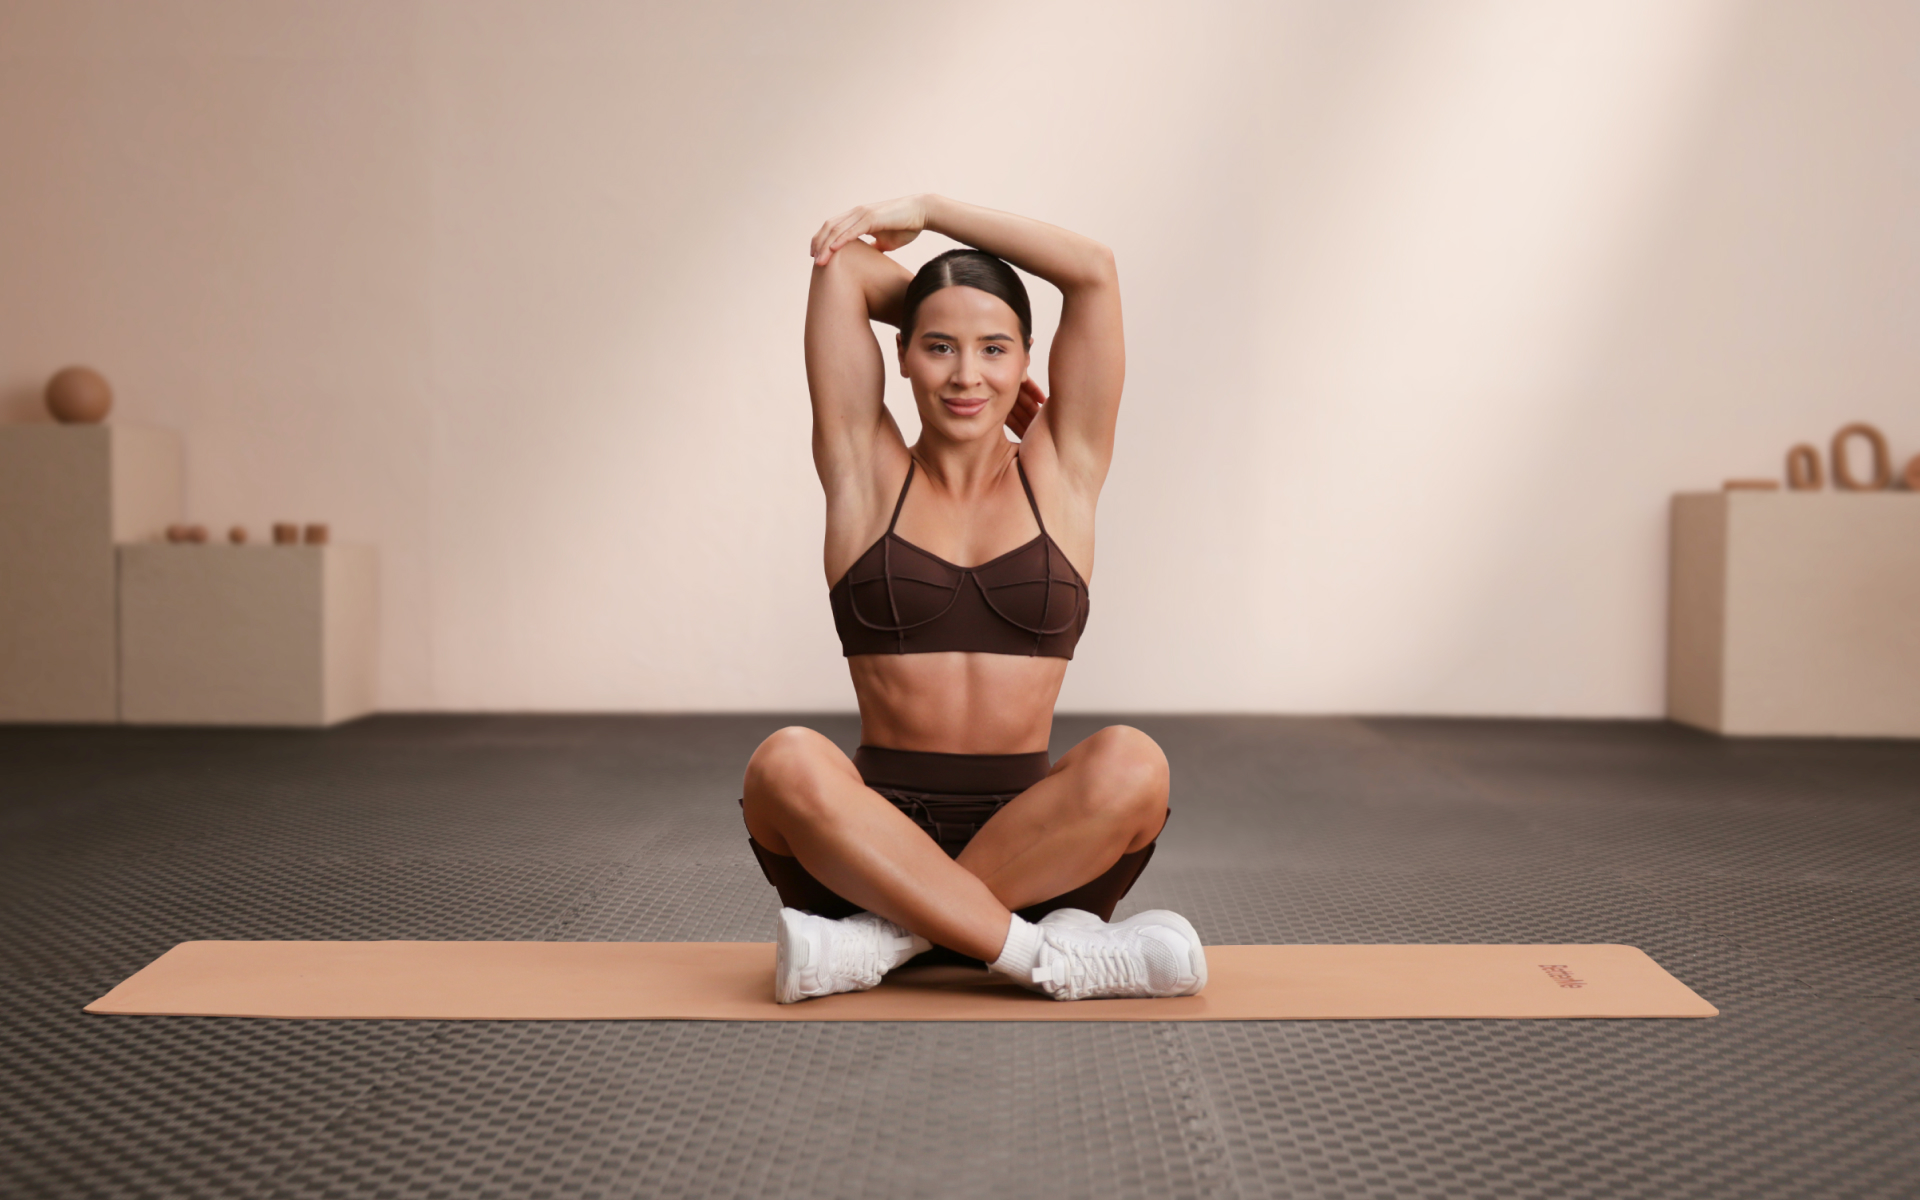
- Axial Rotation
- Russian twists
- Bicycle crunches
Intense sweat sessions, working weight loss tips, lip-smacking recipes come in one package with the BetterMe: Health Coaching app—all at your fingertips, start transforming your life now!
Bodyweight Squat
- Starting Position: Stand with your feet shoulder-width apart, toes slightly turned out. Keep your chest up and your core engaged.
- Lowering Phase: Bend your knees and hips, pushing your hips back as if sitting into a chair. Keep your weight on your heels.
- Depth: Lower yourself until your thighs are parallel to the floor, or as low as you can comfortably go while maintaining good form.
- Rising Phase: Push through your heels to return to the starting position, keeping your chest up and core tight throughout the movement.
- Repeat: Perform the desired number of repetitions.
Good Morning Exercise
- Starting Position: Stand with your feet shoulder-width apart. Place your hands behind your head.
- Hinge at the Hips: Keeping a slight bend in your knees, hinge at your hips, pushing them back while keeping your back straight.
- Lowering Phase: Continue to hinge until your torso is nearly parallel to the floor, feeling a stretch in your hamstrings.
- Rising Phase: Reverse the movement by driving your hips forward and returning to the starting position.
- Repeat: Perform the desired number of repetitions.
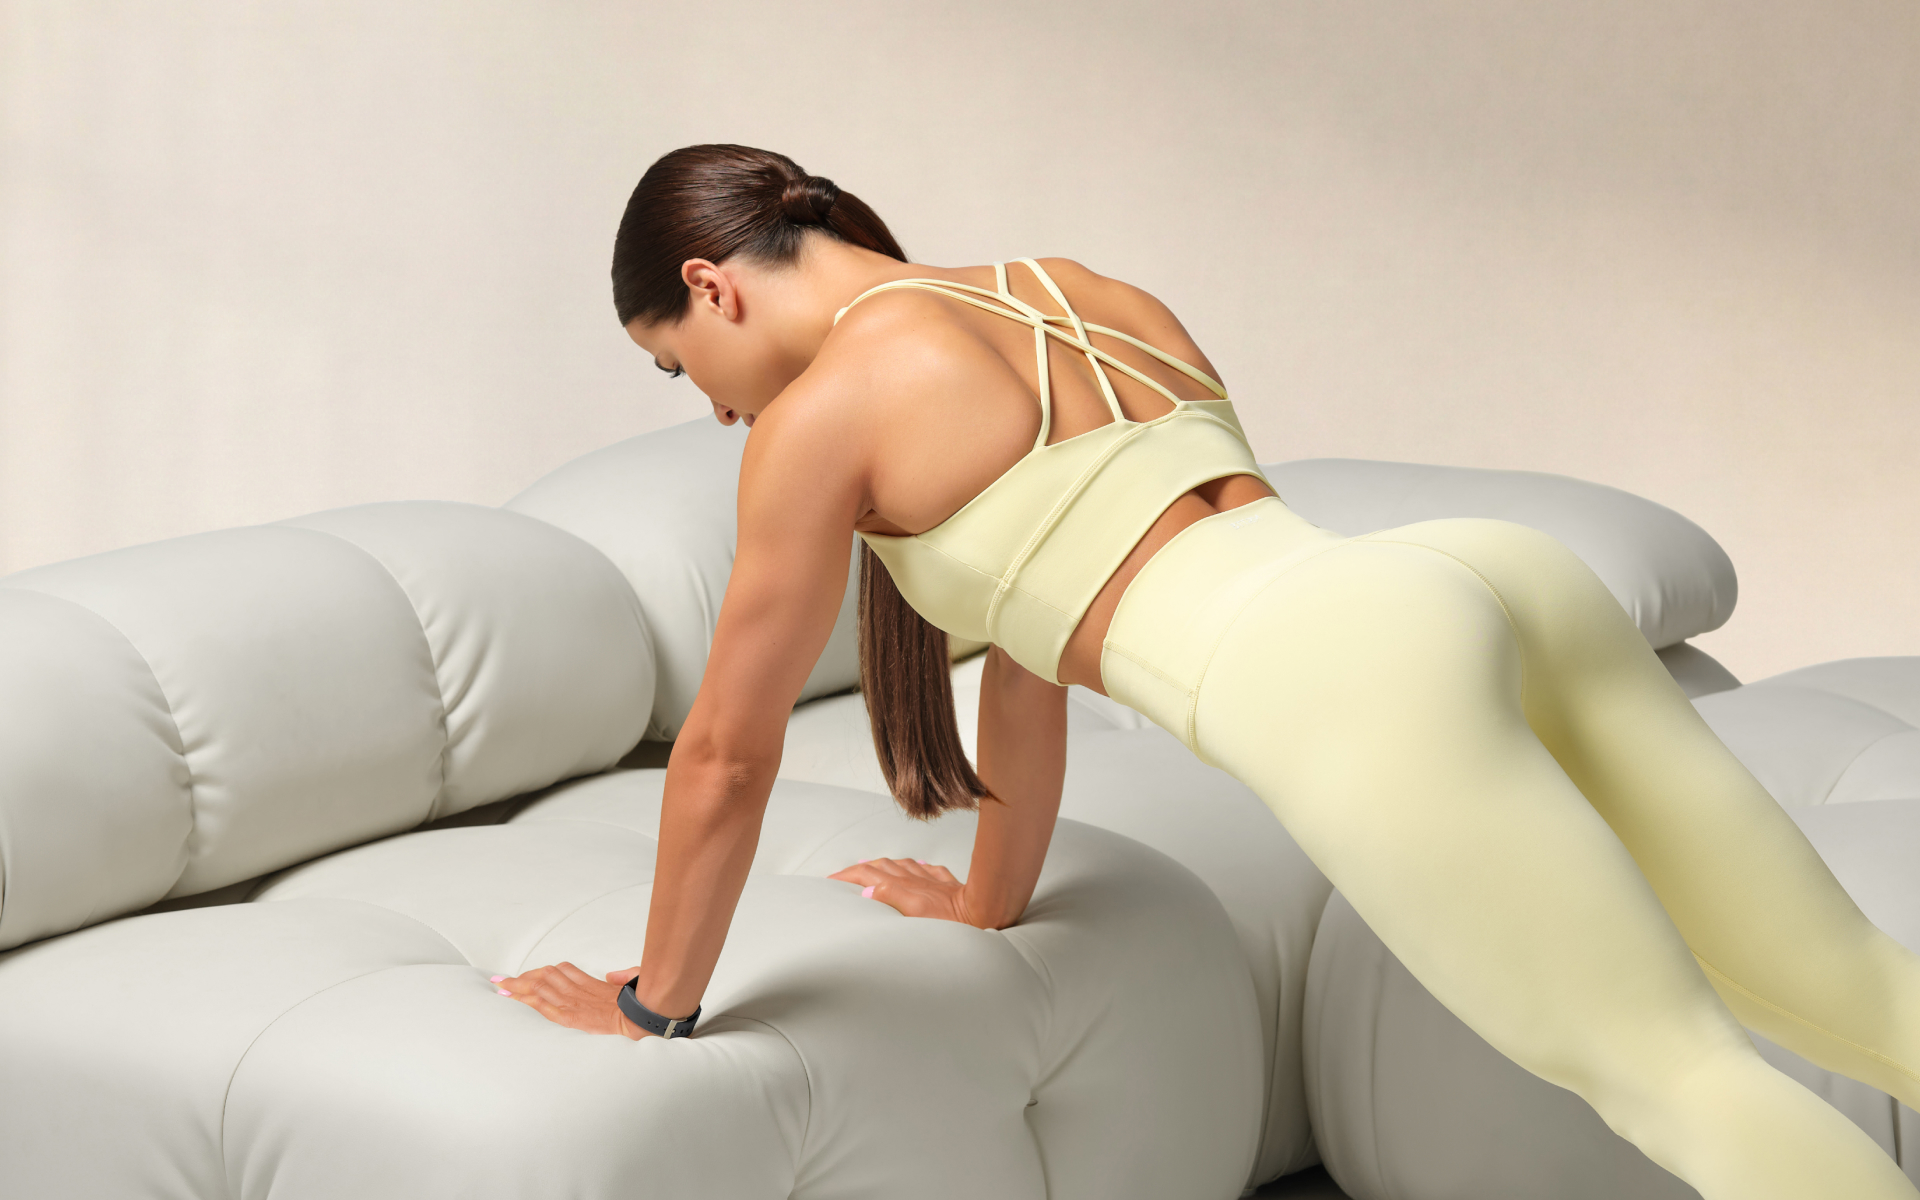
Push-Up
- Starting Position: Begin in a plank position with your hands placed slightly wider than shoulder-width apart and your body in a straight line from head to heels.
- Lowering Phase: Bend your elbows to lower your body towards the floor. Keeping your elbows tucked in close to your torso will result in greater muscle recruitment from the anterior deltoids, while allowing your elbows to come away from your sides (not higher than 70 degrees of shoulder abduction) will result in great muscle recruitment from the pectoralis major.
- Depth: Lower until your chest nearly or lightly touches the floor.
- Rising Phase: Push through your hands to return to the starting position, maintaining a straight body line.
- Repeat: Perform the desired number of repetitions.
Inverted Row
Note: This exercise does require a sturdy bar. If you do not have something at home that can accomplish this, you will likely be able to find a setup at your local park.
- Setup: Position a bar at waist height and lie underneath it. Grab the bar with an overhand grip, hands slightly wider than shoulder-width apart.
- Starting Position: Extend your legs and keep your body in a straight line from head to heels.
- Pulling Phase: Pull your chest towards the bar by bending your elbows and squeezing your shoulder blades together.
- Top Position: Pause briefly when your chest touches the bar.
- Lowering Phase: Slowly lower yourself back to the starting position.
- Repeat: Perform the desired number of repetitions.
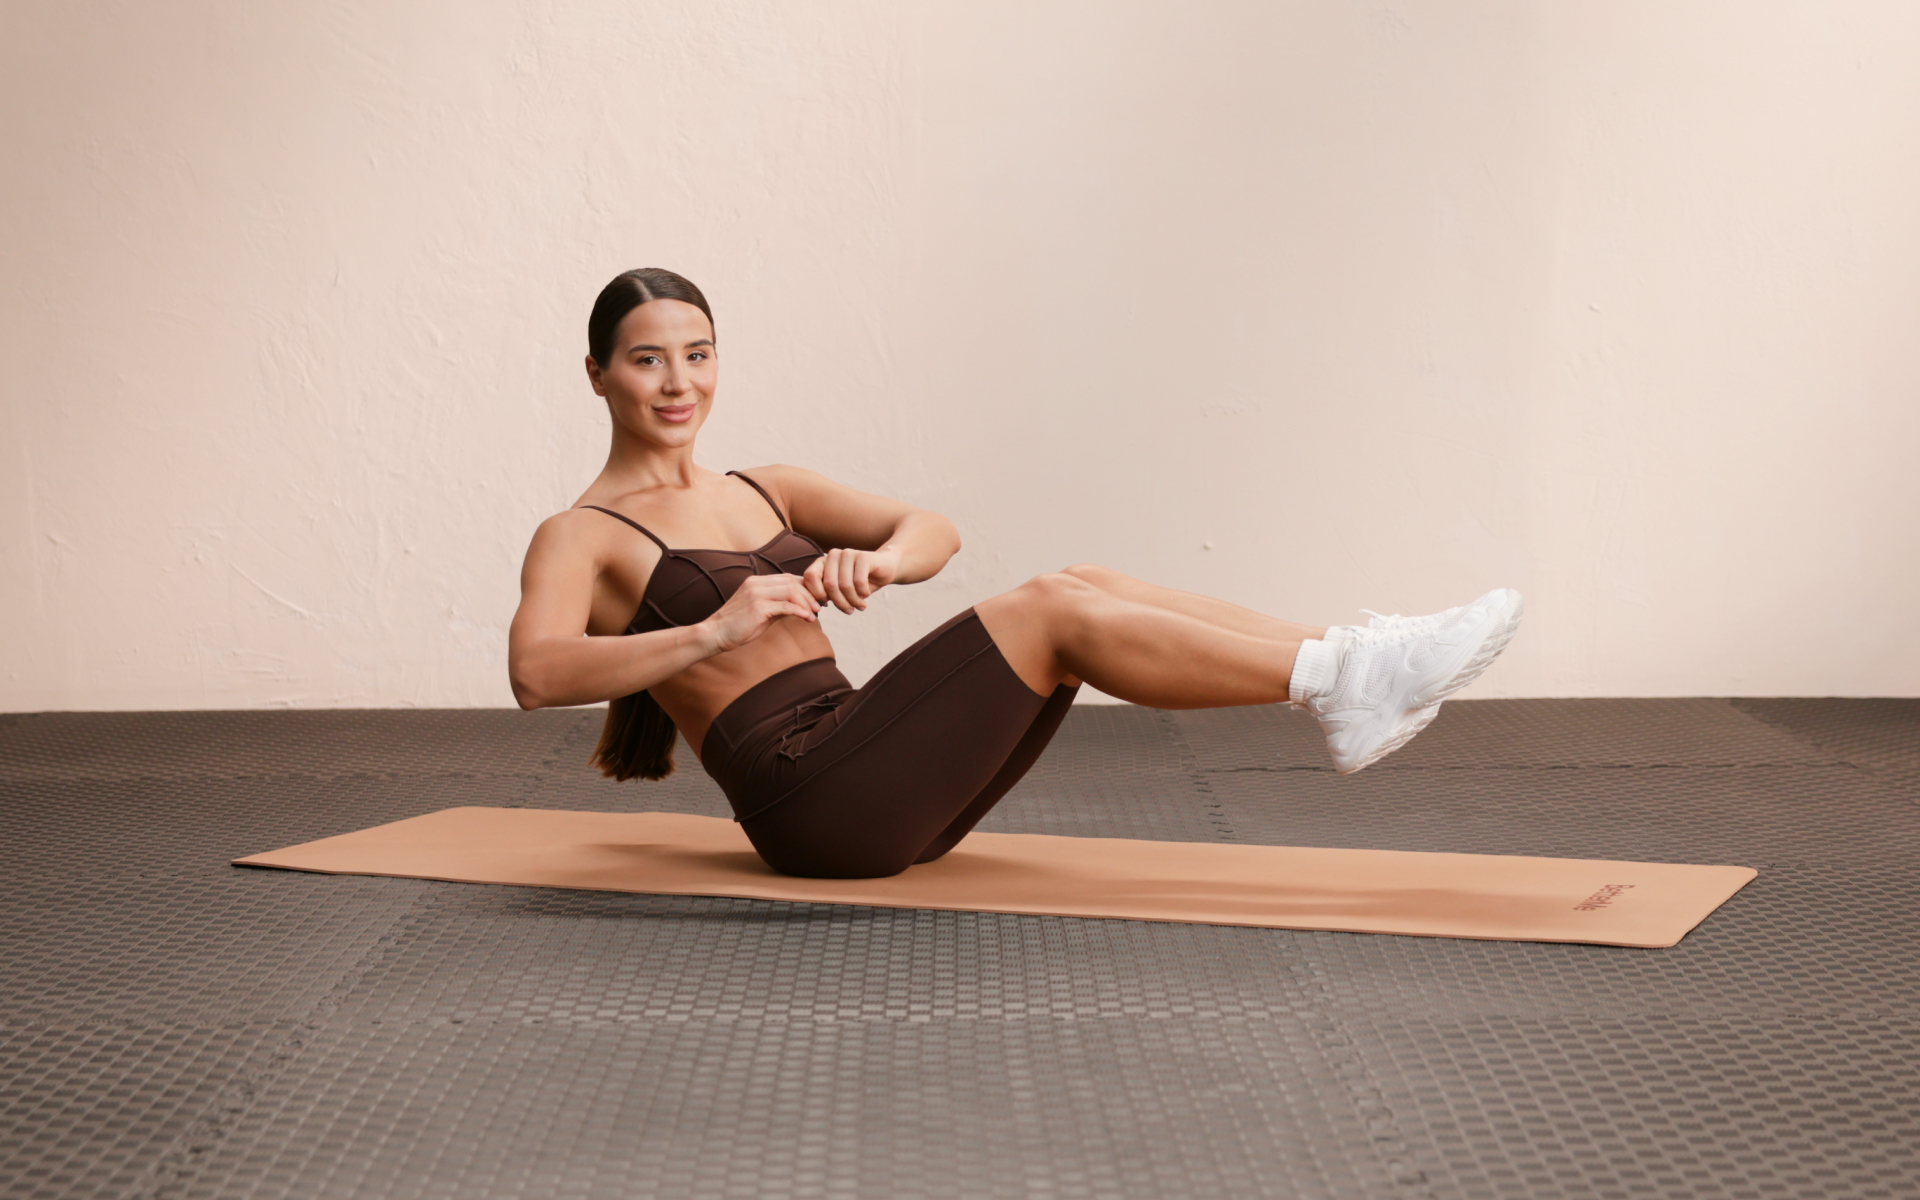
Bicycle Crunches
- Starting Position: Lie on your back with your hands behind your head and your legs lifted, knees bent at a 90-degree angle.
- Crunch and Twist: Lift your shoulders off the mat and twist your torso to bring your right elbow towards your left knee while extending your right leg.
- Alternate Sides: Switch sides, bringing your left elbow towards your right knee while extending your left leg.
- Continuous Motion: Continue alternating sides in a pedaling motion.
- Repeat: Perform the desired number of repetitions.
Read more: The Simplest Lower Back Calisthenics Guide for Beginners
What Is the Hardest Calisthenics Move?
The following 5 advanced calisthenics moves are designed for intermediate and advanced practitioners who have already mastered the fundamentals and developed substantial functional strength. It is important to note that some of these exercises may require additional equipment and should ideally be performed under the supervision of a certified trainer. Attempting these moves independently for the first time not only could be challenging but also potentially dangerous if proper technique is not maintained.
- Handstand Pushup
- Pistol Squat
- Human Flag
- Planche
- Front Lever
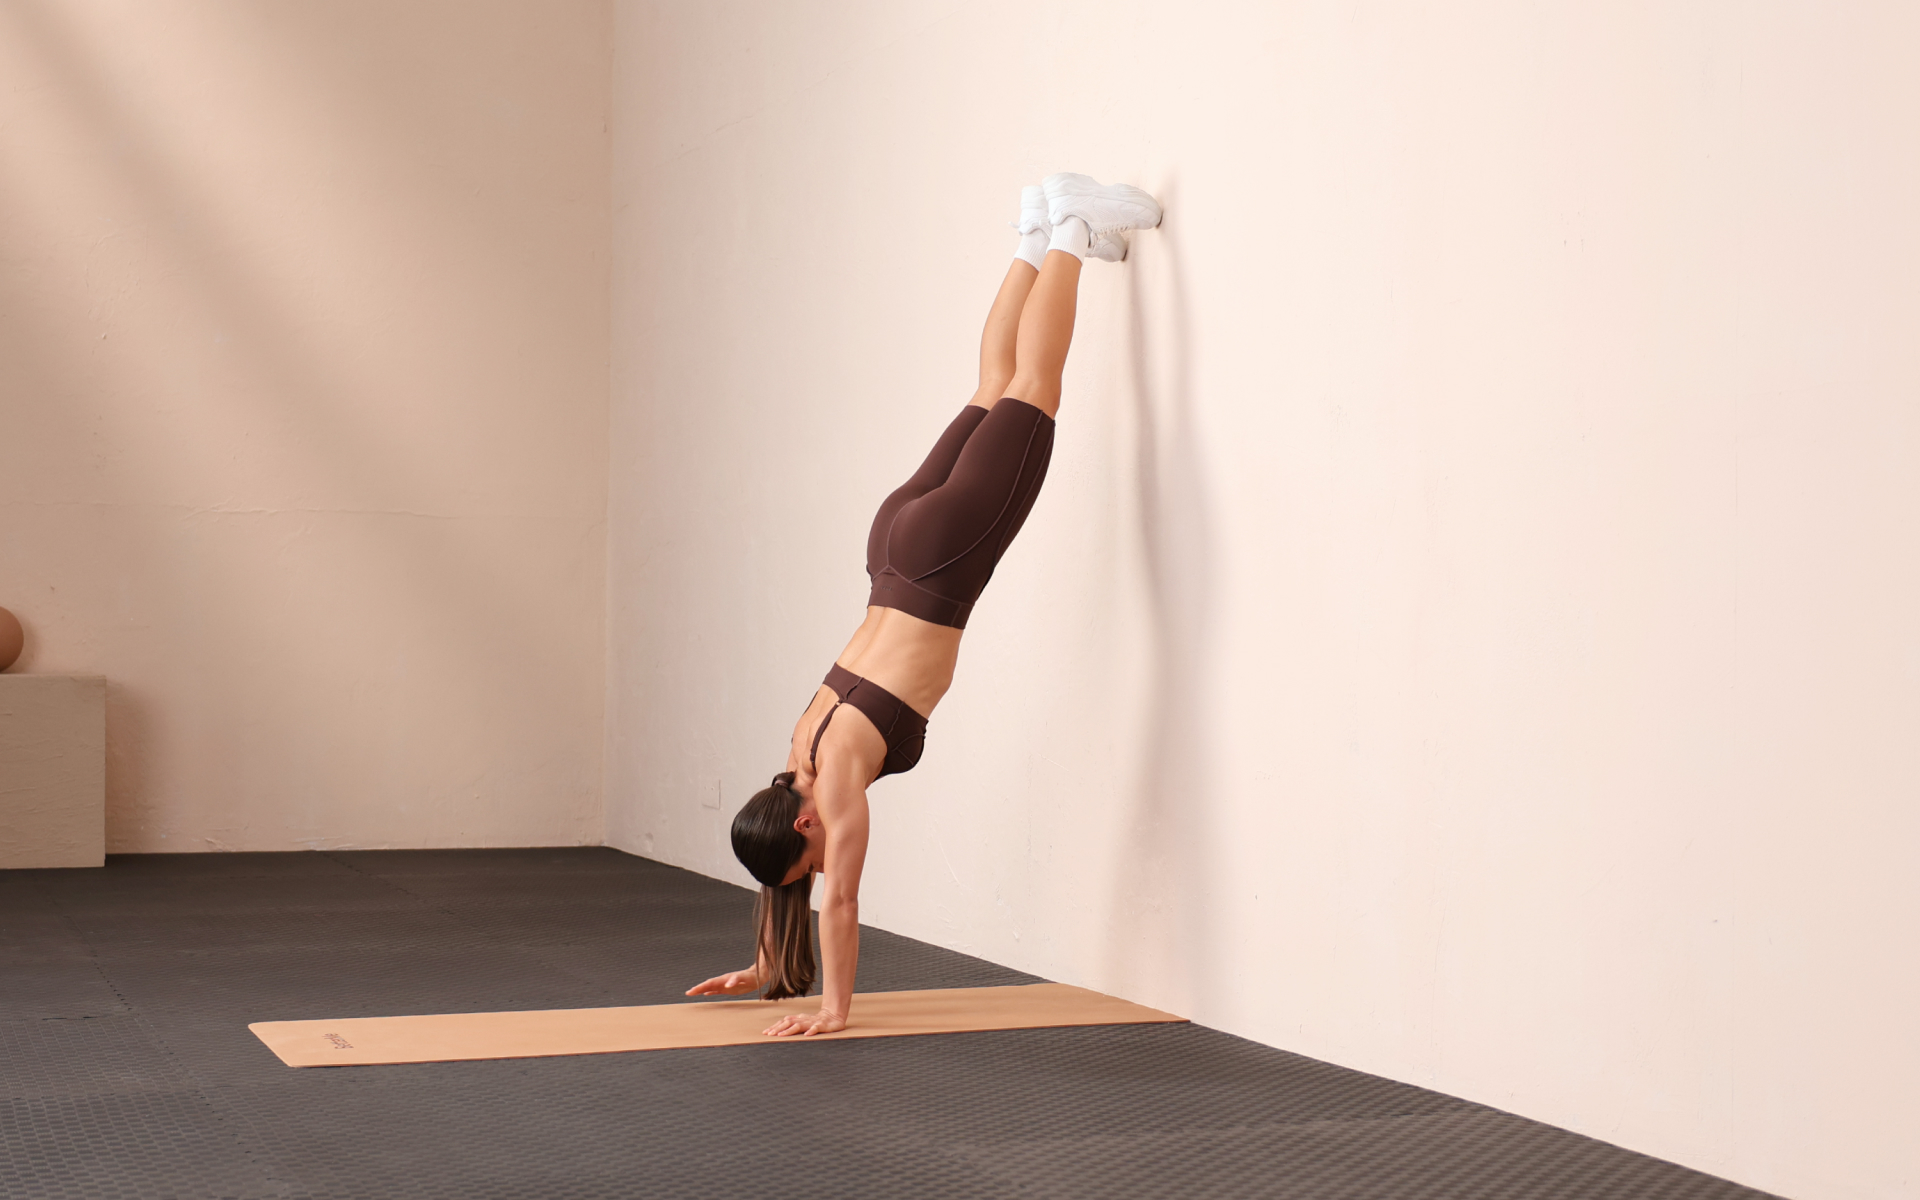
Handstand Pushup
The handstand pushup can be performed against a wall and is an advanced calisthenics exercise that requires significant upper body strength and balance. Here is how to perform this challenging movement correctly:
- Preparation:
- Find a clear wall space and place a mat or soft surface on the floor to protect your head.
- Stand facing the wall, about a foot away from it.
- Kick-Up:
- Place your hands on the floor, shoulder-width apart, about 6 inches from the wall.
- Kick one leg up, followed by the other, to get into a handstand position with your heels resting against the wall.
- Starting Position:
- Be sure your body is in a straight line from head to heels, with your core engaged and your glutes and legs tight.
- Your arms should be fully extended, and your head should be in a neutral position, looking slightly forward.
- Lowering Phase:
- Slowly bend your elbows to lower your head towards the floor.
- Keep your body tight and maintain control throughout the movement.
- Lower until your head lightly touches the mat or floor.
- Pushing Phase:
- Push through your hands to extend your arms and return to the starting position.
- Keep your core engaged and maintain a straight body line.
- Repetition:
- Perform the desired number of repetitions, maintaining proper form throughout.
- Dismount:
- Carefully lower one leg at a time back to the floor to exit the handstand position.
Pistol Squat
The pistol squat is a complex single-leg exercise that calls for tremendous lower body strength, balance, and hamstring flexibility. Here’s how to perform it:
- Starting Position:
- Stand with your feet hip-width apart and your toes pointed forward.
- Extend your arms straight out in front of you at shoulder height for balance.
- Lift One Leg:
- Shift your weight onto one leg and lift the other leg off the ground, extending it straight out in front of you.
- Keep your lifted leg as straight as possible and your foot flexed.
- Lowering Phase:
- Engage your core and slowly push your hips back and down, bending the knee of your standing leg.
- Keep your chest up and your back straight as you lower yourself into a squat position.
- Aim to lower until your hamstring touches your calf, or as low as you can comfortably go while maintaining balance.
- Bottom Position:
- At the bottom of the squat, your standing leg should be bent, and your lifted leg should remain extended in front of you.
- Your arms should still be extended forward to help with balance.
- Rising Phase:
- Push through the heel of your standing leg to rise back up to the starting position.
- Keep your core engaged and maintain control throughout the movement.
- Repeat:
- Perform the desired number of repetitions on one leg before switching to the other leg.
Whether you’re looking to simply pep up your fitness routine, jazz up your diet with mouth-watering low-calorie recipes or want to get your act together and significantly drop that number on your scale – BetterMe: Health Coaching app has got you covered! Improve your body and revamp your life!
Human Flag
The human flag is one of the most visually impressive calisthenics exercises that exists. It requires incredible amounts of upper body strength and core stability. Here’s how to execute it:
- Preparation:
- Find a sturdy vertical pole or bar that can support your weight.
- Stand beside the pole with your stronger hand positioned around shoulder height.
- Grip:
- Place your top hand on the pole with an overhand grip, and your bottom hand with an underhand grip, positioned lower on the pole.
- Make sure both arms are fully extended and engaged.
- Kick-Up:
- Jump or kick your legs up to get into a horizontal position, using your core and upper body strength to lift your legs off the ground.
- Your body should be parallel to the ground, with your legs together and toes pointed.
- Hold Position:
- Maintain a straight body line from head to toes, engaging your core, glutes, and legs.
- Keep your arms straight and push with your bottom hand while pulling with your top hand to stabilize your position.
- Balance and Control:
- Focus on maintaining balance and control, using your core muscles to keep your body steady.
- Hold the position for as long as possible, aiming to increase your hold time with practice.
- Dismount:
- Carefully lower your legs back to the ground, maintaining control throughout the movement.
Planche
The planche is an advanced calisthenics exercise that requires exceptional upper body strength, core stability, and balance. Here’s how to perform the movement correctly:
- Preparation:
- Make sure you are properly warmed up, focusing on your shoulders, wrists, and core.
- Find a clear space with a soft surface or mat for safety.
- Starting Position:
- Begin in a push-up position with your hands placed slightly wider than shoulder-width apart.
- Your fingers should be spread out for better grip and stability.
- Hand Placement:
- Rotate your hands outward slightly to reduce wrist strain.
- Lean forward, shifting your weight onto your hands.
- Tuck Position:
- Bring your knees towards your chest, keeping your arms straight.
- Engage your core and maintain a hollow body position.
- Leg Extension:
- Gradually extend your legs behind you, keeping them together and straight.
- Your body should be parallel to the ground, supported entirely by your hands.
- Hold Position:
- Maintain a straight body line from head to toes, engaging your core, glutes, and legs.
- Keep your arms straight and shoulders protracted (pushed away from your ears).
- Balance and Control:
- Focus on maintaining balance and control, using your core muscles to keep your body steady.
- Hold the position for as long as possible, aiming to increase your hold time with practice.
- Dismount:
- Carefully lower your legs back to the ground, maintaining control throughout the movement.
Front Lever
The front lever is an advanced calisthenics exercise that requires significant upper body and core strength. Here are the step-by-step instructions:
- Preparation:
- Make sure you are properly warmed up, focusing on your shoulders, wrists, and core.
- Find a sturdy pull-up bar or gym rings that can support your weight.
- Starting Position:
- Hang from the bar with an overhand grip, hands shoulder-width apart.
- Your arms should be fully extended, and your body should be in a straight line.
- Engage Core and Shoulders:
- Engage your core muscles and pull your shoulders down and back.
- Maintain a hollow body position by slightly tucking your pelvis and keeping your legs together and straight.
- Tuck Position:
- Bring your knees towards your chest, keeping your arms straight.
- This is the tuck front lever position, which is a good starting point for beginners.
- Leg Extension:
- Gradually extend your legs out in front of you, keeping them together and straight.
- Your body should be parallel to the ground, with your front facing upwards.
- Hold Position:
- Maintain a straight body line from head to toes, engaging your core, glutes, and legs.
- Keep your arms straight and shoulders retracted (pulled back).
- Balance and Control:
- Focus on maintaining balance and control, using your core muscles to keep your body steady.
- Hold the position for as long as possible, aiming to increase your hold time with practice.
- Dismount:
- Carefully lower your legs back to the starting position, maintaining control throughout the movement.
Is Calisthenics Harder than Gym?
Calisthenics is inherently neither easier nor harder than traditional weight training. Regardless of which approach you take on for any given workout, the difficulty of that workout is completely dependent on how the workout is structured and individual factors related to your current fitness level and health condition.
Read more: Calisthenics Shoulder Exercises: Techniques and Workouts
Can Calisthenics Build Muscle?
Yes, as with weight training, calisthenics can build muscle if the training program is properly designed and you are incorporating proper rest, diet, and other positive lifestyle factors. There have been numerous studies highlighting the positive results of calisthenics training, which includes improvements in strength, muscle hypertrophy, aerobic capacity, endurance, and mental health.
Everyone’s results will differ, depending on their own circumstances, training, and genetics. Ultimately, muscle growth is dependent on a training stimulus that triggers protein synthesis and other physiological processes. The human body does not care what ‘type’ of training you are doing or how you get to that state, nor does it care if you use equipment or not. If the proper stimulus is there and you have the nutrients and internal factors to support the physiological processes, you will experience muscle hypertrophy. If not, you won’t.
The calisthenics workout routine is especially prolific for growing muscle in your upper body and core.
Is 20 Minutes of Calisthenics Enough?
Twenty minutes of calisthenics may or may not be enough depending on your goals. You could get excellent benefits with 20-minute calisthenic workouts if you are training at a volume and intensity appropriate for you. 
FAQs
Is 30 too late for calisthenics?
Not at all! Since your bodyweight is the source of the resistance, you can start calisthenics at any age. In fact, children playing on a playground are unknowingly performing calisthenics workouts. Whether you start young or old, it’s never too early or late for calisthenics.
Can I do calisthenics every day?
You may be able to do calisthenics every day, depending on the intensity and structure of your workout plan. Although it is recommended to perform strength training workouts, including calisthenics, 2-5 days per week, some people do workout everyday and are able to manage the workload through varying intensities, body region splits, and other load management techniques. Listen to your body and find what works best for you.
The Bottom Line
Calisthenics offers a versatile and effective way to build strength and endurance using bodyweight exercises. From basic moves like squats and lunges to advanced ones like the planche and front lever, calisthenics can be adapted to any fitness level.
While it can be practiced daily by some, it’s important to listen to your body and take adequate rest days. Ultimately, calisthenics enhances functional strength, endurance, and body control, making it a valuable addition to any fitness routine.
DISCLAIMER:
This article is intended for general informational purposes only and does not serve to address individual circumstances. It is not a substitute for professional advice or help and should not be relied on for making any kind of decision-making. Any action taken as a direct or indirect result of the information in this article is entirely at your own risk and is your sole responsibility.
BetterMe, its content staff, and its medical advisors accept no responsibility for inaccuracies, errors, misstatements, inconsistencies, or omissions and specifically disclaim any liability, loss or risk, personal, professional or otherwise, which may be incurred as a consequence, directly or indirectly, of the use and/or application of any content.
You should always seek the advice of your physician or other qualified health provider with any questions you may have regarding a medical condition or your specific situation. Never disregard professional medical advice or delay seeking it because of BetterMe content. If you suspect or think you may have a medical emergency, call your doctor.
SOURCES
- What is calisthenics? (2020, medicalnewstoday.com)
- The Best Warm-Up Is a Dynamic Warm-Up (2023, nytimes.com)
- Effect of Progressive Calisthenic Push-up Training on Muscle Strength and Thickness (2018, ncbi.nlm.nih.gov)
- Effects of progressive body-weight versus barbell back squat training on strength, hypertrophy and body fat among sedentary young women (2019, nature.com)
- Is Working Out 20 Minutes a Day Enough? (medicinenet.com)