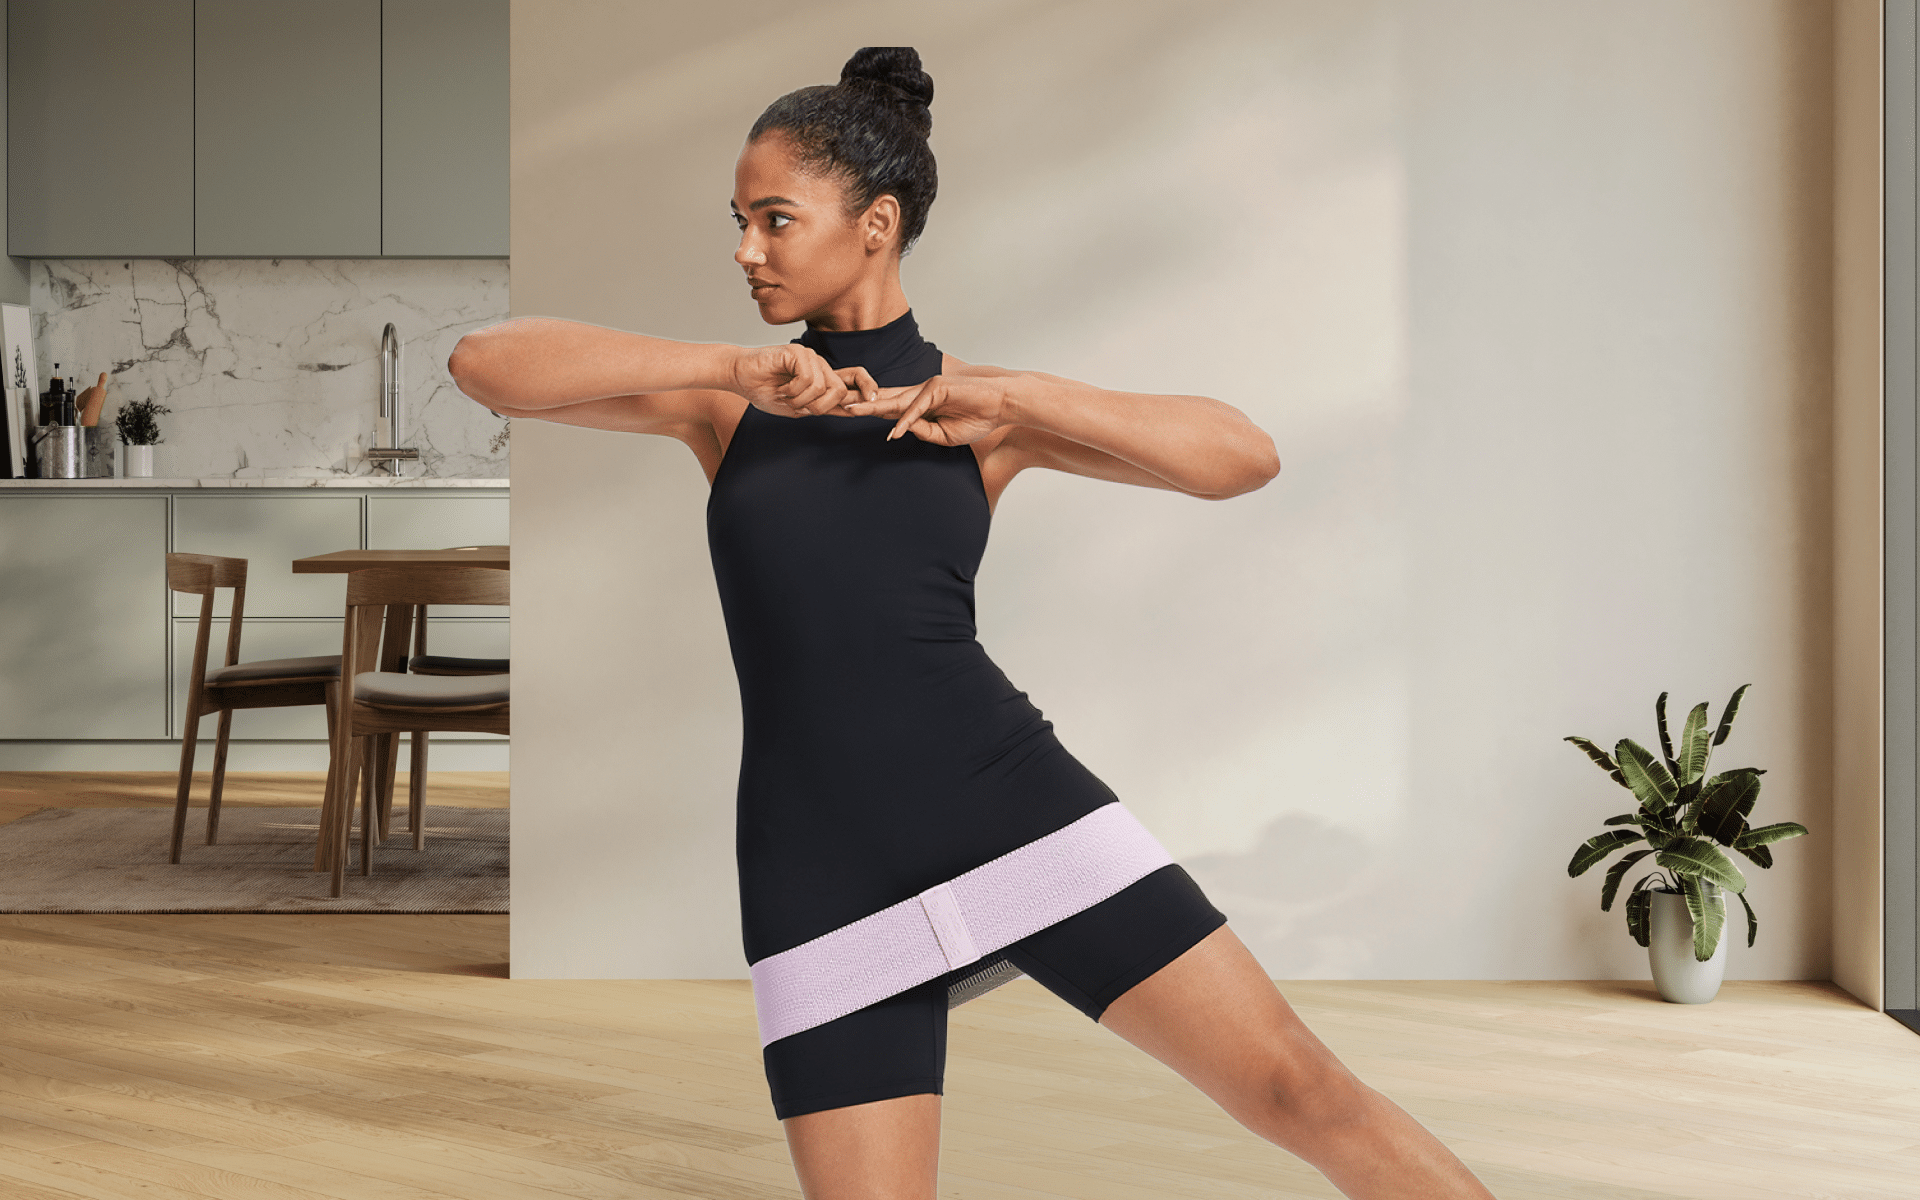
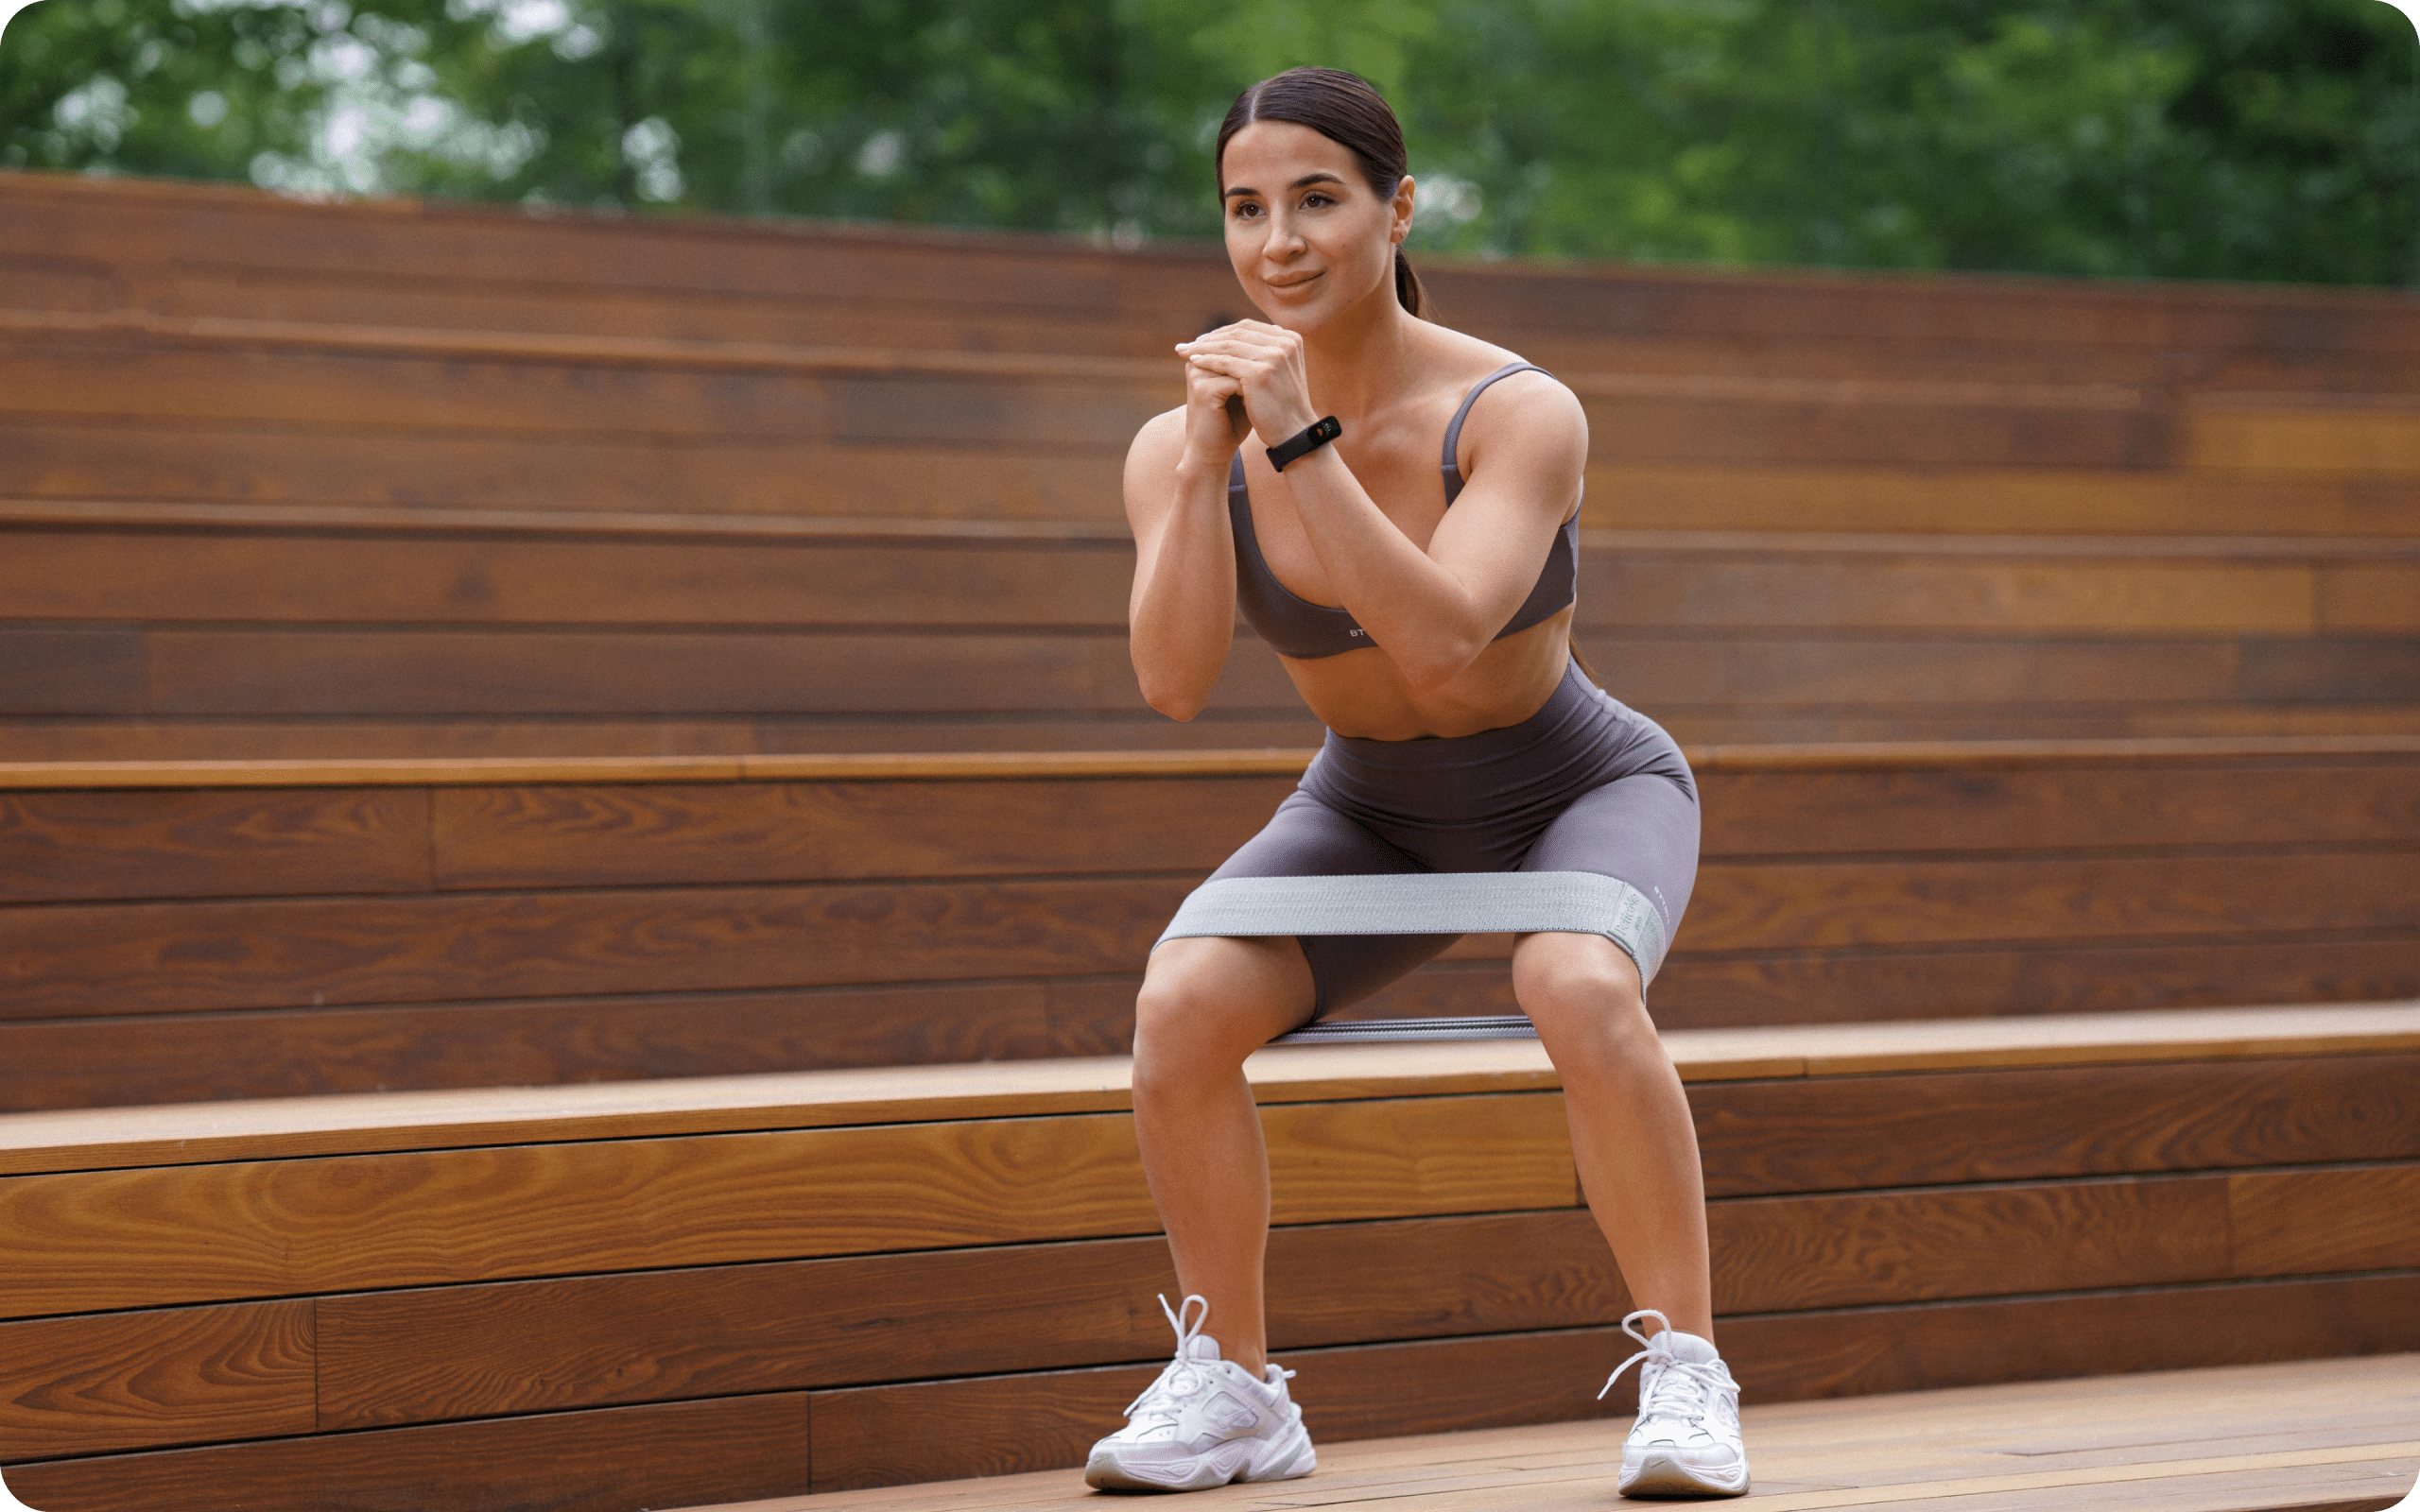
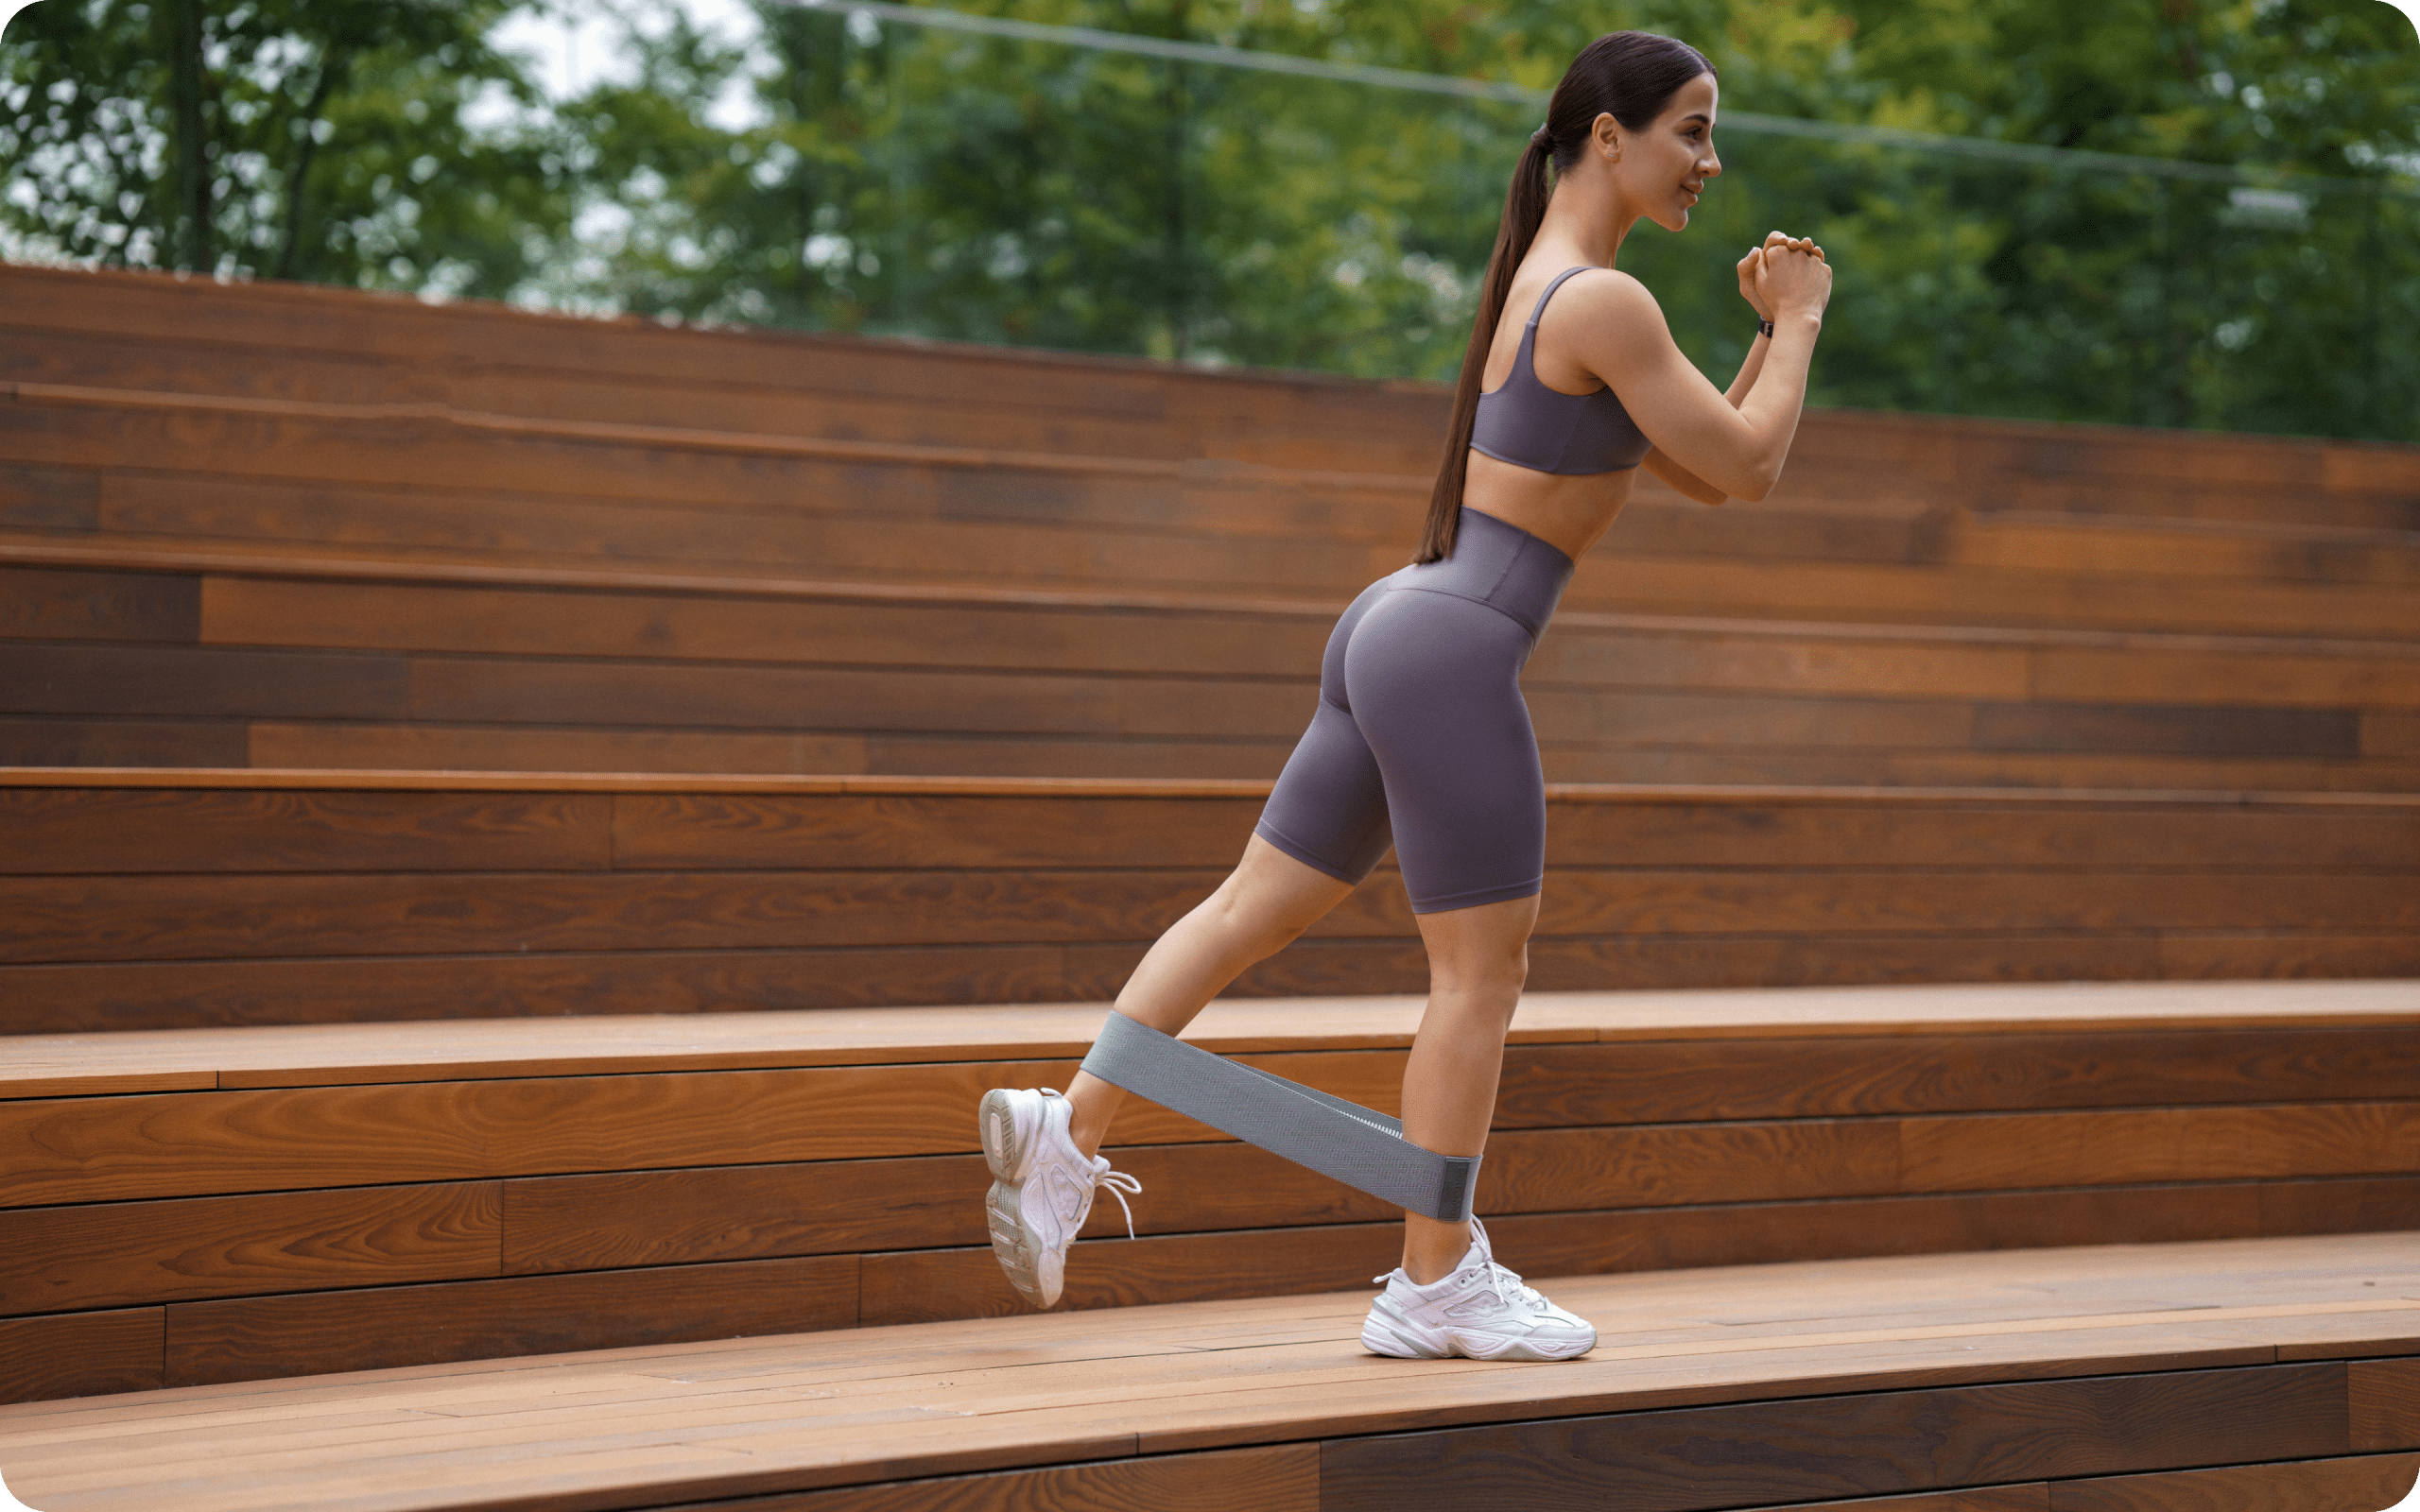
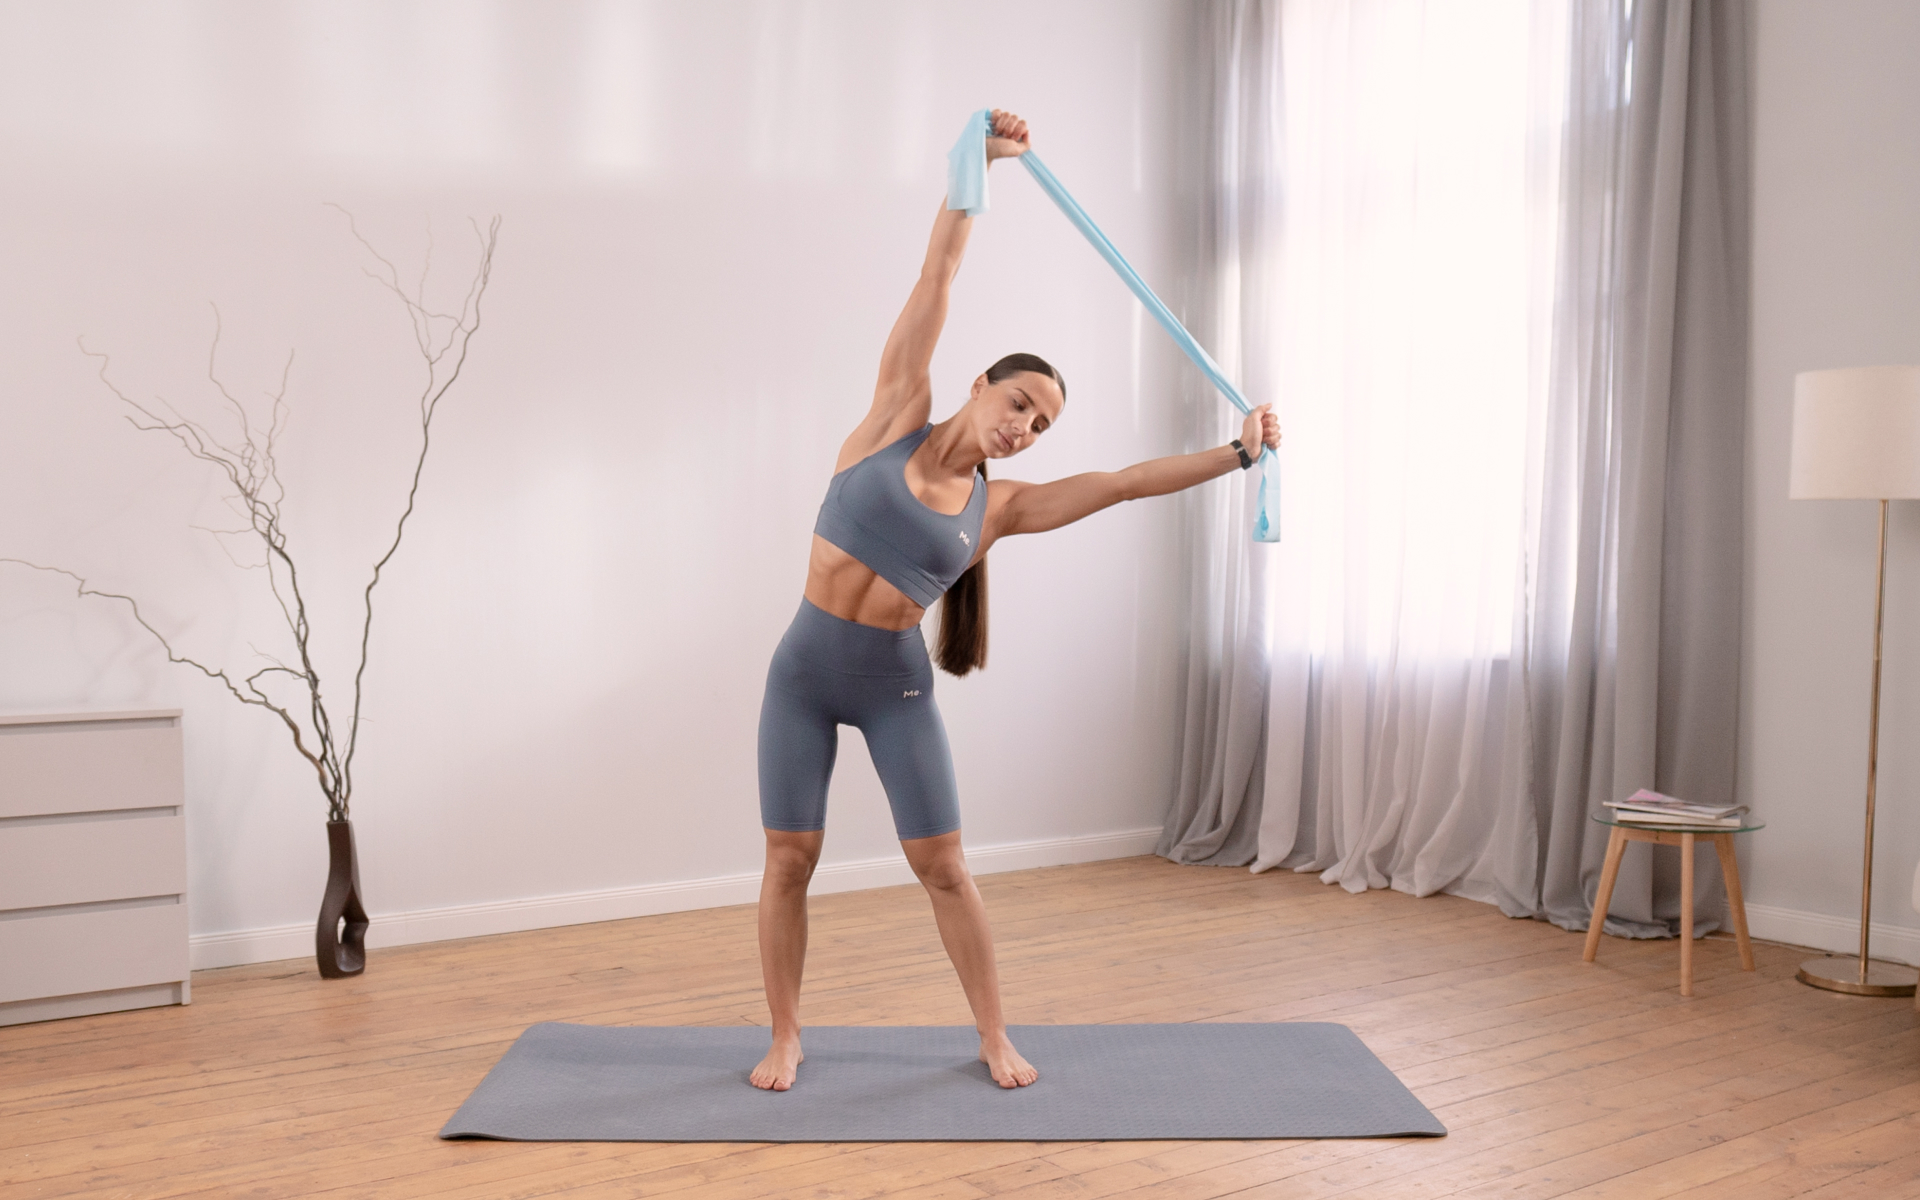
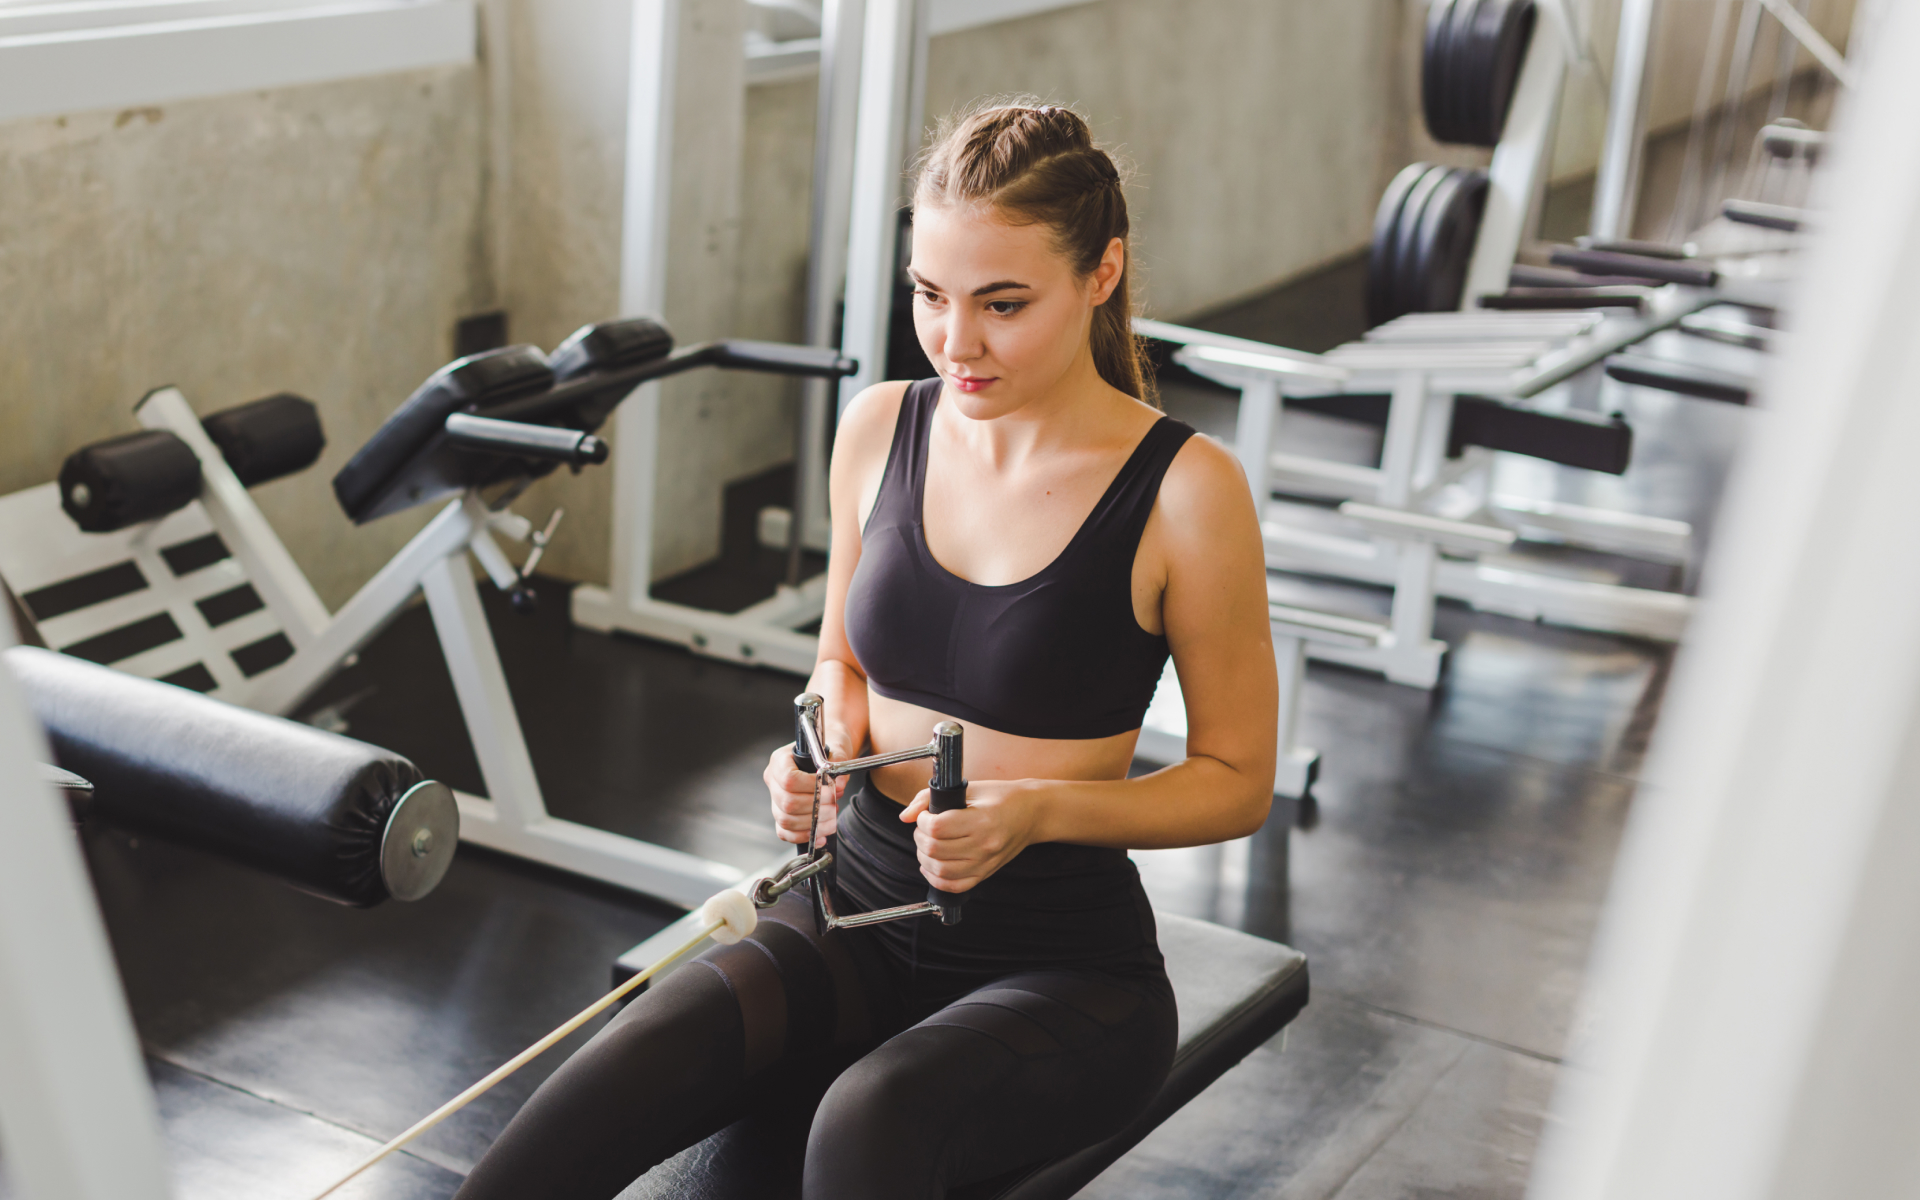
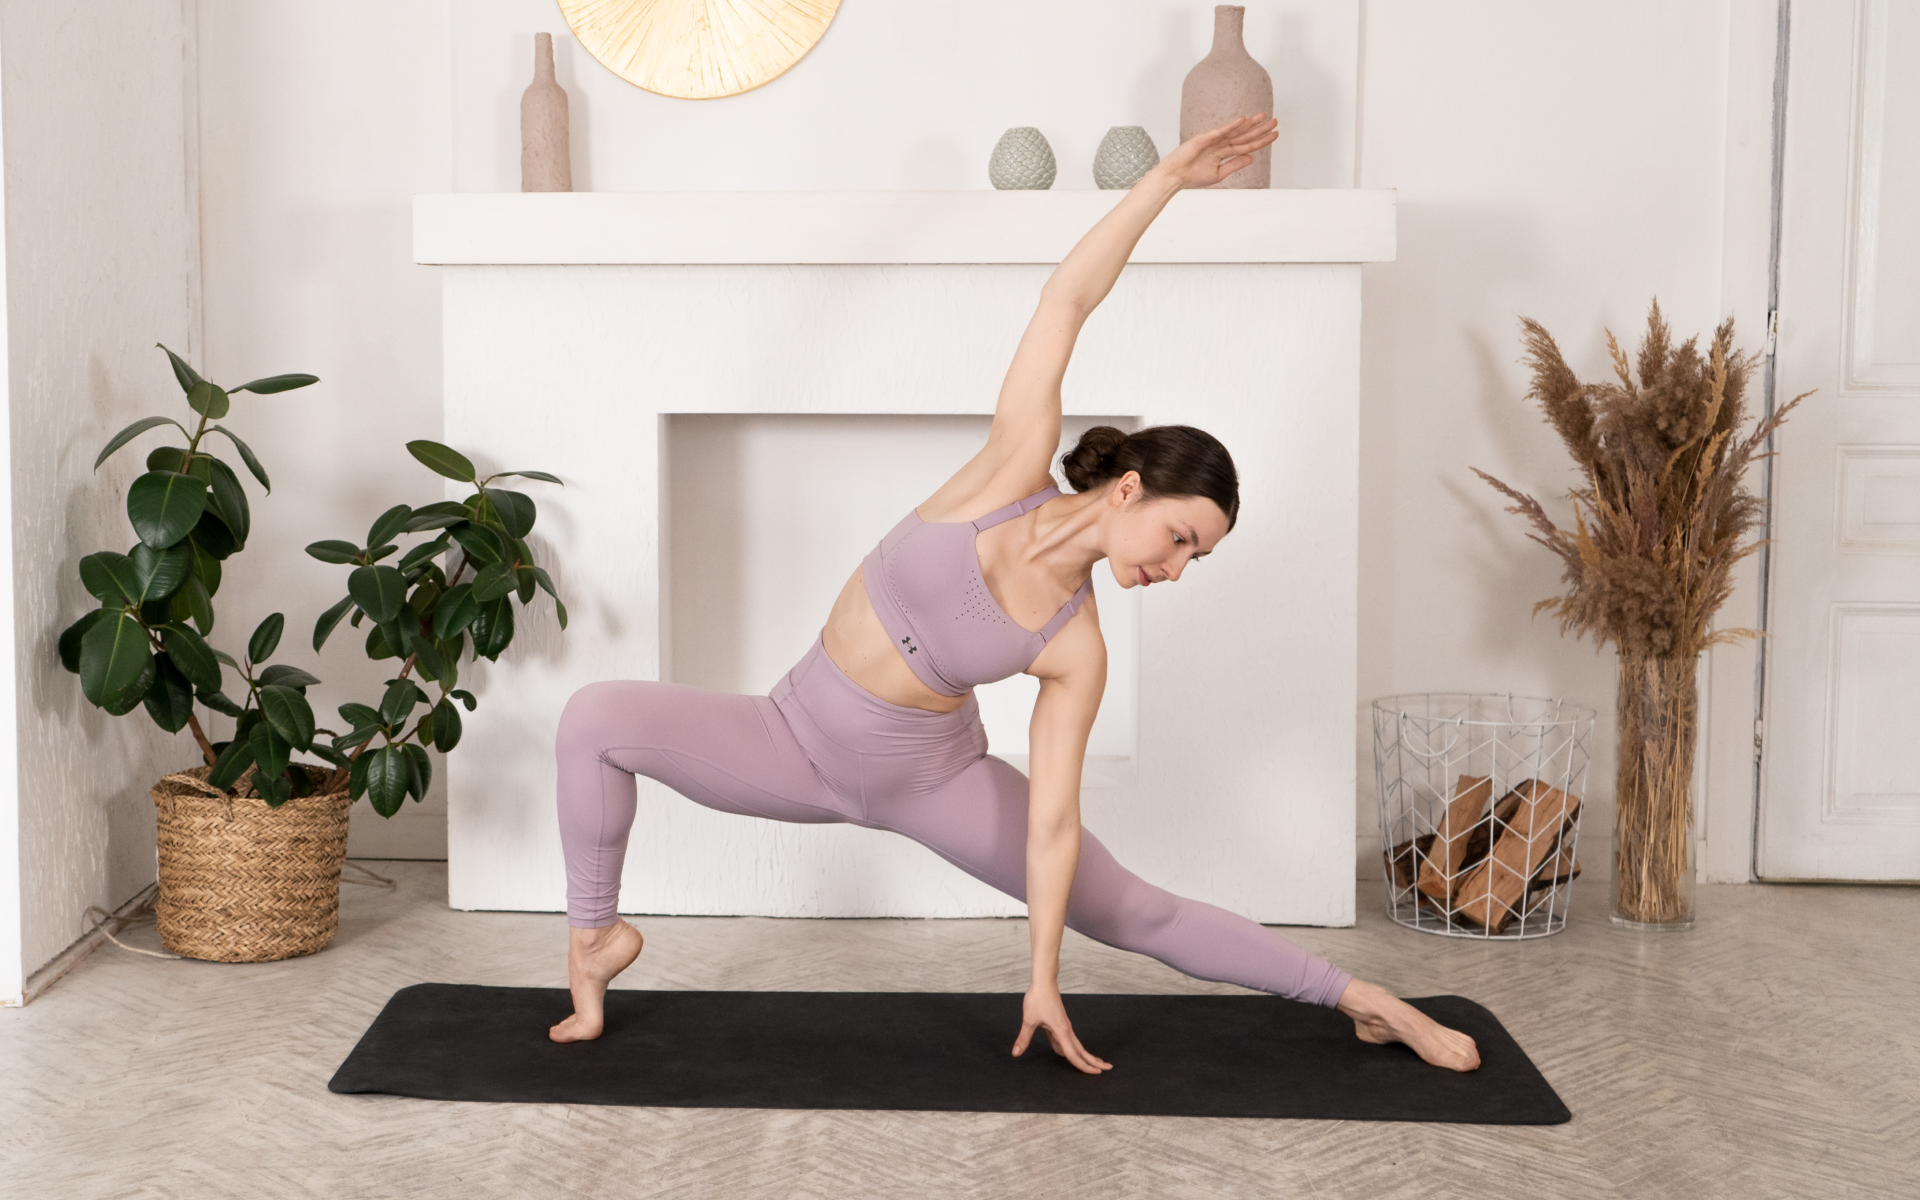
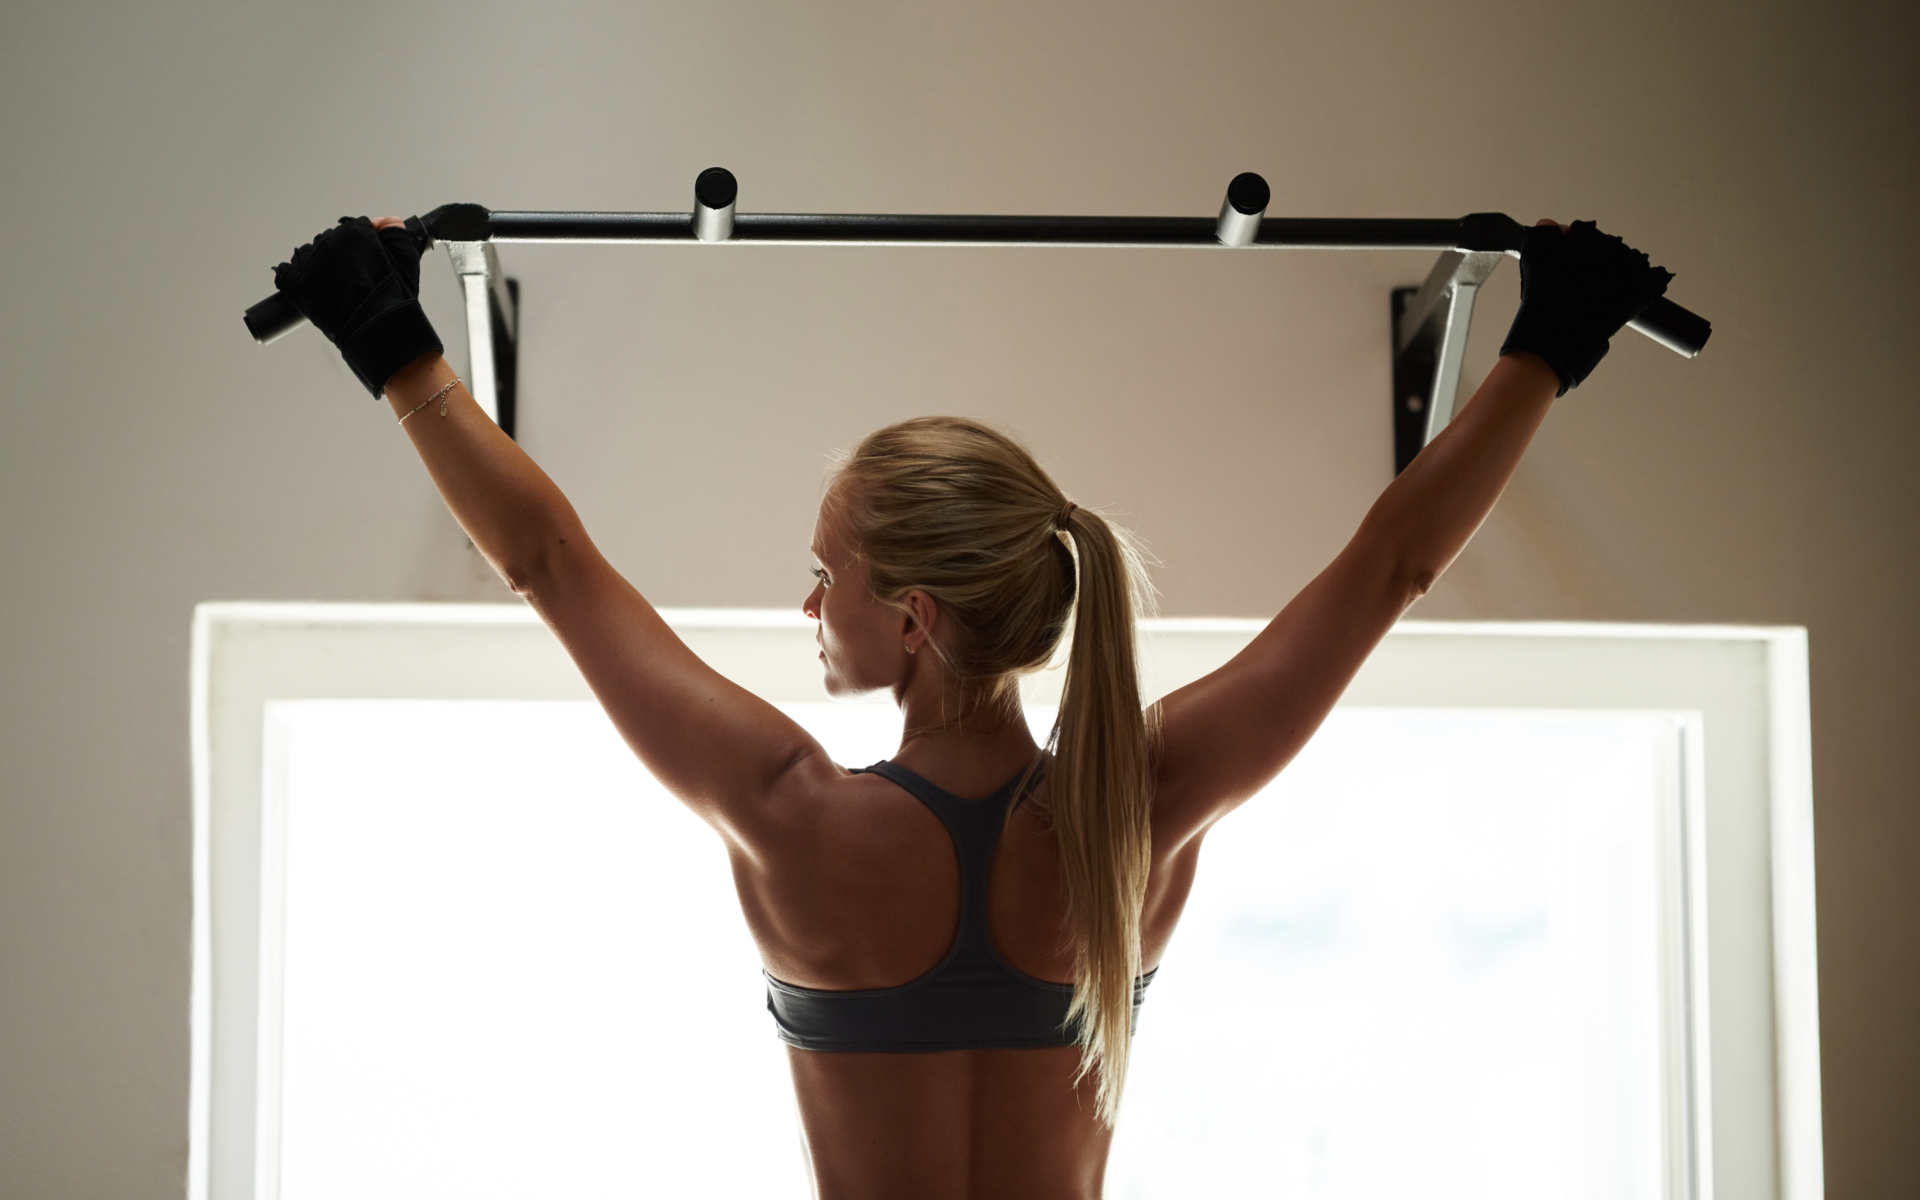
It’s that time of the year. Resolutions, goals and targets are being set. You’re probably thinking it’s time you stopped procrastinating about working out and getting in shape. Your first thought naturally comes to hitting your nearest gym, but who said you always need fancy gym equipment to work out? Resistance bands are just as effective, simple and convenient to use. This article will show you how to tone those muscles using an 8 week resistance band training program. The bonus? They can be done in the comfort of your house so you don’t always have to go to the gym.
Are Resistance Band Exercises Effective?
Why opt for resistance band workouts? Can’t you just pick up those barbells and start some good old strength training? See there are unique benefits of resistance bands that make them just as effective if not more effective. Some of them include:
Resistance Bands Improve The Quality Of Your Workouts
Whenever resistance band training comes to mind, the style of exercise becomes different from using equipment like dumbbells. You’re not just lifting weights in this scenario, your muscles are also under constant tension. This then translates to improved quality of each rep, creating a domino of your muscles getting stronger because they work harder with each contraction.
Resistance Bands Helps You In Focusing Your Control
Sometimes lifting heavy weights is a preferred method of working out because it guarantees some level of form and consistency. However, the more ‘free’ you get with the weights you’re using, the more effort you need to control your movements. This ensures that you’re doing the required movement and how it’s supposed to be done.
That being said, free-weight work can potentially help you become stronger. You also get to improve your functional fitness while you’re at it. Additionally, controlling both the tension and release requires a good amount of concentration (3).
Resistance Bands Engage Your Stabilizing Muscles
Resistance bands usually feel a little unsteady to use. By extension, you’ll need to work extra hard to maintain your form and balance. So you’ll be building your core strength while simultaneously targeting your stabilizing muscles (3).
Resistance Bands Are Key For Functional Training
Resistance band exercises involve a lot more movement compared to traditional exercises. This makes it a great way of working on your joints thus allowing for more natural movements in your day to day activities.
Resistance Bands Are Designed For Compound Exercises
Compound exercises are basically workouts that involve the use of several muscles simultaneously. They are particularly very efficient because they require more energy to pull off and are also great for improving your coordination (4). As a result, resistance bands become great pieces of equipment for full body workouts since they generally involve compound movements.
Read More: Ankle Resistance Band Exercises: 10 Moves Worth Trying
Resistance Bands Promote Better Form
See how you use momentum to finish the last few reps of your workout? Well, things get harder when you’re using resistance bands.
To maintain the required tension on the band during your workout requires every rep to be of high quality. As a result, your muscles will be working at full steam throughout the session, not just at the end of every rep. Ultimately this helps you progress, develop and improve your form (3).
Resistance Bands Give You Control Over Your Training Angle
It’s true that straight bars are great for heavy lifting. They can, however, aggravate any shoulder or wrist issues. Resistance bands give you greater control of your training angle and as such, you can avoid any uncomfortable positions while targeting the intended muscle groups.
Varying your training positions and angles can help you avoid straining your joints and muscles (2). So no, this is not just a benefit for people with joint issues. It can be equally as good for those who don’t.
Resistance Bands Are A Great Alternative To Fitness Machines
Machines are good for beginners. They help you get a grasp of general movements needed when targeting a specific muscle group. The only downside is that they can be restrictive therefore forcing you to move quite unnaturally depending on your body type. This technically means you won’t be getting the most out of your workouts.
Resistance bands will enable you to work on the full muscle range, from extension to contraction, giving you the best results. So it’s okay to take a break from that machine and give these bands a chance.
How To Use Resistance Bands
Now that you know just how beneficial resistance bands can be, the next question becomes how do you use them? Like all workout equipment, resistance bands have a set of dos and don’ts you must observe to avoid any unnecessary injuries.
First off, resistance bands do break down over time as a result of normal wear and tear resulting from consistent use. It’s crucial that you always inspect your bands frequently and make sure they are in good operating conditions. Other safety rules that you need to observe when using resistance bands include:
- Do not release a resistance band while it’s still under tension. Releasing it under tension will make the band snap back towards you which can lead to significant injury.
- Start all your workouts slowly to ensure band strength.
- Avoid jerking resistance bands at all costs.
- Avoid placing the band’s handles over your feet. They can easily slip and strike you.
- Never stretch resistance bands over 2.5 times their original length.
- Do not work out with resistance bands over uneven surfaces.
- Always inspect your bands and handles before you use it. Look for any nicks, cuts, cracks, punctures, discoloration or anything that looks weakened in the area. If you see any flaws, dispose of the band and never try repairing a damaged resistance band.
Resistance bands are great and fairly cheap fitness equipment. However, proper maintenance is key for these equipment to perform as and when needed. Here are some important tips for the proper storage and care of resistance bands:
- Avoid storing the bands in a place exposed to direct sunlight or any sources of heat.
- Use a damp cloth whenever you’re cleaning the bands.
- Using soap or other cleaning products can deteriorate its overall strength, so don’t use them.
- Do not store the bands in outside environments as the temperatures in these settings can get a little extreme.
To get the most out of your workouts, you need discipline – lots of it. One of the best ways to achieve this is to come up with a schedule that works for you.
You’re probably wondering what is the best resistance band training program you can try out. Well, in our next session, we show you an 8 week resistance band training program that will help you achieve your fitness goals safely. So it really doesn’t matter whether you’re looking for a men’s or women’s resistance band training program, this schedule has got you covered.
Looking for a way to break the vicious cycle of weight loss and tone up all the jiggly parts? Watch the extra pounds fly off and your muscles firm up with the BetterMe app!
8 Week Resistance Band Training Program
Resistance bands, like any fitness equipment, require proper form whenever they’re being used. So before looking at the workouts and the program, here are some important guidelines you should observe to avoid any injuries:
- Spend between 25-30 minutes in each set if you’re planning to keep your rest period short.
- Rest for about 60 seconds between each set.
- Always remember to warm up before you begin your workouts and cool down when you’re done. This reduces the risk of injury and speeds up muscle recovery (1).
The Program
For the next 8 weeks, do the following resistance bands exercises:
Monday
It’s all about your shoulders on this day. Do all the exercises in 2 sets, each consisting of 20-30 reps. Here’s what you’ll need to do:
- Rear fly
- Side raises
- Shoulder press
- Upright rows
Tuesday
Take the day off and rest. You can engage in active recovery, or not. No one will judge you for just lying on the couch and letting your body do its thing in some good old fashioned passive recovery.
Wednesday
Today you work on both your shoulders and biceps. Take things up a notch by doing the workouts in 3 sets, each consisting of 20-30 reps. Here’s what you’ll need to do:
- Lying curls
- One arm curls
- External rotation
Thursday
Rest. Whether you’ll opt for active or passive muscle recovery remains to be the dealer’s choice.
Friday
Today you focus on your chest and back muscles. Do all the workouts in 3 sets of 20-30 reps each. Here’s what you’ll need to do:
- Seated rows
- One arm rows
- Wide push ups (You can go on your knees if you’re struggling to do full pushups)
Saturday
Time to focus on your triceps. Do all the workouts in 2 sets of 20-30 reps each. Here’s what you’ll need to do:
- Overhead extensions
- Kickbacks
- Push downs
Sunday
You’ll be working on resistance band leg workouts alongside your abs simultaneously today. Do all the workouts in 3 sets of 20-30 reps each. Here’s what you’ll need to do:
- Split squats
- Crunches
- Ab twists
That’s a lot of exercises there, and if you’re a beginner, you’re probably wondering how to do them. Keep reading to find out.
Read More: Resistance Band Chest Workout For A Muscular And Bigger Chest
The Workouts
Below is a detailed step by step guide of how to perform each of the workouts safely:
Rear Fly
- Start by standing on a resistance band and hold the handles with each hand by your shins.
- Now bend your knees slightly then lower your back till it’s parallel to the floor.
- Raise your arms to your side as far as you can and pause. Lower the band to your starting position and repeat.
Side Raises
- Start by placing your left foot in the middle of the resistance band.
- Step forward using your right foot then tighten your abdominals. Avoid arching your back during this process.
- Raise your arms up slowly from the sides of your body. Ensure you maintain a slight bend in your elbows all the time while favoring your front during the lift.
- Pause once your arms are parallel with the floor and feel the contraction. Slowly lower back down.
Shoulder Press
- Start by stepping on the resistance band on one end with both your feet shoulder-width apart.
- Bring the other end of the band toward your chest and hold it in an overhand grip. Ensure your palms are facing away from you.
- Brace then press the band overhead extending your arms fully above your head. Tuck in your pelvis to avoid arching your back.
- Bring the band back down to your starting position.
Upright Rows
- Stand on a resistance band then hold the handles ensuring your palms are facing inwards and resting on your thighs.
- Lift up the band, keeping your back straight and elbows higher than your forearms.
- Return to your starting position and repeat.
Lying Curls
- Start by securing to a door whose anchor is found at the bottom.
- Now attach each end of the resistance band to a handle.
- Hold a handle in each hand then lay on your back. Put your feet about 1-2 feet away from the door, ensuring they are flat on the floor and your knees are up.
- With your arms straight and tight to your body and palms up, pull the handles. Continue bending your arms until your arms are directly above your chest.
One Arm Curls
- Step on the resistance band with one foot then hold the handle with your hand from the same side, just above your thigh.
- Curl up the band using your biceps until it reaches your shoulder.
- Lower it down and repeat.
External Rotation
- Start by anchoring the resistance band at a door.
- Move to a neutral and upright position with your elbow at your body. Ensure your elbow does not move away from your body during the exercise.
- Turn your arm outwards, maintaining your elbow position. Return and repeat.
Seated Rows
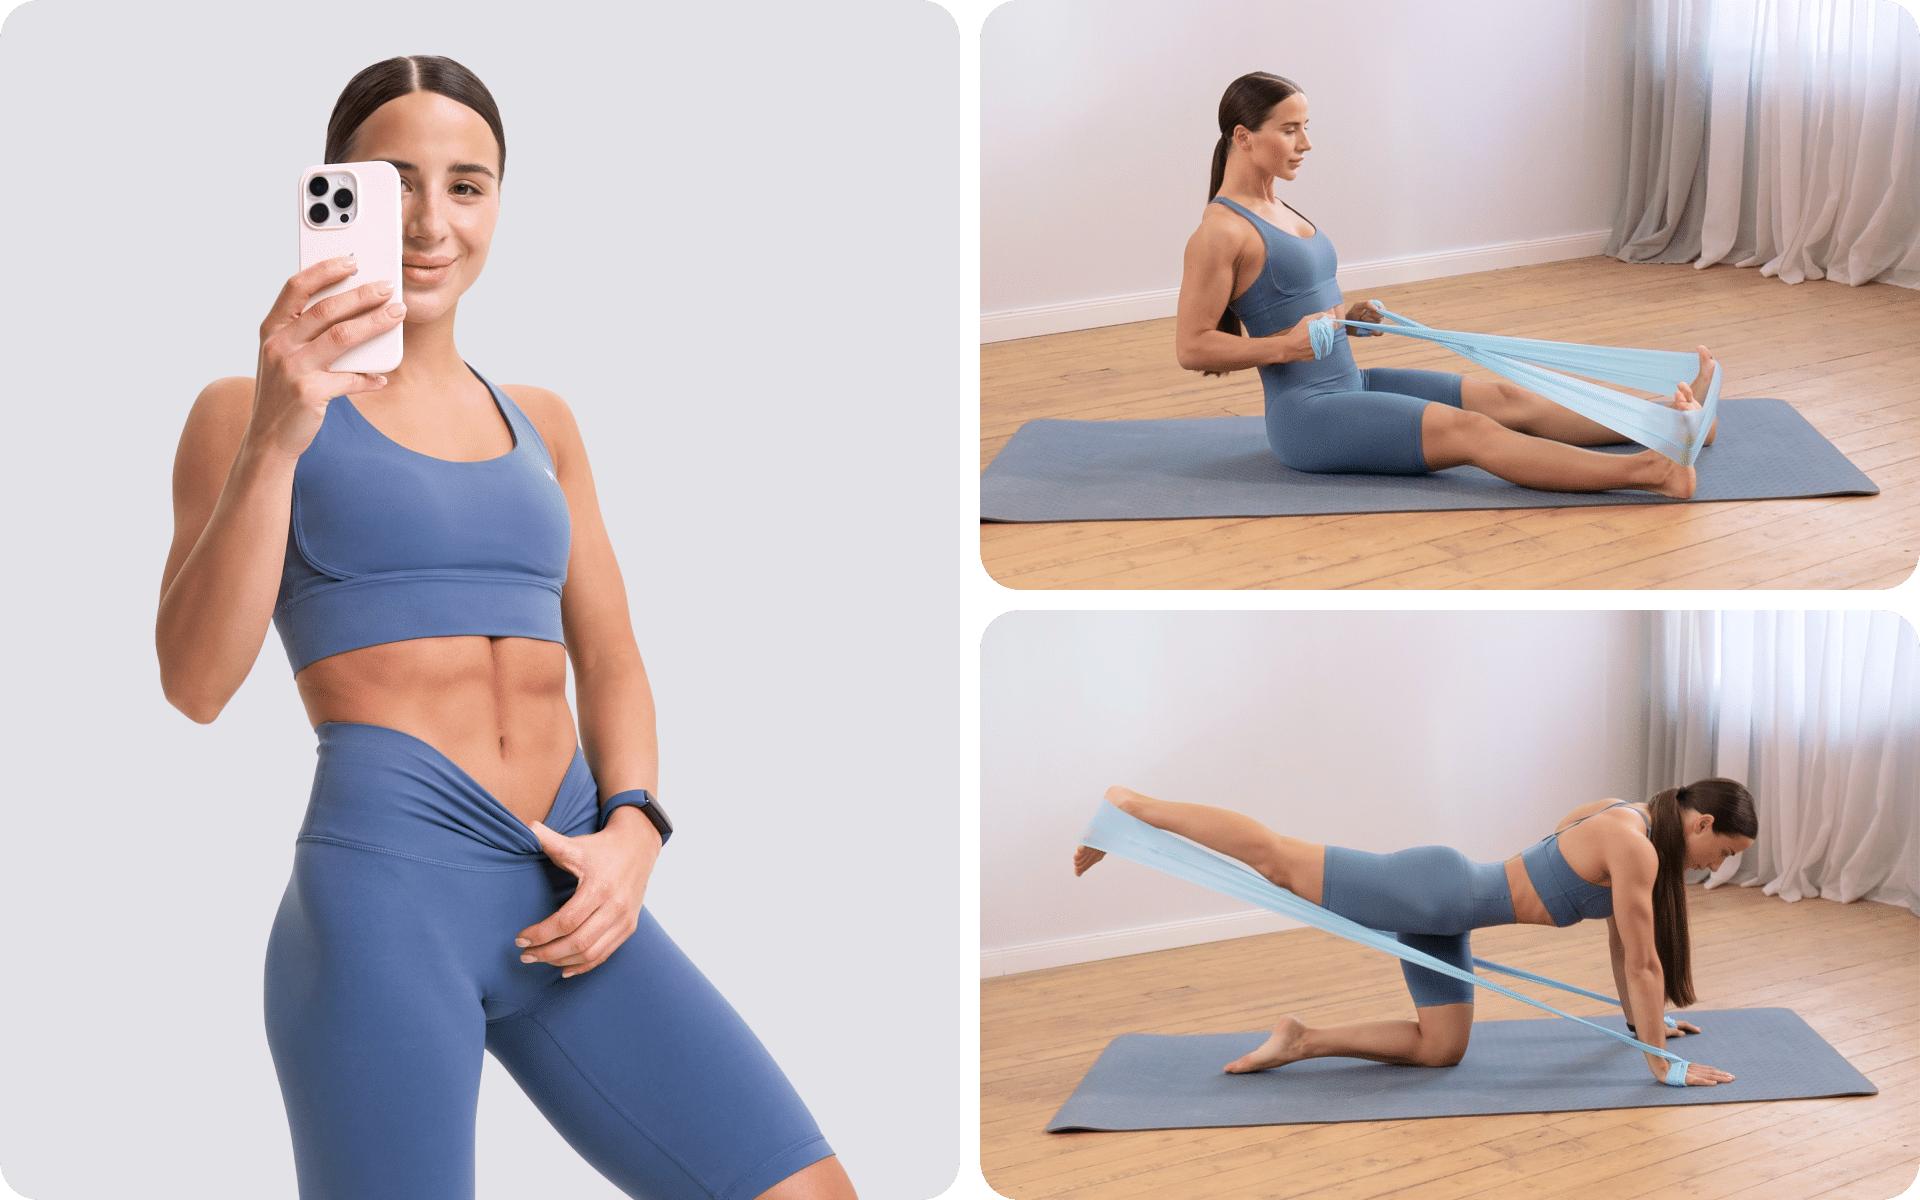
- Sit on the floor and extend your legs then loop the band around your feet’s soles. Hold one end in each hand.
- Now pull the band to your waistline and squeeze your shoulder blades.
- Slowly and carefully release the tension and return to your starting position. Repeat.
One Arm Rows
- Start by doubling over a resistance band then hook one end with your foot.
- Grab the handle with the same-side gand while placing your free hand on your knee.
- Pull the band straight up while bending forward until it comes close to your lower chest.
- Squeeze your back muscle then lower your arm and repeat.
Wide Push Ups
- Place the band around your neck, passing under your arms then loop it through your palms.
- Put your palms on the floor, ensuring they are slightly more than shoulder width apart. Ensure your hands are as aligned as possible at about your shoulder level.
- Next, get into a high plank position so that your spine is straight. Squeeze your glutes, core and quads to maintain the position.
- Bend your elbows to lower yourself and stop when your arms reach at least 90 degrees.
- When you’re at the bottom position, press through the heels of your palm to get back up. This completes one rep.
Overhead Extensions
- Step on a resistance band placing your feet shoulder-width apart and ensuring your toes are pointed slightly out.
- Push the band’s handles overhead, maintaining a slight bend in your elbow. Do not arch your back and brace your abdominals.
- Use one of your forearms to slowly lower your hands behind your head. Your upper arm should stay in place and your elbow pointed up.
- Push the handles back up while focusing the tension in your triceps.
Kickbacks
- Position yourself on the ground and support yourself using your hands and knees.
- Hold the handles of the band in each hand and hook the middle of the band to your left foot. Push it back until the slack tightens.
- Kick your left leg back and up while bracing your core and maintaining a flat back.
- Slowly return your leg to your starting position. Do not allow your knee to touch the ground. Repeat.
If you tend to let yourself off the hook, raise the white flag when things get tougher than you expected, send yourself on an unconscious binge-eating trip – BetterMe app is here to help you leave all of these sabotaging habits in the past!
Push Downs
- Place the band around a hook above your head and grab it with both hands just below your chest height. Ensure your palms are facing in.
- Drive your hands down towards your waist while keeping your elbows tight to your side.
- Lock out your arms then rotate your hands slightly outward. Hold for a second and bring your hands back to just below your chest height.
Split Squats
- Hold the ends of a resistance band in each hand then place it on the floor in front of you. Step on the band with the center of your foot.
- Drop to a lunge position. The ball on the foot of your back leg should be in contact with the ground and your knees making 90-degree angles.
- Adjust the band as needed by choking up until it is taut.
- Stand to the top position keeping your front leg slightly free at the top to maintain the tension. Your chest should be up, back straight and you should maintain an upright posture during this movement.
- Drop to the bottom position. Repeat the pulsing up and down motion.
Crunches
- Start by fixing the bands at a high point, 2-3 feet from the hanging spot.
- Pull the handles next to your head while slightly bending your knees.
- Now pull your upper body towards the floor until your elbows just touch your knees.
- Slowly go back to your starting position.
Ab Twists
- Secure the band on a door handle anchor then place it in the middle behind a door.
- Hold the end of the band with both hands.
- Stand straight with your feet hip width apart and your body’s side facing the door. Activate your core.
- Twist your body against the band’s resistance while maintaining your feet’s position.
The Bottom Line
You don’t always need fancy gym equipment to tone your muscles and improve their strength. Resistance bands are just as effective, cheaper and more convenient. It’s time to give it a shot, don’t you think?
DISCLAIMER:
This article is intended for general informational purposes only and does not serve to address individual circumstances. It is not a substitute for professional advice or help and should not be relied on for making any kind of decision-making. Any action taken as a direct or indirect result of the information in this article is entirely at your own risk and is your sole responsibility.
BetterMe, its content staff, and its medical advisors accept no responsibility for inaccuracies, errors, misstatements, inconsistencies, or omissions and specifically disclaim any liability, loss or risk, personal, professional or otherwise, which may be incurred as a consequence, directly or indirectly, of the use and/or application of any content.
You should always seek the advice of your physician or other qualified health provider with any questions you may have regarding a medical condition or your specific situation. Never disregard professional medical advice or delay seeking it because of BetterMe content. If you suspect or think you may have a medical emergency, call your doctor.
SOURCES:
- Avoiding Joint Injuries (n.d., stanfordchildrens.org)
- CURRENT CONCEPTS IN MUSCLE STRETCHING FOR EXERCISE AND REHABILITATION (2012, nih.gov)
- Effects of training with elastic resistance versus conventional resistance on muscular strength: A systematic review and meta-analysis (2019, nih.gov)
- Resistance training – health benefits (2018, betterhealth.vic.gov.au)

